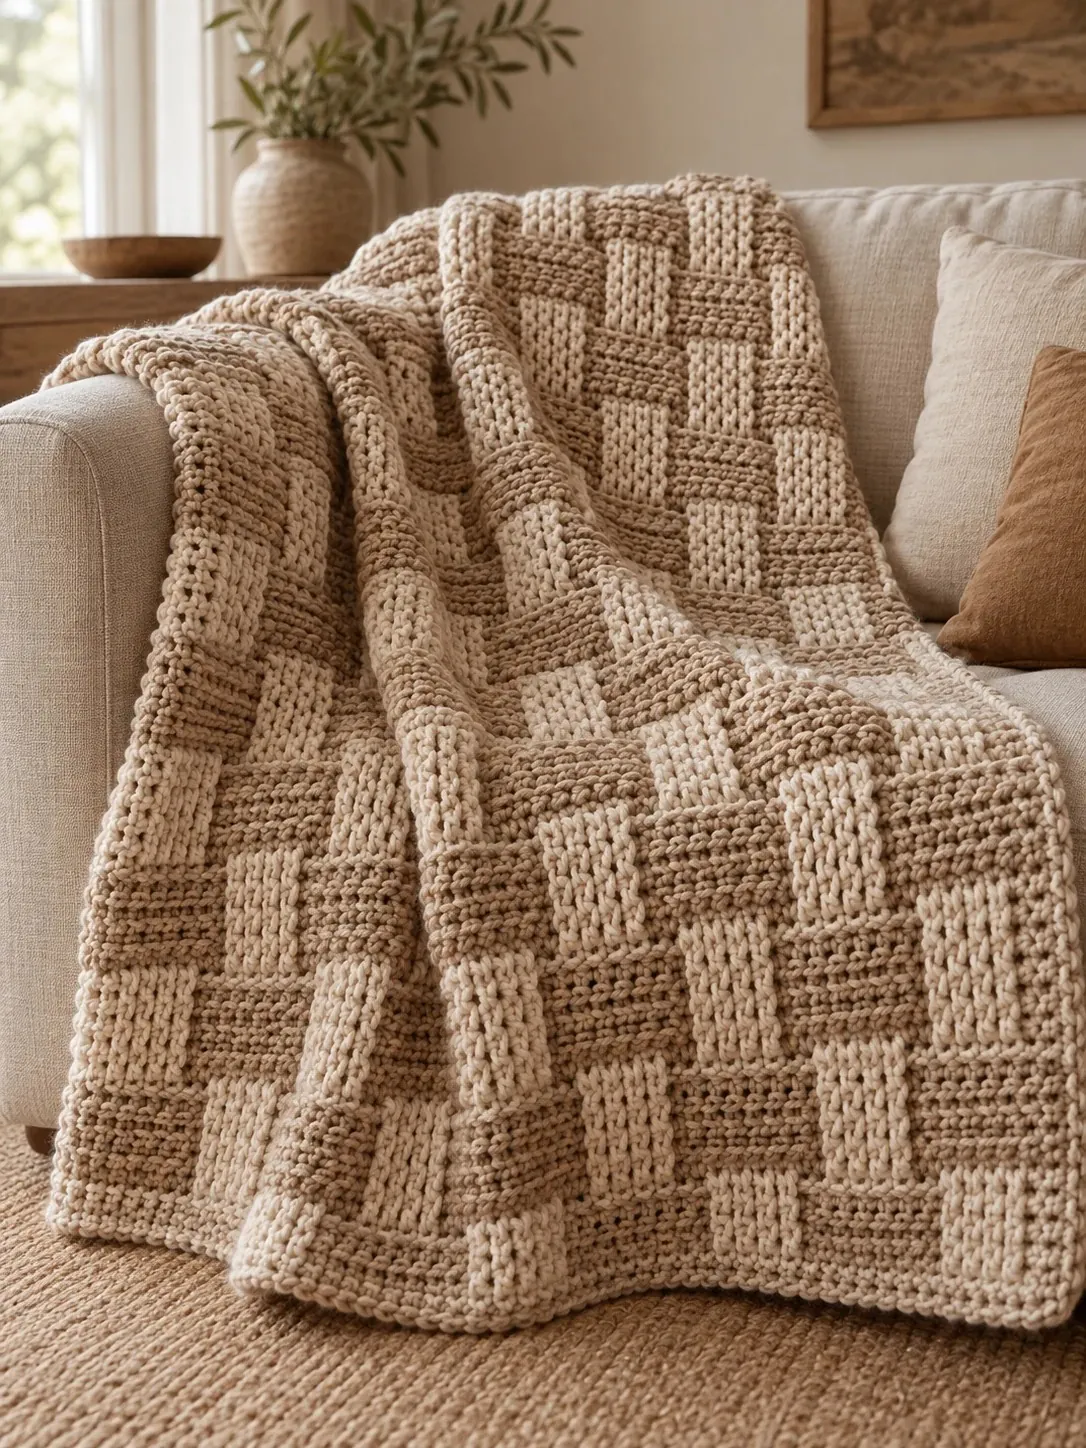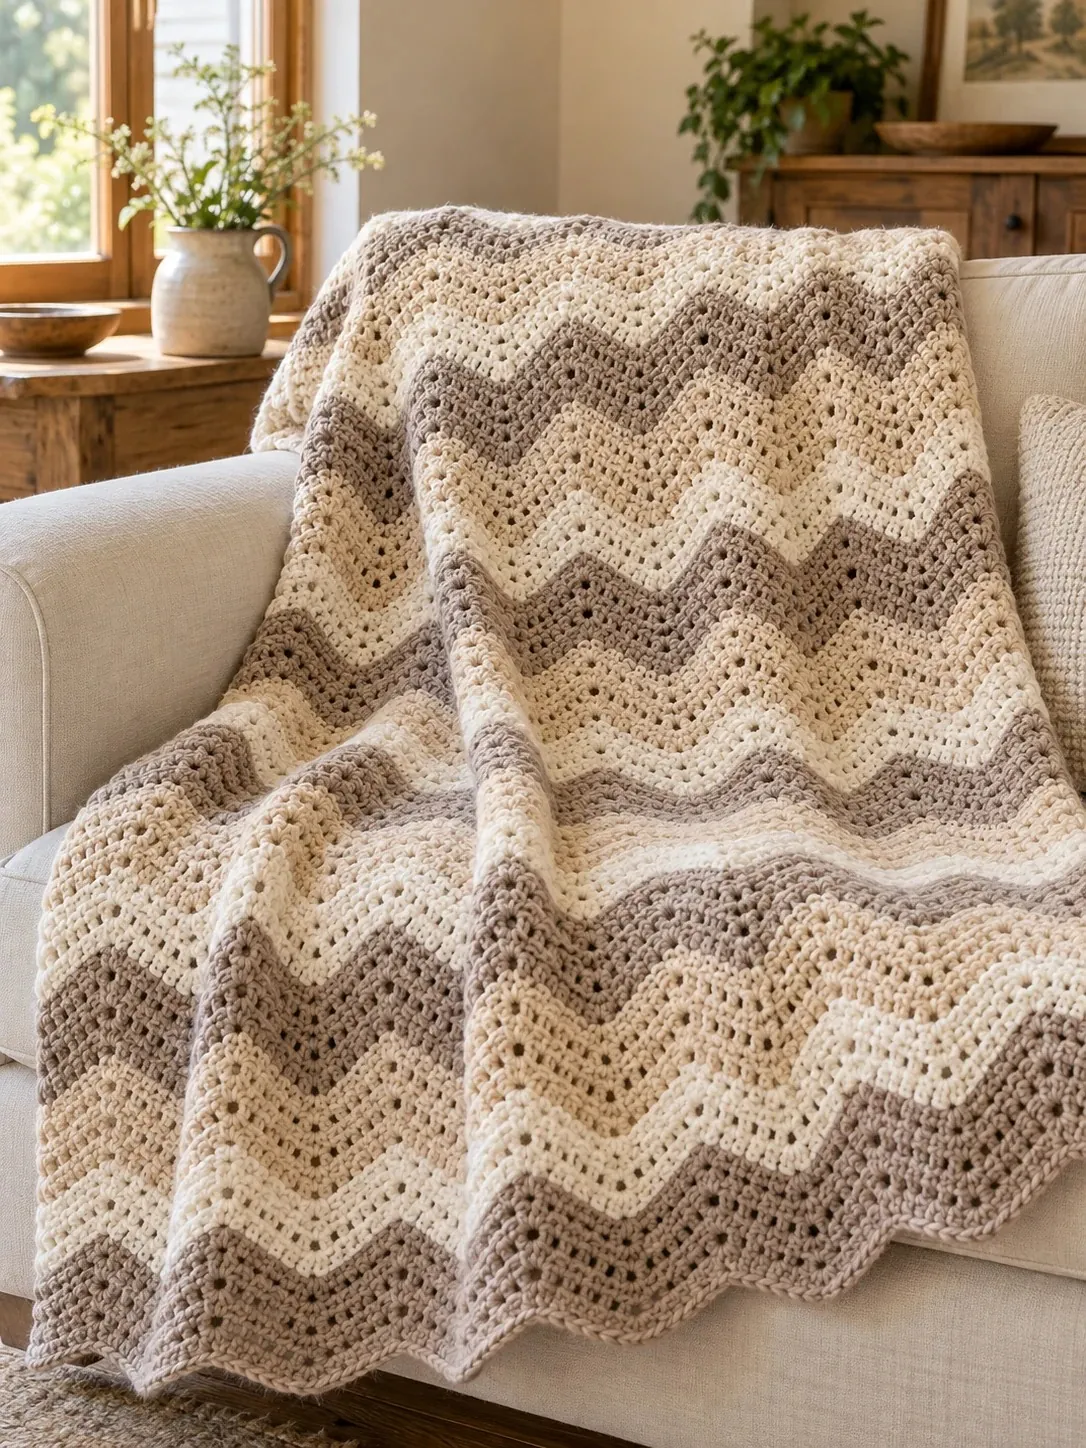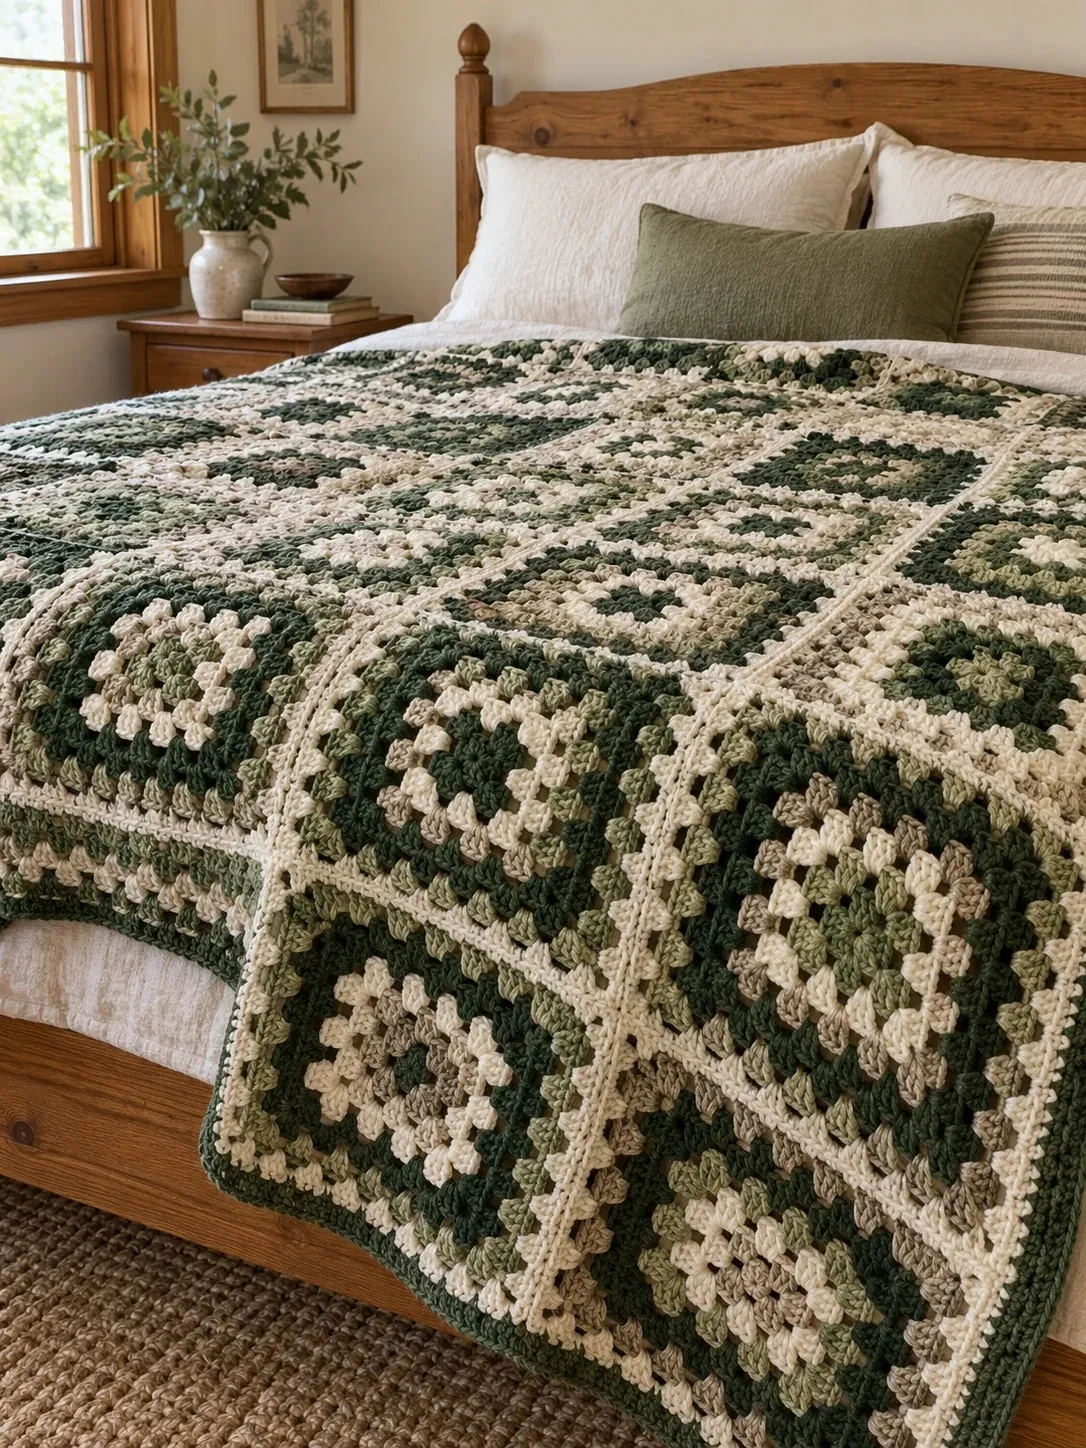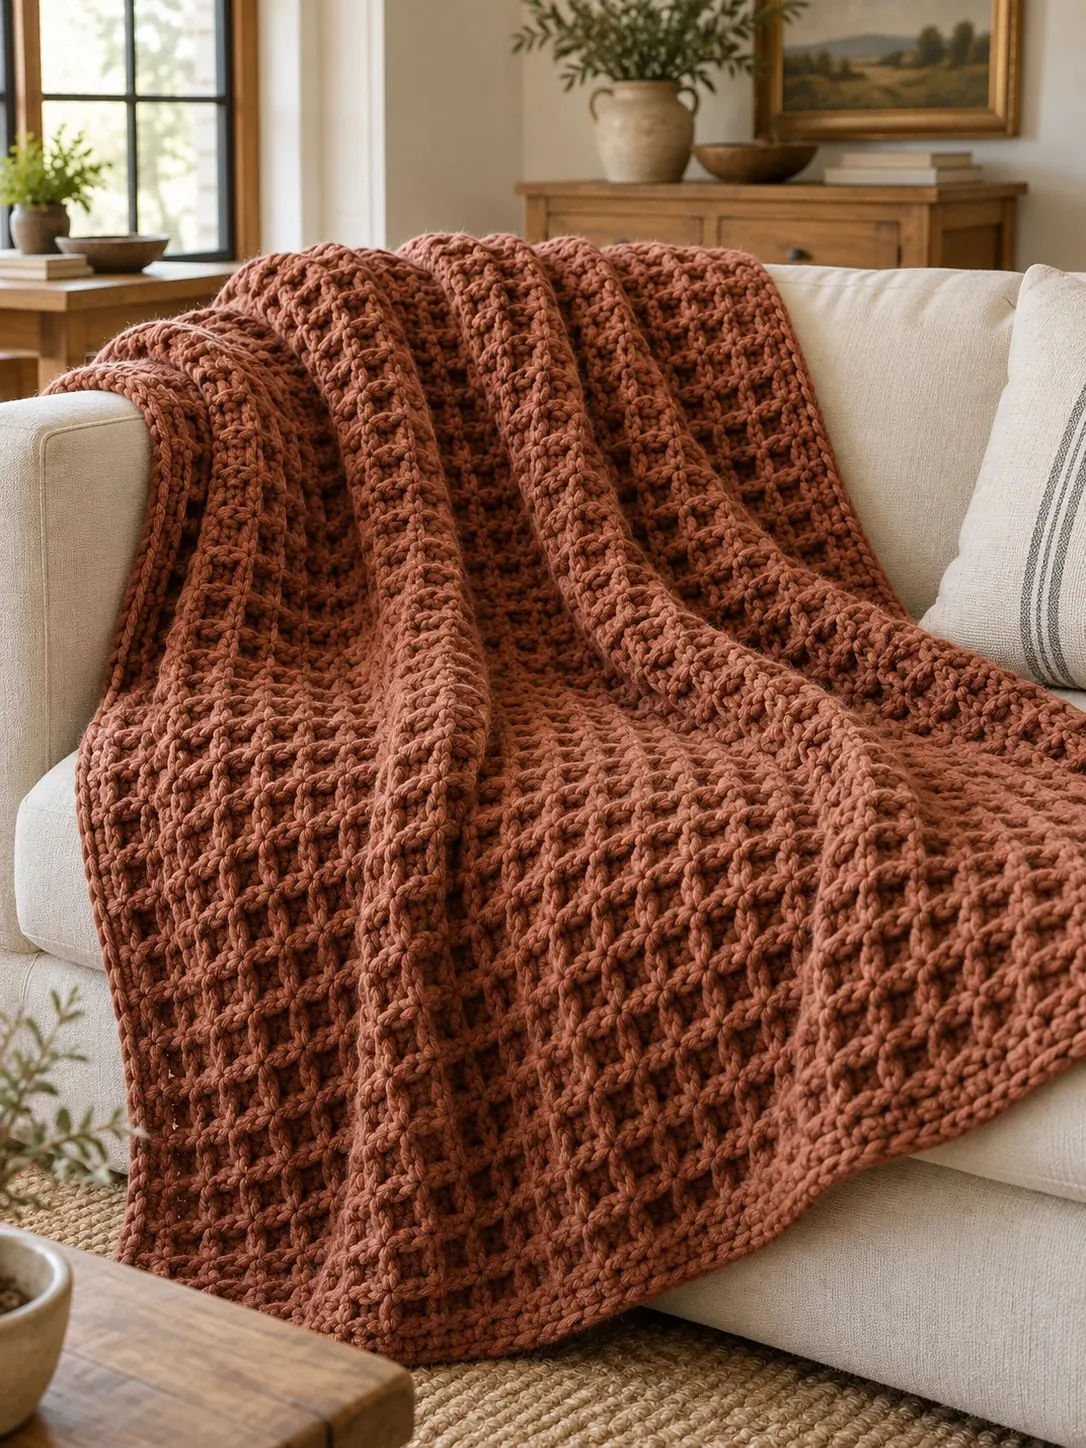
We light the woodstove for the first time sometime in October, usually on a gray morning when the yard smells like wet leaves. That’s the week I want a blanket with real weight to it. This waffle stitch crochet blanket is that one: a deep grid of raised squares in a warm rust, close to the color of the glow behind the stove glass.
It takes one color of bulky yarn and two stitches, double crochet and front post double crochet. It looks complicated, but it’s a two-row repeat, and after a few inches your hands will know what comes next. The pattern card makes a 50 × 60 in (127 × 152 cm) throw, and you’ll find a lap size, a large throw and a twin below.
Is this waffle stitch crochet blanket a good second project?
It’s a good one to make after a first blanket. You’ll use a chain, a double crochet and, for the border, a single crochet. The border rounds close with a slip stitch: insert your hook, yarn over, and pull the loop through the stitch and the loop on your hook in one motion.
The only new stitch is the front post double crochet, written FPdc. Instead of going into the top of a stitch, you work around its post, the tall body of the stitch. Yarn over, push your hook from front to back to front around the post of the stitch below, pull up a loop, and finish it like any double crochet. The stitch tilts toward you and stands out from the fabric, and those raised stitches build the walls of every waffle square.
Row 1 is plain double crochet. Row 2 sets one FPdc between pairs of plain dc. Row 3 swaps the roles: an FPdc around each of those pairs, and a plain dc into the top of each single post. From then on, one rule covers every row: post around the flat stitches, and work a dc into the tops of the raised ones.
If a line like FPdc around next 2 sts, dc in next st; rep from * still looks like code, the Beginner Guide covers reading a crochet pattern line by line. And if you’d rather leave post stitches for later, my cream throw made with nothing but chains and single crochet uses the same yarn weight.
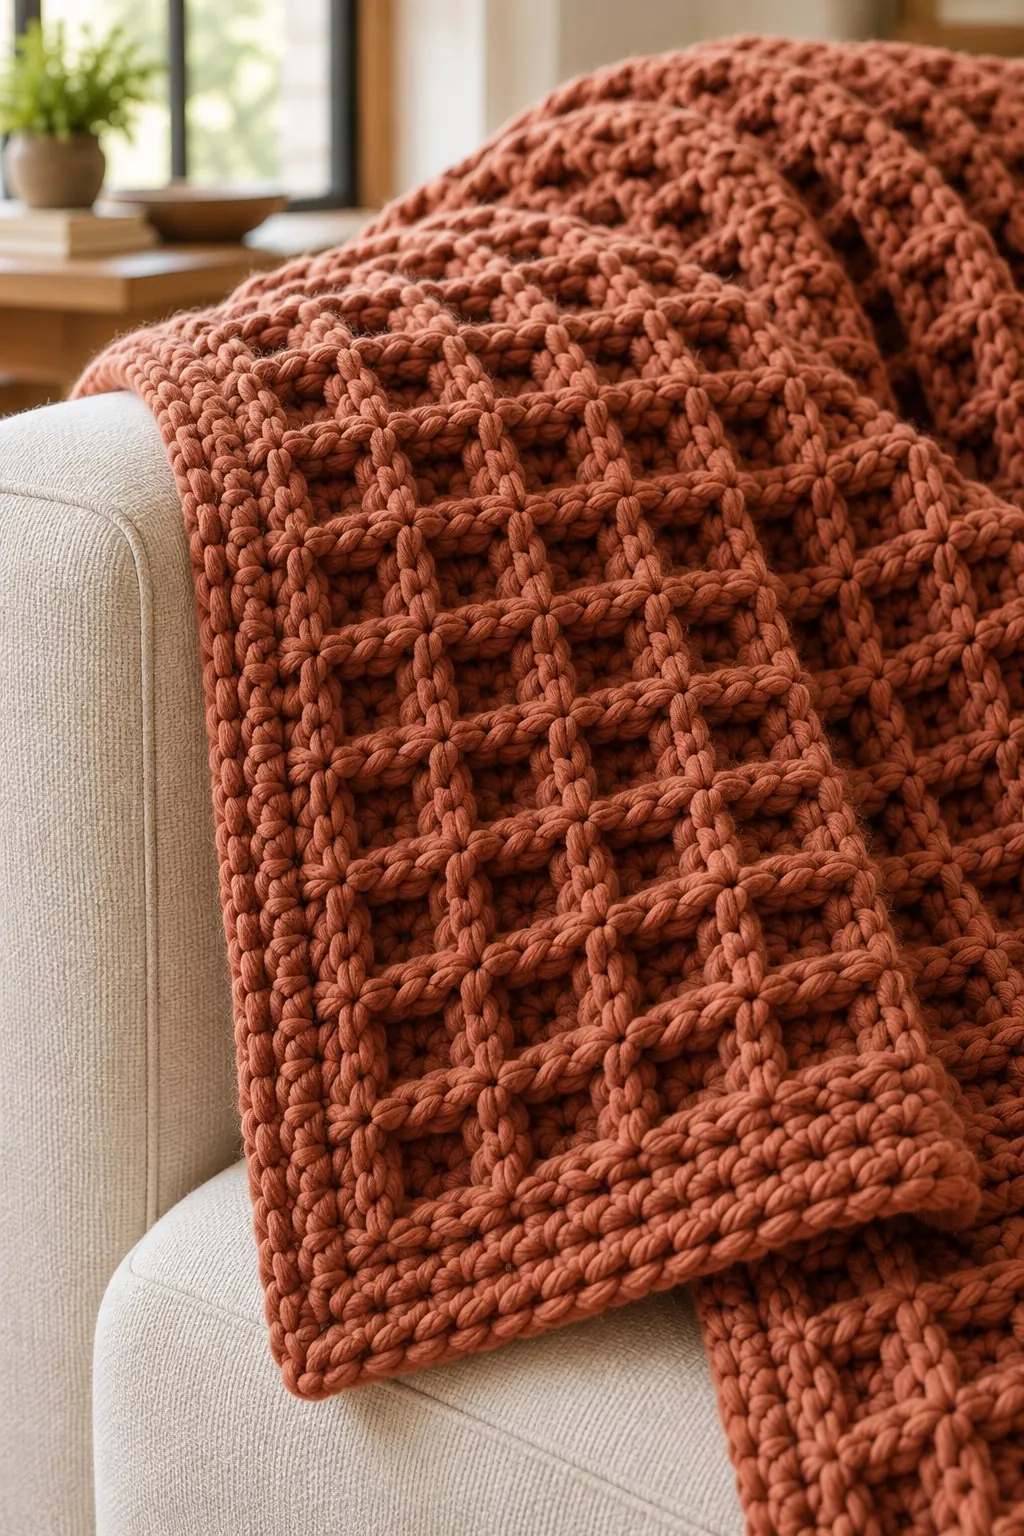
Bulky yarn that keeps the waffle squares crisp
Look for the number 5 on the label, the bulky symbol. Most bulky yarns suggest a hook between 6.5 and 9 mm, and I stay at the small end, a 6.5 mm (US K-10½). Waffle stitch already makes a thick fabric, and a big hook turns the squares loose and shapeless.
Choose a smooth, plied yarn so each post casts a little shadow. Acrylic is the practical choice for a blanket this size: lighter, washable and much easier on your budget at more than 2,600 yd. An acrylic and wool blend adds warmth and a bit of spring. I’d skip chenille, velvet and brushed or fuzzy yarns, because the pile fills the cells and the grid disappears. Skip 100% cotton too. A cotton waffle throw gets very heavy and tends to stretch when it hangs off the arm of a couch.
Post stitches use more yarn than flat ones, so the throw size comes out around 3½ to 4½ lb (1.6 to 2 kg), depending on your yarn. That weight is half the charm on a cold evening.
You’ll need around 18 skeins in one color, so buy them all at once and check that every label shows the same dye lot. Bulky skeins range a lot in length, so compare total yardage rather than skein count. Then work the swatch. At 13 stitches over 4 in instead of 12, the throw comes out about 44 in wide, almost 4 in narrower than planned. Super bulky yarn goes the other way, so swatch and recalculate before you switch.
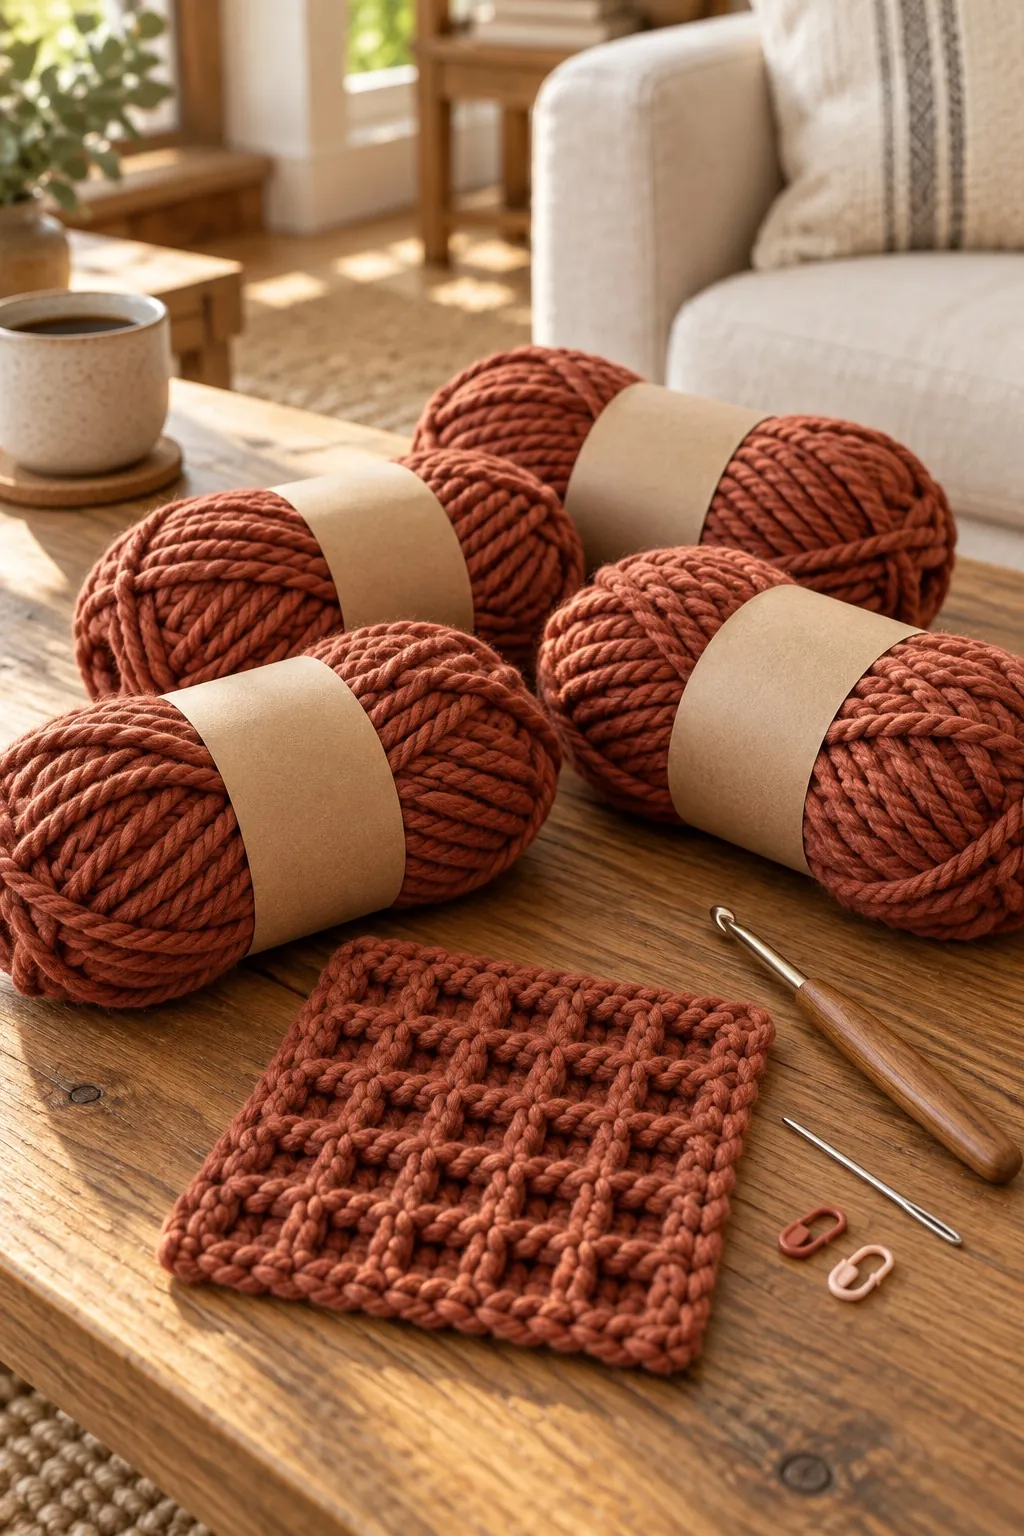
Rust like stove glow, and other colors that show off the grid
With one color, the texture does all the work, and the texture needs light and shadow to read. Medium solid shades do that best. Near-black hides the cells, very pale white can wash them out in bright light, and variegated yarn breaks the grid into patches. A softly heathered yarn is fine.
Shades I’d happily curl up under:
- Woodstove: rust or terracotta, as in the photo.
- Birch bark: warm oatmeal.
- Maple sugar: golden amber.
- Spruce: a medium pine green, not too dark.
- Lake ice: heathered slate blue for a cooler room.
If you want a frame, work the three border rounds in a second color, like cream around the rust. You’ll need about 150 yd (137 m) of it for the throw.
Look at your skein under a lamp in the evening before you buy 18 of them. That’s when you’ll use this blanket most, and warm bulbs can push rust toward plain brown.
Woodstove Waffle sizes, from lap blanket to twin
Every size uses the same gauge, 12 stitches and 7 rows over 4 in. The stitch count is always a multiple of 3, the chain is 2 more than the stitch count, and the row count is even. The pattern card is written for the throw. Yardage is an estimate with about 10% extra, rounded up to the next 50 yd.
- Lap, about 36 × 48 in (91 × 122 cm): ch 104, 102 sts, 80 rows; border 452, 460 and 468 sc; about 1,500 yd (1,372 m).
- Throw, about 50 × 60 in (127 × 152 cm): ch 146, 144 sts, 102 rows; border 602, 610 and 618 sc; about 2,650 yd (2,423 m).
- Large throw, about 60 × 72 in (152 × 183 cm): ch 176, 174 sts, 122 rows; border 722, 730 and 738 sc; about 3,750 yd (3,429 m).
- Twin, about 66 × 90 in (168 × 229 cm): ch 194, 192 sts, 154 rows; border 854, 862 and 870 sc; about 5,200 yd (4,755 m).
For any size, the first border round has the stitch count plus 4 across the top and the bottom, corners included, and 3 sc for every 2 rows along each side. The next two rounds grow by 8 stitches each, all at the corners. The twin weighs roughly 7 to 9 lb (3.2 to 4 kg).
Counting posts and keeping the Woodstove edges straight
- Chain loosely. A tight foundation chain pinches the bottom of the blanket. If yours runs snug, chain with a hook one size up and switch back to the 6.5 mm for Row 1.
- Count the raised posts, not every stitch. In the throw, Row 2 and every even row has 48 single posts. Row 3 and every odd row after it has 47 pairs.
- Don’t work into the stitch behind a post. After an FPdc, the top of the stitch you went around stays empty. Working into it adds a stitch, and the grid shifts out of line.
- Look before you post. Each new FPdc should sit right in line with a column of the row below. If a post lands between two columns, pull back to the last good stitch.
- Treat the edges the same on every row. The ch 2 at the start never counts. Your first dc goes into the very first stitch and your last dc into the last one. A marker in the first dc of each row makes the last stitch easy to find on the way back.
- Measure every 14 rows. At gauge, 14 rows equal 8 in (20 cm). If you need more rows, your posts are tightening up, so relax your grip on the yarn.
- Let the couch hold the weight. Once the blanket gets heavy, rest the finished part beside you so it doesn’t drag on your wrists.
- Join new skeins at the edge. Start each new skein at the beginning of a row and leave 6 in (15 cm) tails to weave into the side. The border covers them.
US crochet terms
The pattern
Materials
- Yarn: bulky weight (#5 bulky), smooth and plied, in acrylic or an acrylic-wool blend, about 2,650 yd (2,423 m) in total
- Rust: all from one dye lot (for example, 18 skeins of about 150 yd / 137 m each)
- Hook: 6.5 mm (US K-10½)
- Yarn needle, 2 stitch markers, scissors, measuring tape
Gauge
- 12 sts and 7 rows = 4 in (10 cm) in waffle stitch, counting each dc and each FPdc as 1 st
- Swatch: ch 20 and work Row 1 (18 dc). Then work Row 2 and Row 3 alternately until you have 9 rows, about 6 in (15 cm) wide and 5 in (13 cm) tall. Measure 4 in (10 cm) across the middle.
- Too many sts per 4 in: try a larger hook. Too few: try a smaller one.
Finished size
- About 50 × 60 in (127 × 152 cm) with the border, before blocking
- Body before the border: about 48 × 58¼ in (122 × 148 cm)
Abbreviations
- ch chain
- dc double crochet
- FPdc front post double crochet
- sc single crochet
- sl st slip stitch
- st(s) stitch(es)
- yo yarn over
- rep repeat
Notes
- FPdc: yo, insert hook from front to back to front around the post of the indicated st, yo and pull up a loop, [yo and pull through 2 loops] twice. Each FPdc counts as 1 st. Do not work into the top of the st behind it.
- The ch 2 at the start of each row does not count as a st. Work the first dc into the first st and the last dc into the last st.
- Every row has 144 sts. Even rows: 48 FPdc and 96 dc. Odd rows from Row 3 on: 47 pairs of FPdc and 50 dc.
- From Row 3 on, work each FPdc around a flat dc of the row below and each dc into the top of an FPdc. The first and last st of every row are always dc.
- Join a new skein at the start of a row, leaving 6 in (15 cm) tails to weave into the side edge.
- The border is worked in the same color, without fastening off. For a contrasting border, fasten off after Row 102 and join the new color with a sl st in the last st of Row 102; you’ll need about 150 yd (137 m).
- The sides of the border get 3 sc for every 2 rows. If a side ruffles, work 1 sc in each row end more often; if it pulls in, work 2 sc more often.
- To change the size, chain any multiple of 3 plus 2 (the body has 2 sts fewer than the chain) and work an even number of rows. Border Round 1 then has (sts + 4) sc across the top and bottom, corners included, and (rows ÷ 2) × 3 sc along each side. Rounds 2 and 3 each add 8 sc.
Instructions
Body
- Foundation: Loosely ch 146.
- Row 1: Dc in 3rd ch from hook (the 2 skipped ch do not count as a st) and in each ch across. (144 dc)
- Row 2: Ch 2, turn. Dc in first st, *FPdc around next st, dc in next 2 sts; rep from * to last 2 sts, FPdc around next st, dc in last st. (48 FPdc and 96 dc: 144 sts)
- Row 3: Ch 2, turn. Dc in first 2 sts, *FPdc around next 2 sts, dc in next st; rep from * to last st, dc in last st. (47 pairs of FPdc and 50 dc: 144 sts)
- Rows 4–101: [Rep Row 2, then Row 3] 49 times. (144 sts in every row)
- Row 102: Rep Row 2. (102 rows; body measures about 48 × 58¼ in / 122 × 148 cm)
- Do not fasten off.
Border
- Round 1: Ch 1, turn. Working back across Row 102: 3 sc in first st (corner), sc in each st across to last st (142 sc), 3 sc in last st (corner). Working down the side, into the ends of Rows 102 to 1: [2 sc in end of next row, sc in end of next row] 51 times (153 sc). Working in the free loops of the foundation chain: 3 sc in the loop at the base of the last dc of Row 1 (corner), sc in each free loop across to the loop at the base of the first dc of Row 1 (142 sc), 3 sc in that loop (corner); the 2 skipped ch beside it stay empty. Working up the other side, into the ends of Rows 1 to 102: [2 sc in end of next row, sc in end of next row] 51 times (153 sc). Join with sl st to first sc. (602 sc: 148 across top and bottom, corners included, and 153 along each side)
- Round 2: Ch 1, do not turn. Sc in same st as join, 3 sc in next sc (corner), [sc in each sc to center sc of next corner, 3 sc in center sc] 3 times, sc in each remaining sc. Join with sl st to first sc. (610 sc: 152 across top and bottom, corners included, and 153 along each side)
- Round 3: Ch 1, do not turn. Sc in same st as join and in next sc, 3 sc in next sc (corner), [sc in each sc to center sc of next corner, 3 sc in center sc] 3 times, sc in each remaining sc. Join with sl st to first sc. (618 sc: 156 across top and bottom, corners included, and 153 along each side)
- Finishing: Fasten off and weave in all ends, going back and forth at least twice.
Washing a heavy rust waffle throw without stretching it
Check the yarn label first. Most acrylics can go in the machine on a gentle cycle in cool water. A blanket this heavy is happier in a large front-loader. Acrylic and wool blends usually want the wool cycle or a hand wash with a mild wool wash, and no rubbing, since agitation can felt the wool.
Rust dyes sometimes bleed in the first wash, so add a color catcher sheet, especially if you worked a cream border. Never hang the wet blanket over a line or a door. Wet waffle stitch holds a lot of water, and the weight pulls the posts long. Press out what you can, roll it in a towel, then dry it flat, turning it once. Tumble on low only if the label says so.
The cells collect crumbs, lint and pet hair. A good shake outside and a lint roller between washes keep it fresh. Store it folded on a shelf, not on a hanger, and keep it off the hearth: a stray spark can melt acrylic.
Woodstove Waffle questions from crocheters new to post stitches
Is a waffle stitch crochet blanket too hard if I’ve never worked a post stitch?
No. If you can make a double crochet, you can make an FPdc, because only the place you insert your hook changes. Work the swatch first. By its last few rows the post stitches will feel normal, and you’ll have checked your gauge too.
Why does this blanket need so much more yarn than my others?
Each FPdc wraps around a whole stitch, so it uses more yarn than a dc in the same spot, and about two thirds of the stitches in every odd row are posts. That’s why the throw calls for about 2,650 yd of bulky yarn.
My fabric feels stiff, almost like cardboard. What can I change?
Waffle stitch is firm by nature, but stiff usually means tight posts. Pull each loop up to the height of your regular dc before finishing the stitch. If it’s still rigid, go up one hook size and swatch again, then check that the width still works for you.
How do I make the throw longer?
Add rows in pairs, one even row and one odd row, so you still finish on a Row 2. Each pair adds about 1¼ in (3 cm) and uses about 50 yd (46 m) of yarn at the throw width. Each pair also adds 3 sc to each side of every border round.
My side edges are wavy after the border. Did I do something wrong?
Probably not. Row heights vary from one crocheter to the next, so 3 sc for every 2 rows is a starting point. If the side ruffles, remove Round 1 on that side and work single sc in more row ends. If it pulls in and cups, add more of the 2-sc row ends.
Quick recap
- Swatch to 12 sts and 7 rows over 4 in with a 6.5 mm (US K-10½) hook.
- Loosely ch 146 and work Row 1 in dc (144 sts).
- Alternate Row 2 and Row 3 until you have 102 rows, ending with a Row 2.
- Without fastening off, work 3 rounds of sc with 3 sc at each corner (602, 610 and 618 sc).
- Weave in the ends and wash the blanket as the yarn label says.
I hope this waffle stitch crochet blanket ends up over your knees on the nights the stove is ticking and the snow hasn’t quite started. If a stitch count stops adding up, or you’d like a size that isn’t listed, write to me and we’ll work it out.