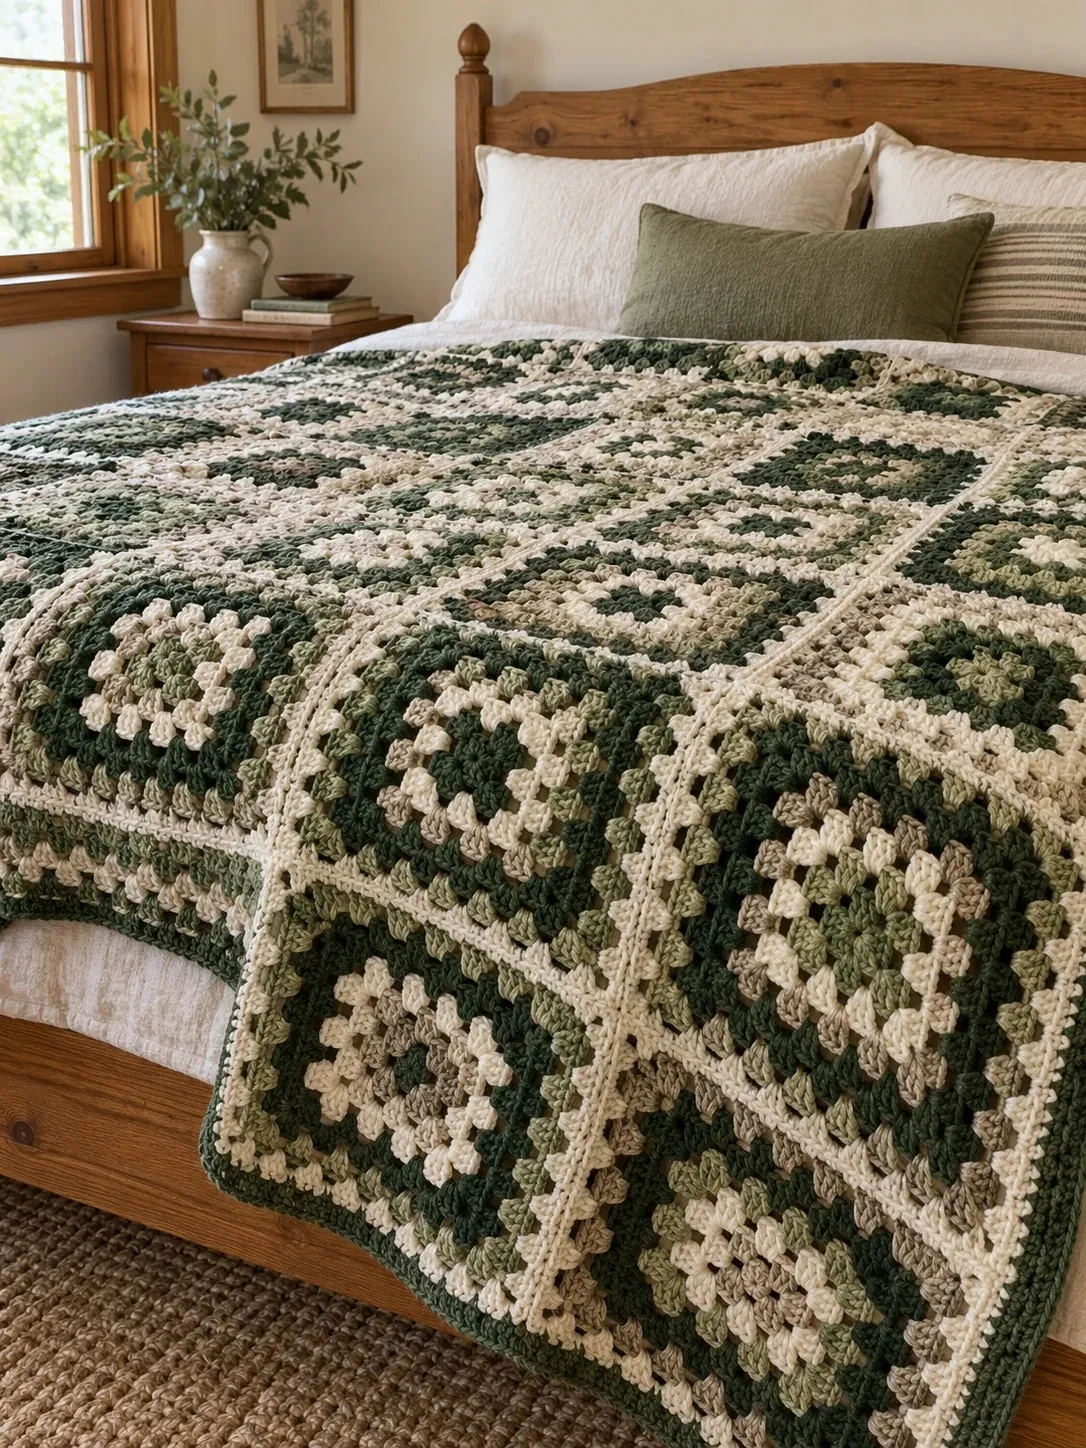
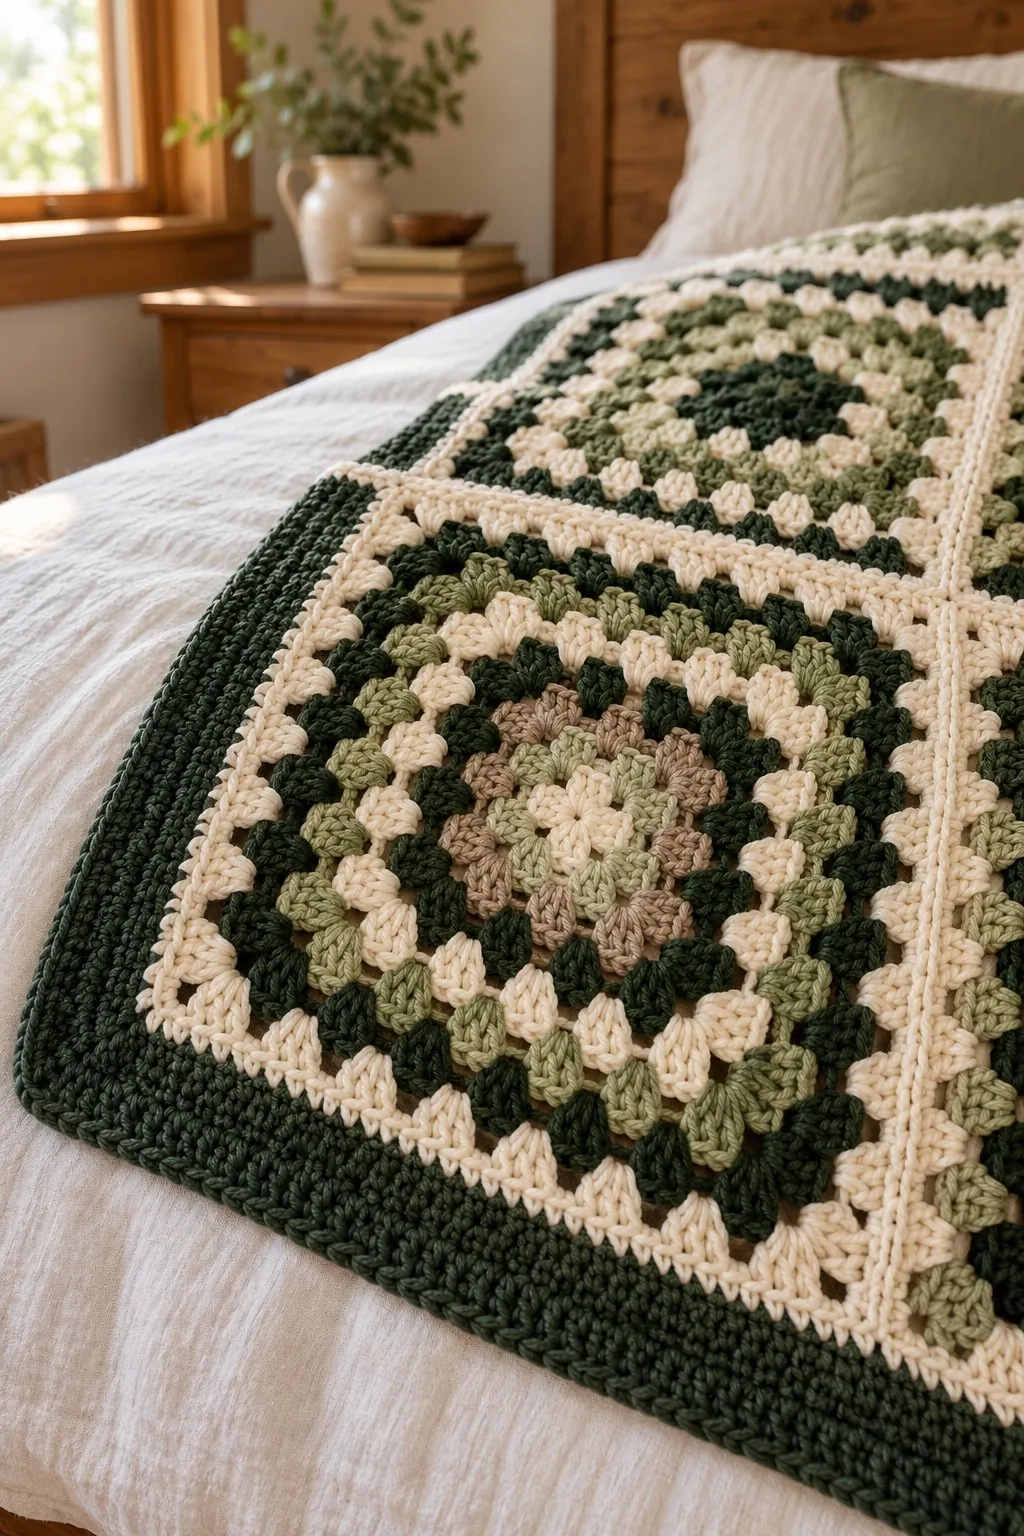
From my kitchen window I can see a long stretch of the Green Mountains, and between May and October that ridge goes through more greens than I can name, from the pale new leaves of spring to the almost black spruce of November. This granny square blanket borrows those shades. Each square mixes forest, sage and pale sage with a warm mushroom taupe, and every one ends in a round of cream, so the whole bed reads like an old quilt with cream sashing.
It’s made of 49 bulky squares, each about 12 in (30.5 cm) across, joined in a 7 × 7 grid and edged in forest green. The finished blanket is about 87 × 87 in (221 × 221 cm), enough for the top of a queen bed. Don’t let 49 scare you: once your hands know the rounds, one square fits inside a slow morning coffee. Smaller sizes are below, down to a nine-square baby blanket.
Can a beginner make this granny square blanket?
Yes, if you’re comfortable with a chain and a double crochet. The squares use nothing else. The cream seams are worked in single crochet, and the border adds two rounds of half double crochet. Each round closes with a slip stitch: insert the hook, yarn over, and pull through the stitch and the loop on your hook.
I’ve marked it Easy rather than Beginner because of the color changes and the assembly. A granny square grows in rounds from a small ring. Each round is made of clusters, groups of 3 double crochets worked into the same space, with a chain 1 between clusters along the sides and a chain 2 at each corner. Every corner gets two clusters, which is what keeps the square growing outward. Round 1 has 1 cluster per side, Round 2 has 2, and a finished square has 8 along each edge. Counting clusters is much faster than counting stitches.
If notation like (3 dc, ch 2, 3 dc) or [ ] 3 times still looks strange, the Beginner Guide explains how to read a crochet pattern. And if all these color changes sound like a lot for a very first blanket, a one-color cream throw in bulky moss stitch is a calmer place to start.
Bulky yarn for 49 squares: weight, fiber and how much to buy
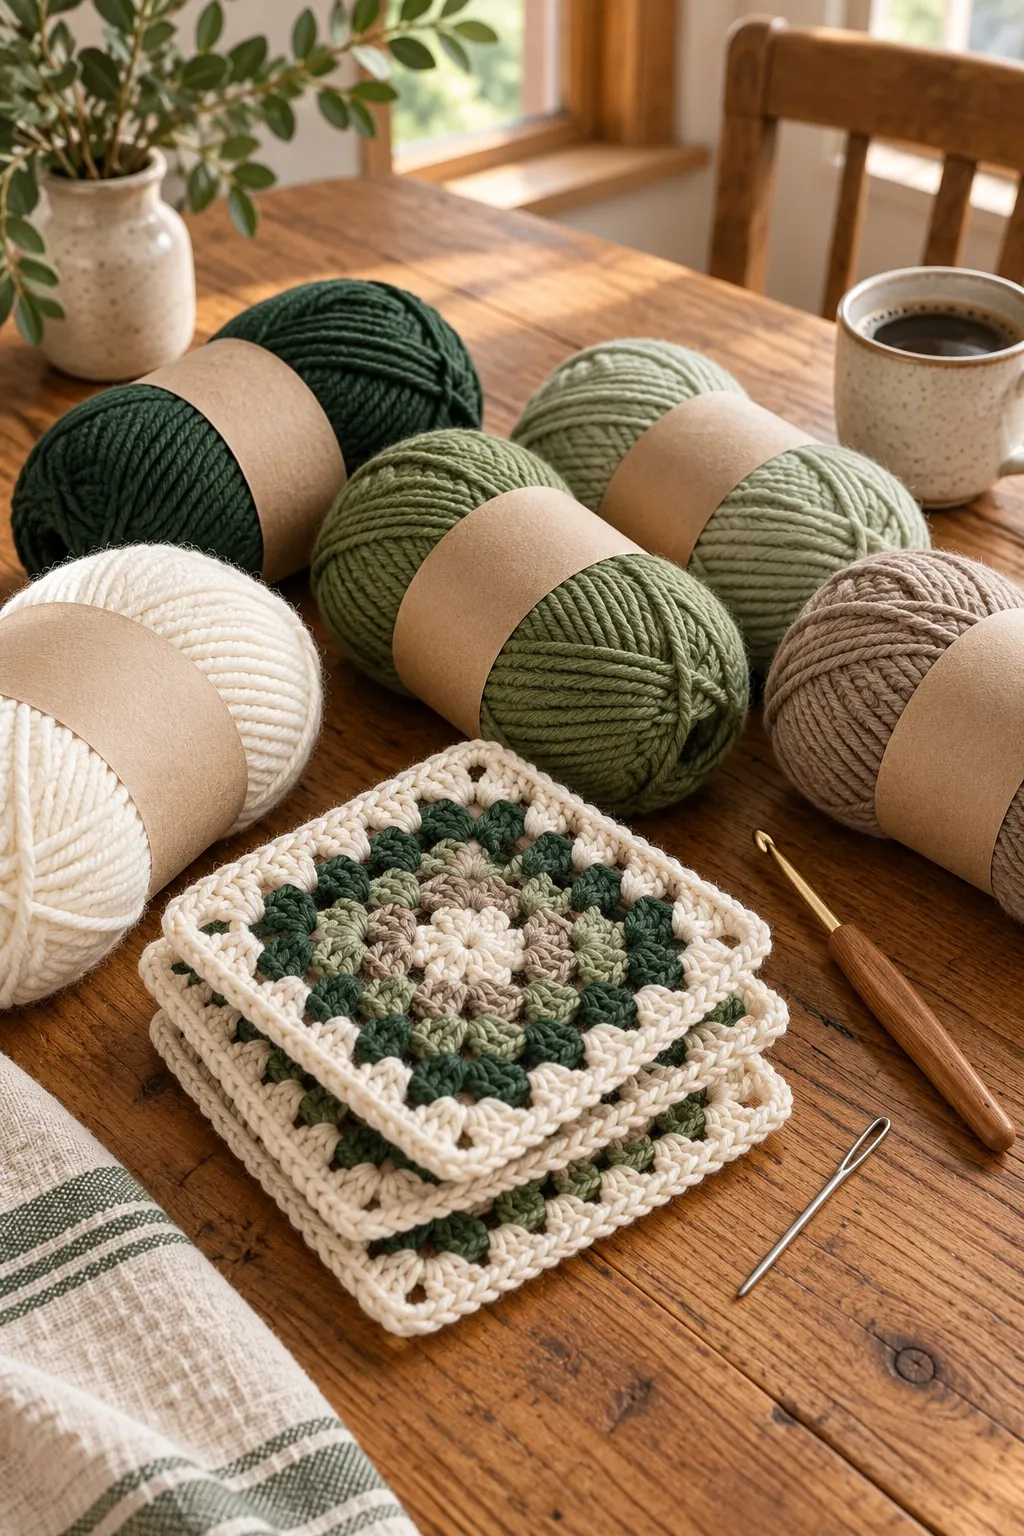
Look for the number 5 on the label, the bulky symbol. I use a 6.5 mm (K-10.5) hook, at the small end of the bulky range, because a snug hook keeps the clusters plump and the gaps between them small. If your squares feel floppy, go down half a size.
A plied acrylic or a wool and acrylic blend works best. Acrylic is kinder to your budget, which counts when the queen needs about 3,450 yd (3,155 m), and it handles the washing machine. A wool blend is warmer and makes rounder clusters, but it’s heavy at this size. Skip chenille and very fuzzy yarns: the ch-1 spaces vanish into the fuzz.
Buy each color from a single dye lot. It matters most for the cream, the last round of every square and every seam, where a lot change would show as a slightly different frame on part of the bed. Forest comes next, since the border runs all the way around.
To substitute, compare yardage per skein, never skein counts. Then make one full square before buying everything: it should measure 12 in (30.5 cm) after Round 8. A square of 11 1/2 in makes the queen about 3 1/2 in (9 cm) smaller each way, and it’s better to know that at square one than at square forty.
How the five Green Mountain colors share the work
- Cream is the frame: Round 8 of every square and all the seams. It pulls 49 different-looking squares together, and it’s your biggest yarn order.
- Forest gives depth. It’s the center of half the squares, appears twice in each one, and wraps the outside as the border.
- Sage and pale sage are the middle tones that keep the squares soft instead of striped.
- Mushroom, a soft taupe, stops all that green from feeling cold. One round per square is plenty.
Square A has a cream center and Square B a forest center. Laid out like a checkerboard, they give that scrappy look without any real randomness. The same balance (a frame color, one dark, two middle tones and a warm neutral) works in other palettes:
- Lake Champlain: navy, denim, pale blue and sand, with white frames.
- Mud Season: charcoal, slate, heather gray and taupe, with ivory frames.
- Fiddlehead: olive, moss, celery and camel, with cream frames.
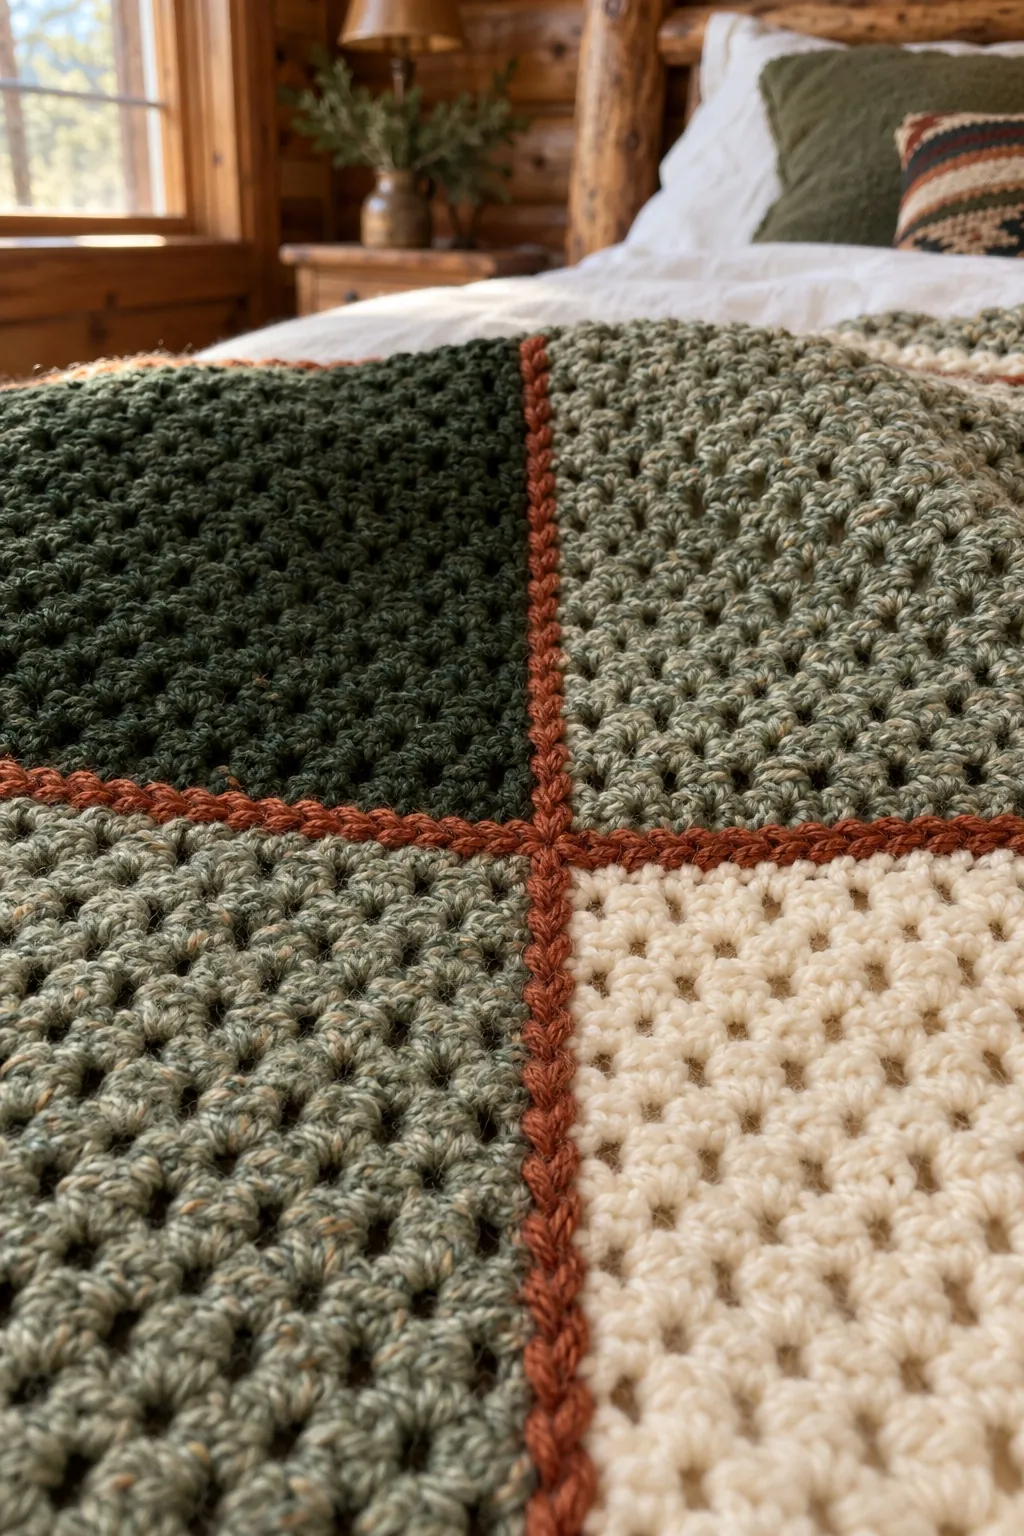
My tip: buy one skein of each color, make one Square A and one Square B, and lay them on the bed they’re meant for. Bedroom light shifts colors more than you’d think. If you like squares but want something more graphic, the cabin-style plaid made from joined worsted squares uses a single square and a contrast seam color.
Green Mountain sizes, from a nine-square baby blanket to a king bed
Every size uses the same 12 in (30.5 cm) square, cream seams and three-round border, which adds about 1 1/2 in (4 cm) per side. Start odd rows with Square A and even rows with Square B. The pattern card is written for the queen. Yardage is an estimate with about 15% extra, rounded up to 50 yd, listed as cream / forest / sage / mushroom / pale sage.
- Baby, about 39 × 39 in (99 × 99 cm): 3 × 3 squares, 9 in all (5 A, 4 B); border 400, 408, 416 sts; 250 / 250 / 150 / 100 / 50 yd (800 yd, 732 m).
- Throw, about 51 × 63 in (130 × 160 cm): 4 squares across and 5 down, 20 in all (10 A, 10 B); border 598, 606, 614 sts; 500 / 450 / 250 / 150 / 150 yd (1,500 yd, 1,372 m).
- Twin, about 63 × 87 in (160 × 221 cm): 5 across and 7 down, 35 squares (18 A, 17 B); border 796, 804, 812 sts; 900 / 700 / 450 / 300 / 200 yd (2,550 yd, 2,332 m).
- Queen, about 87 × 87 in (221 × 221 cm): 7 × 7, 49 squares (25 A, 24 B); border 928, 936, 944 sts; 1,250 / 950 / 600 / 400 / 250 yd (3,450 yd, 3,155 m). This is the size in the pattern.
- King, about 111 × 87 in (282 × 221 cm): 9 across and 7 down, 63 squares (32 A, 31 B); border 1,060, 1,068, 1,076 sts; 1,600 / 1,150 / 800 / 500 / 350 yd (4,400 yd, 4,023 m).
For any grid, each seam takes 33 sc per square it runs along, and border Round 1 has 66 times (squares across + squares down), plus 4. The next two rounds add 8 each. The king gets heavy on your lap, so work its border at a table.
Flat squares, tidy color changes and 784 ends to tame
- Fix cupping or ruffling early. My first granny squares curled up like little bowls. If yours do, the corners are too tight: loosen the ch 2 or go up half a hook size. If the edges wave, look for an extra cluster.
- Check every finished square. You want 8 clusters per side with 7 ch-1 spaces between them. Fix a missing cluster now, not after seaming.
- Spread out your joins. Join each new color in a different corner so the small join bumps don’t pile up in one spot.
- Crochet over your tails. Every round gets its own color, so each square leaves 16 tails, which is 784 for the queen. Lay the two tails from each join along the tops of the stitches and work your clusters over them for a few inches. Weave in the rest every few squares, not all at the end.
- Block before you join. Mist or wet each square, pin it to 12 × 12 in (30.5 × 30.5 cm) on a towel or foam mat, and let it dry. Matching squares give straight seams.
- Lay out the whole grid first. Spread all 49 squares on the bed and take a photo. Swapping two now takes a second.
- Keep the seams soft. If your sc seams pucker, use a hook half a size larger just for joining.
US crochet terms
The pattern
Materials
- Yarn: bulky weight (#5) acrylic or wool-acrylic blend, about 3,450 yd (3,155 m) in total, each color from a single dye lot
- Cream: about 1,250 yd (1,143 m)
- Forest (dark green): about 950 yd (869 m)
- Sage (medium green): about 600 yd (549 m)
- Mushroom (taupe): about 400 yd (366 m)
- Pale Sage (light green): about 250 yd (229 m)
- For example, with skeins of about 150 yd (137 m): 9 Cream, 7 Forest, 4 Sage, 3 Mushroom, 2 Pale Sage
- Hook: 6.5 mm (US K-10.5)
- Optional: a hook half a size larger (7 mm) for the seams
- Yarn needle, scissors, measuring tape, rustproof pins, and a towel or foam mat for blocking
Gauge
- Rounds 1–3 of the square = about 5 1/2 in (14 cm) across
- One finished square (8 rounds) = 12 in (30.5 cm) square, after blocking
- Make one full square to check. If it’s larger than 12 in, try a smaller hook; if it’s smaller, try a larger one.
Finished size
- About 87 × 87 in (221 × 221 cm) with the border, with squares blocked to 12 in (30.5 cm)
- Joined squares before the border: about 84 × 84 in (213 × 213 cm)
Abbreviations
- ch chain
- dc double crochet
- hdc half double crochet
- sc single crochet
- sl st slip stitch
- sp(s) space(s)
- st(s) stitch(es)
- rep repeat
Notes
- A cluster is 3 dc worked in the same sp.
- On the square, the ch 3 at the start of each round counts as 1 dc. On the border, the ch 1 at the start of each round does not count as a st.
- Fasten off at the end of every square round and join the next color in a ch-2 corner sp. Using a different corner each time spreads out the joins.
- Round 1 has 1 cluster per side, Round 2 has 2, and so on: Round 8 has 8 clusters per side (32 clusters, 96 dc).
- Square colors, Rounds 1 to 8:
- Square A (make 25): Cream, Pale Sage, Mushroom, Forest, Cream, Sage, Forest, Cream
- Square B (make 24): Forest, Sage, Cream, Pale Sage, Forest, Mushroom, Sage, Cream
- To join with sc: place a slip knot on your hook, insert the hook where indicated and work a sc.
- Work over the tails of each new join as you go to save weaving time.
- Any grid of 12 in squares works. Each seam has 33 sc per square it runs along. Border Round 1 has 66 × (squares across + squares down) + 4 sc; Rounds 2 and 3 each add 8 hdc.
Instructions
Square (make 25 Square A and 24 Square B)
- Round 1: With the Round 1 color, ch 4, sl st in first ch to form a ring. Ch 3 (counts as dc), 2 dc in ring, ch 2, [3 dc in ring, ch 2] 3 times. Join with sl st to top of ch-3. Fasten off. (4 clusters: 12 dc, 4 ch-2 sps)
- Round 2: Join the next color with sl st in any ch-2 corner sp. Ch 3, (2 dc, ch 2, 3 dc) in same sp, *ch 1, (3 dc, ch 2, 3 dc) in next ch-2 sp; rep from * 2 more times, ch 1. Join with sl st to top of ch-3. Fasten off. (8 clusters: 24 dc, 4 ch-1 sps)
- Round 3: Join the next color with sl st in any ch-2 corner sp. Ch 3, (2 dc, ch 2, 3 dc) in same sp, *ch 1, 3 dc in next ch-1 sp, ch 1, (3 dc, ch 2, 3 dc) in next ch-2 sp; rep from * 2 more times, ch 1, 3 dc in next ch-1 sp, ch 1. Join with sl st to top of ch-3. Fasten off. (12 clusters: 36 dc, 8 ch-1 sps)
- Rounds 4–8: Join the next color with sl st in any ch-2 corner sp. Ch 3, (2 dc, ch 2, 3 dc) in same sp, *[ch 1, 3 dc in next ch-1 sp] across to next corner, ch 1, (3 dc, ch 2, 3 dc) in next ch-2 sp; rep from * 2 more times, [ch 1, 3 dc in next ch-1 sp] across to end, ch 1. Join with sl st to top of ch-3. Fasten off. (Round 4: 16 clusters, 48 dc. Round 5: 20 clusters, 60 dc. Round 6: 24 clusters, 72 dc. Round 7: 28 clusters, 84 dc. Round 8: 32 clusters, 96 dc, 28 ch-1 sps)
- Blocking: Wet or mist each square, pin it to 12 × 12 in (30.5 × 30.5 cm) and let it dry. Weave in any remaining ends.
Layout
- Grid: Lay out the squares in 7 rows of 7, like a checkerboard. Rows 1, 3, 5 and 7: A, B, A, B, A, B, A. Rows 2, 4 and 6: B, A, B, A, B, A, B.
Joining
- Horizontal seams: With Cream, hold the first square of Row 1 and the first square of Row 2 with wrong sides together and edges matching. Working through both layers, join with sc in the corner ch-2 sps, sc in each dc and ch-1 sp across (31 sc), sc in the next corner ch-2 sps. *Hold the next pair of squares in the same 2 rows together, sc in their corner ch-2 sps, sc in each dc and ch-1 sp across, sc in the next corner ch-2 sps; rep from * across. Fasten off. (231 sc: 33 sc per pair of squares) Join Row 2 to Row 3 the same way, and continue until all 6 horizontal seams are done.
- Vertical seams: Fold the blanket along the line between the first and second columns of squares, wrong sides together, and join the same way along the full length, working 33 sc per pair of squares and crossing the horizontal seams as you go. Fasten off. (231 sc) Rep for the remaining 5 vertical seams.
Border
- Round 1: With right side facing (the side with the raised seams), join Forest with sl st in the ch-2 sp at any outer corner of the blanket. Ch 1, 3 sc in same sp (corner). *Sc in each dc and ch-1 sp across the first square (31 sc), [sc in corner ch-2 sp of same square, sc in corner ch-2 sp of next square, sc in each dc and ch-1 sp across (31 sc)] 6 times, 3 sc in outer corner ch-2 sp (corner); rep from * 3 more times, omitting the last corner. Join with sl st to first sc. (928 sc: 229 sc between corner groups on each side)
- Round 2: Ch 1, do not turn. Hdc in same st as join, 3 hdc in next sc (corner), *hdc in each sc to center sc of next corner, 3 hdc in center sc; rep from * 2 more times, hdc in each remaining sc. Join with sl st to first hdc. (936 hdc)
- Round 3: Ch 1, do not turn. Hdc in same st as join and in next hdc, 3 hdc in next hdc (corner), *hdc in each hdc to center hdc of next corner, 3 hdc in center hdc; rep from * 2 more times, hdc in each remaining hdc. Join with sl st to first hdc. (944 hdc)
- Finishing: Fasten off and weave in all ends.
Washing a queen-size bulky granny with cream seams
Follow the yarn labels, and go by the most delicate one if you mixed brands. Most bulky acrylics can be machine washed cold on a gentle cycle, but a bulky queen blanket is a big load: a front-loader or a large laundromat washer is safer than a small top-loader, whose agitator tugs at the seams. A wool blend wants a cool hand wash in the bathtub. Squeeze the water out in sections, never wring.
Watch the first wash. Forest sits right next to cream in every square, and a dark dye that bleeds will tint the seams, so use cold water and a color-catcher sheet the first time or two. Dry acrylic on low heat or flat over a clean sheet; dry wool flat, turning it once so the center dries.
Dab spills on the cream with cool water and a drop of mild soap. After washing, weave back any tail that has worked loose.
Green Mountain questions from first-time granny square makers
How many squares do I need for a granny square blanket on a queen bed?
This pattern uses 49 squares of 12 in (30.5 cm), which gives about 87 × 87 in (221 × 221 cm) with the border. On a standard queen mattress, it covers the top with roughly a foot of drop on each side. For a longer drop, go to 8 × 8 (64 squares).
Why does my square twist into a slight spiral?
Granny squares lean slightly in the direction you work, and joins stacked in one corner make it worse. Moving each join helps, and blocking to a true 12 in square straightens the rest.
Can I make the squares in worsted yarn instead?
You can, but the squares come out smaller, probably around 8 to 9 in after eight rounds with a 5 mm hook. Make one square, measure it, and divide the width you want by your square size to find how many squares go in each row.
Do I really have to fasten off after every round?
In this colorway, yes, since every round changes color. If you ever plan two rounds of one color in a row, slip stitch over to the next corner space instead of cutting.
Can I join the squares as I go instead of seaming them?
You can join as you go on Round 8, linking each new square to its neighbors through the spaces. It’s flatter, but you lose the raised cream seams that give this blanket its quilted look, and seaming afterward is more forgiving on a first granny blanket.
Quick recap
- Make one trial square with a 6.5 mm (K-10.5) hook and check that it measures 12 in (30.5 cm).
- Make 25 Square A and 24 Square B, 8 rounds each, always ending with a cream round.
- Block the squares and lay them out in a 7 × 7 checkerboard.
- Join them with 6 horizontal and 6 vertical cream sc seams of 231 sc each.
- Work 3 rounds of Forest border (928 sc, 936 hdc, 944 hdc) and weave in the ends.
I hope this granny square blanket ends up on a bed you love climbing into once the leaves turn. If a cluster count stops adding up, or you’d like a size I haven’t listed, send me a note and we’ll sort it out together.