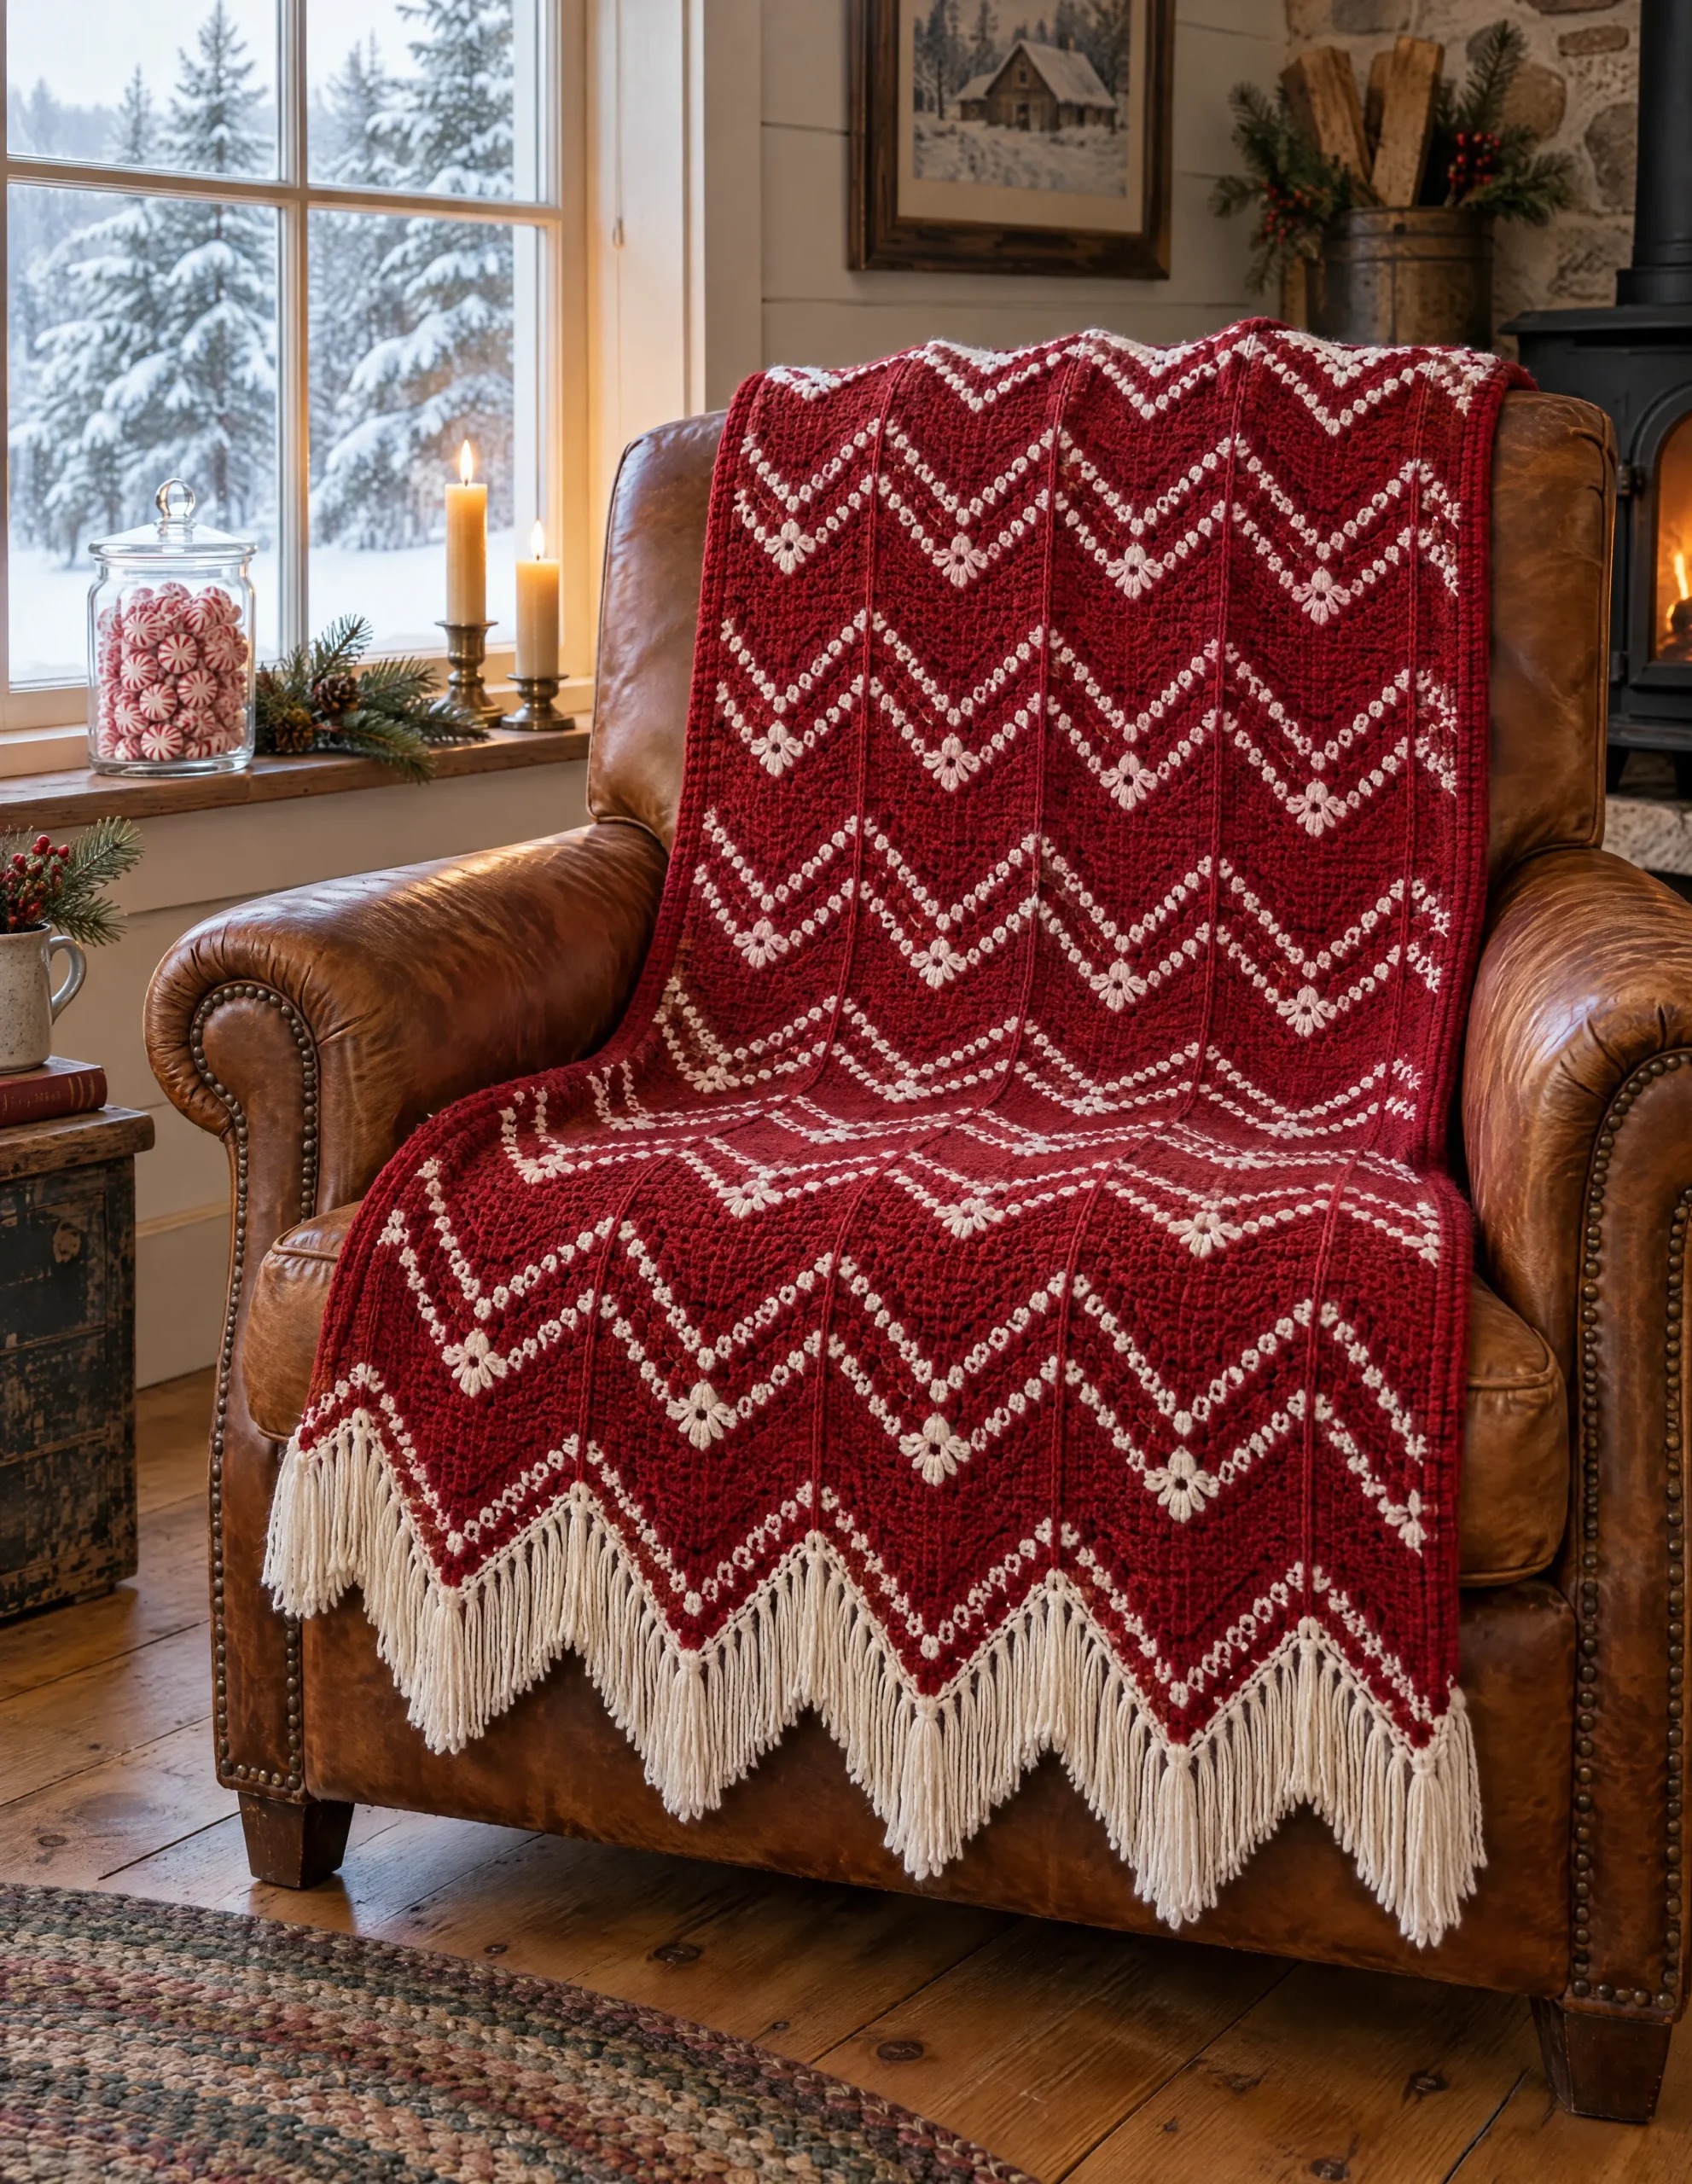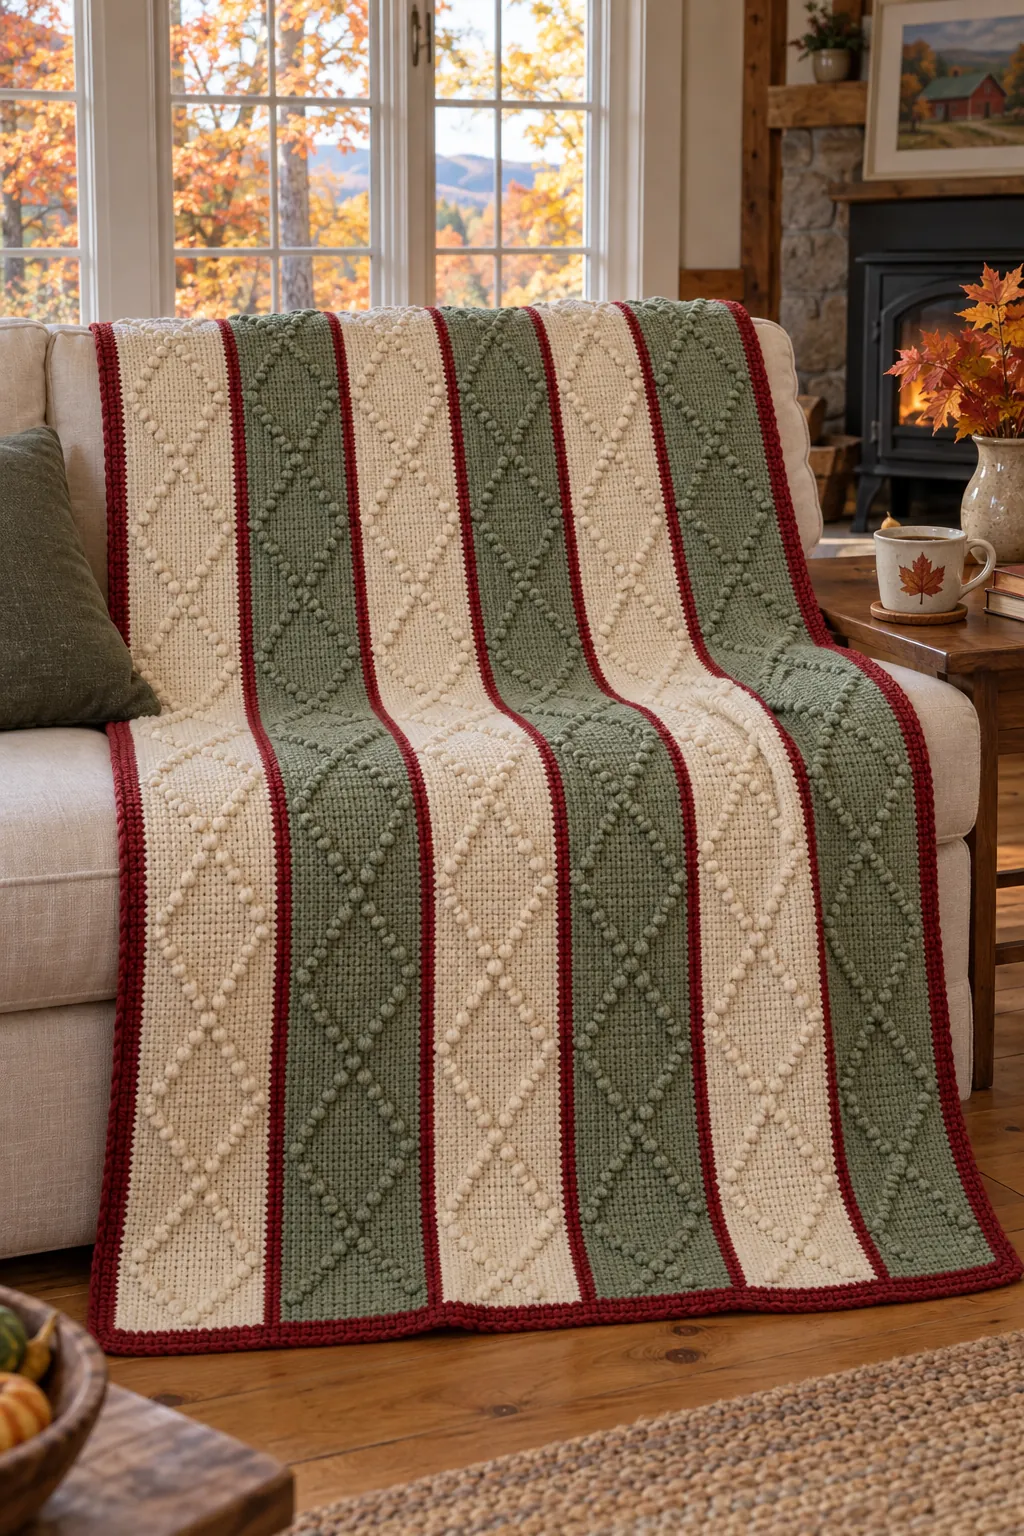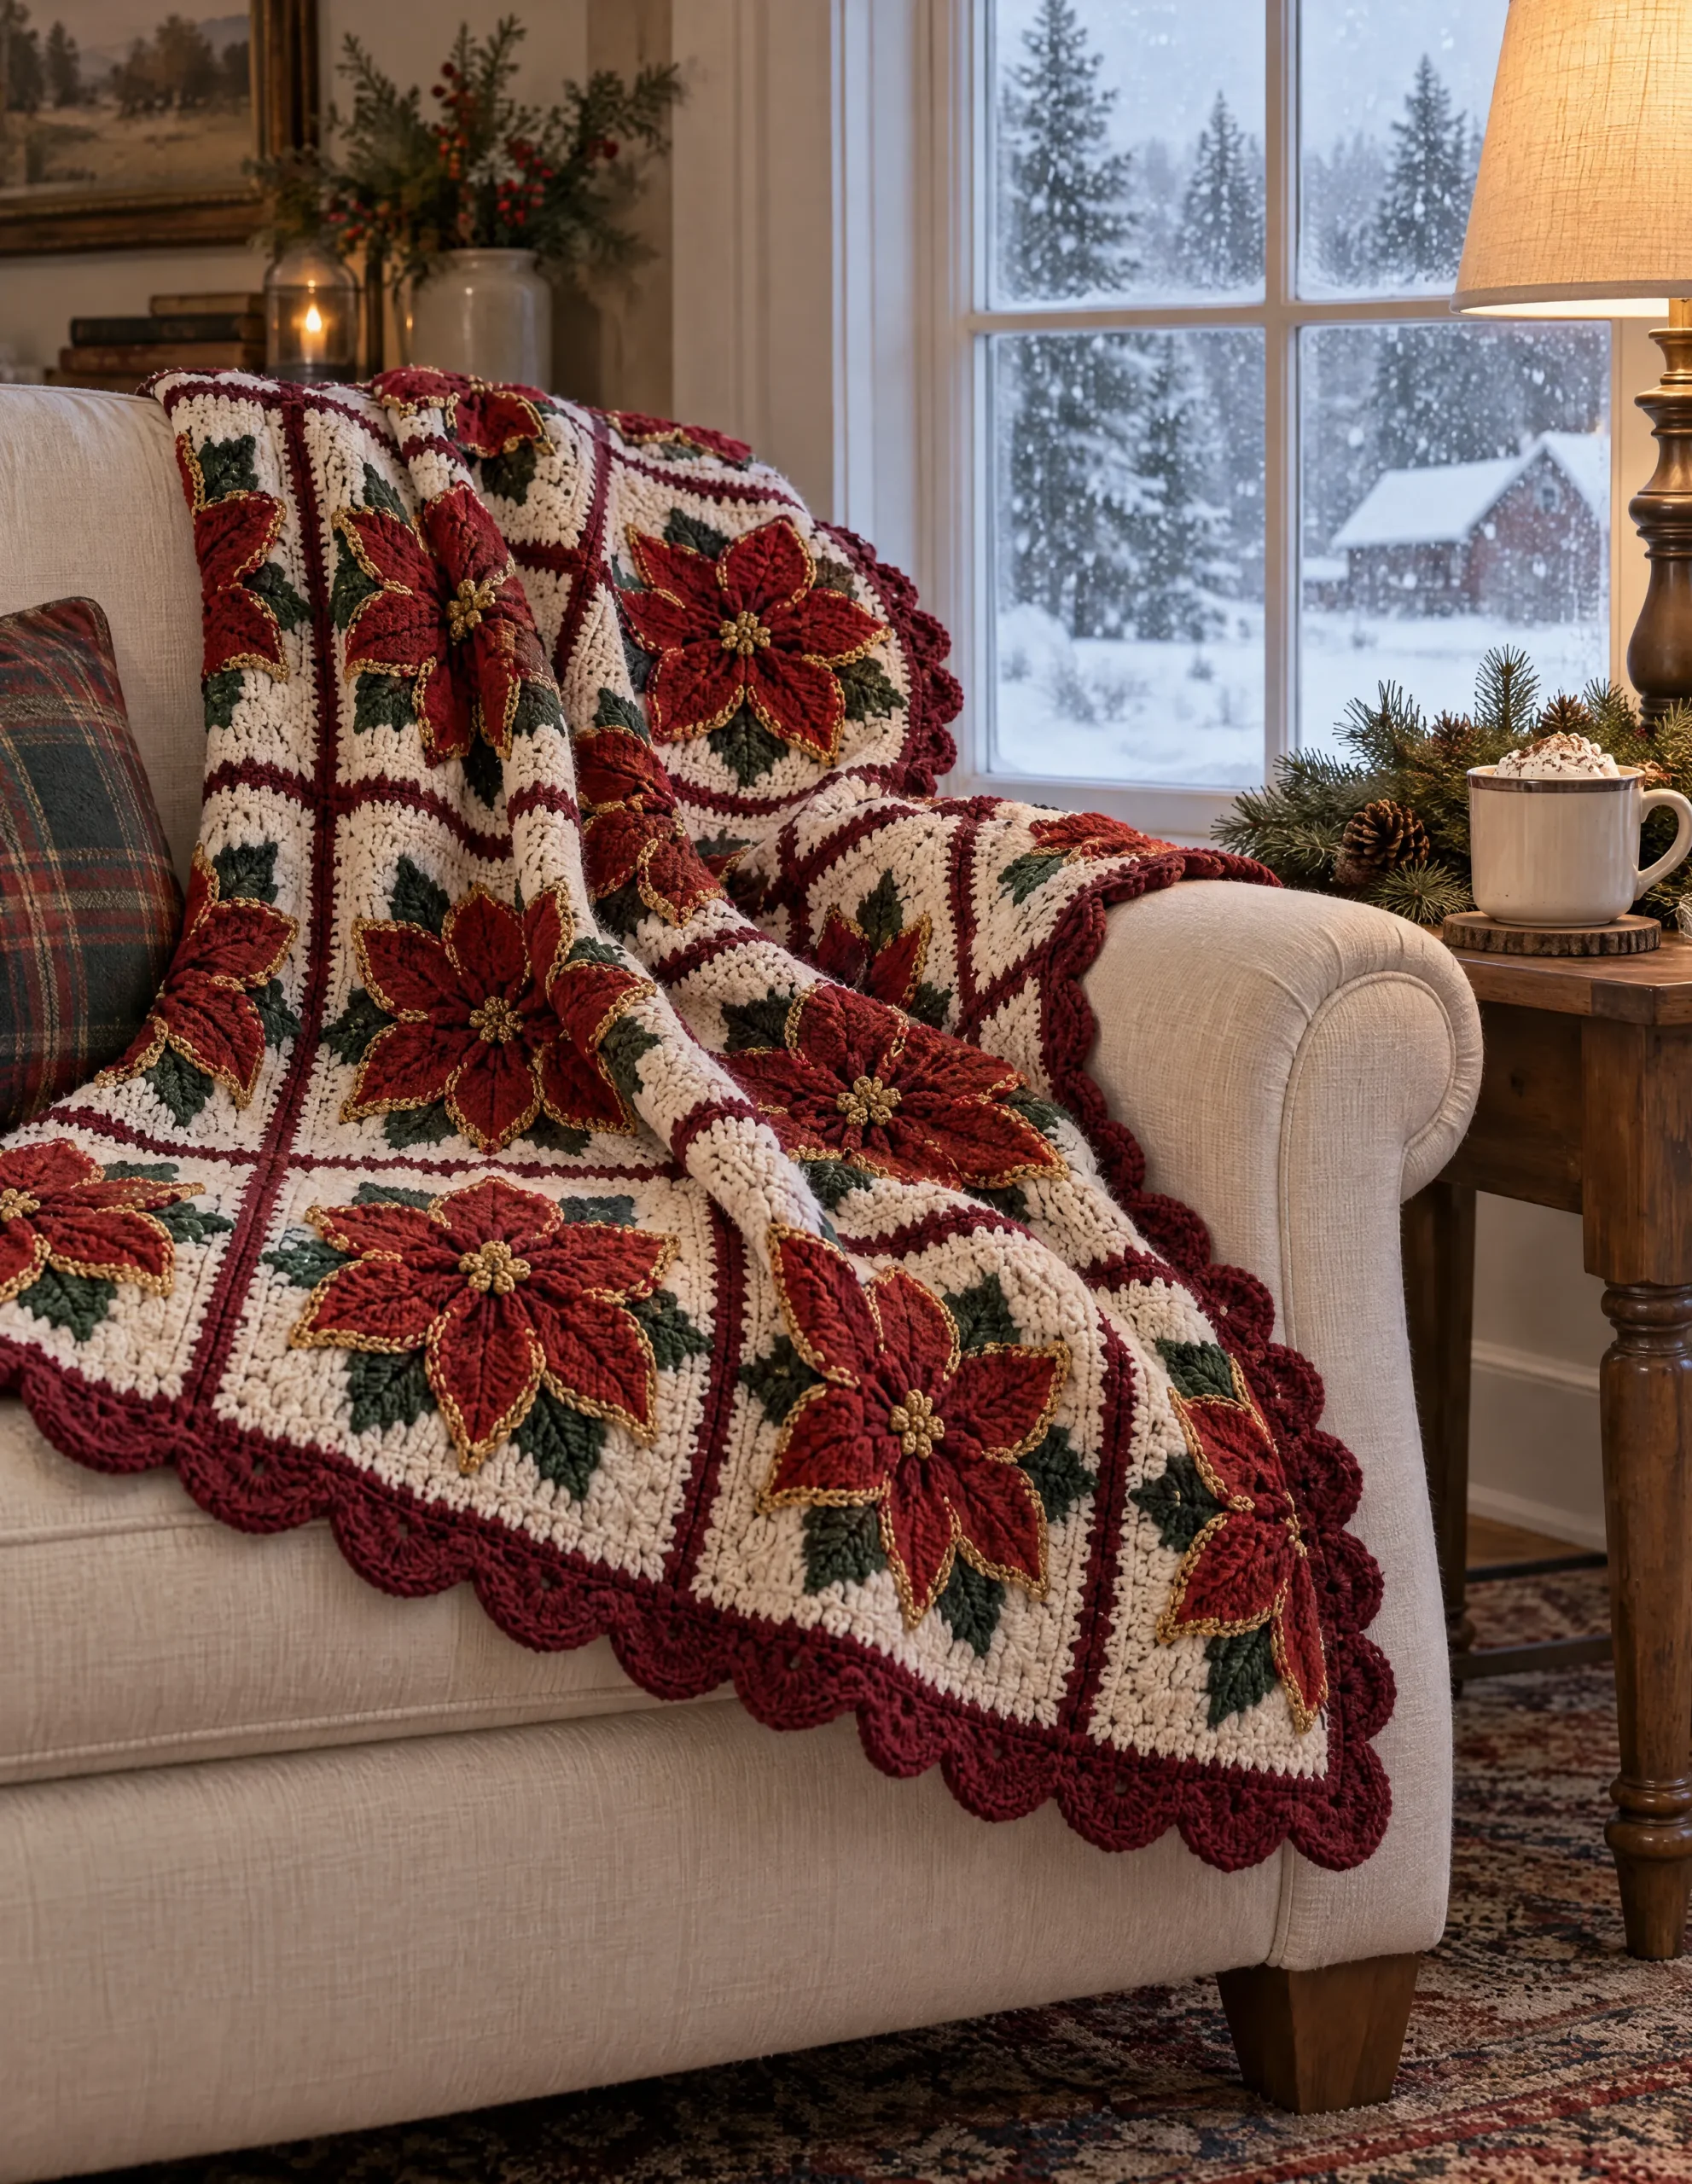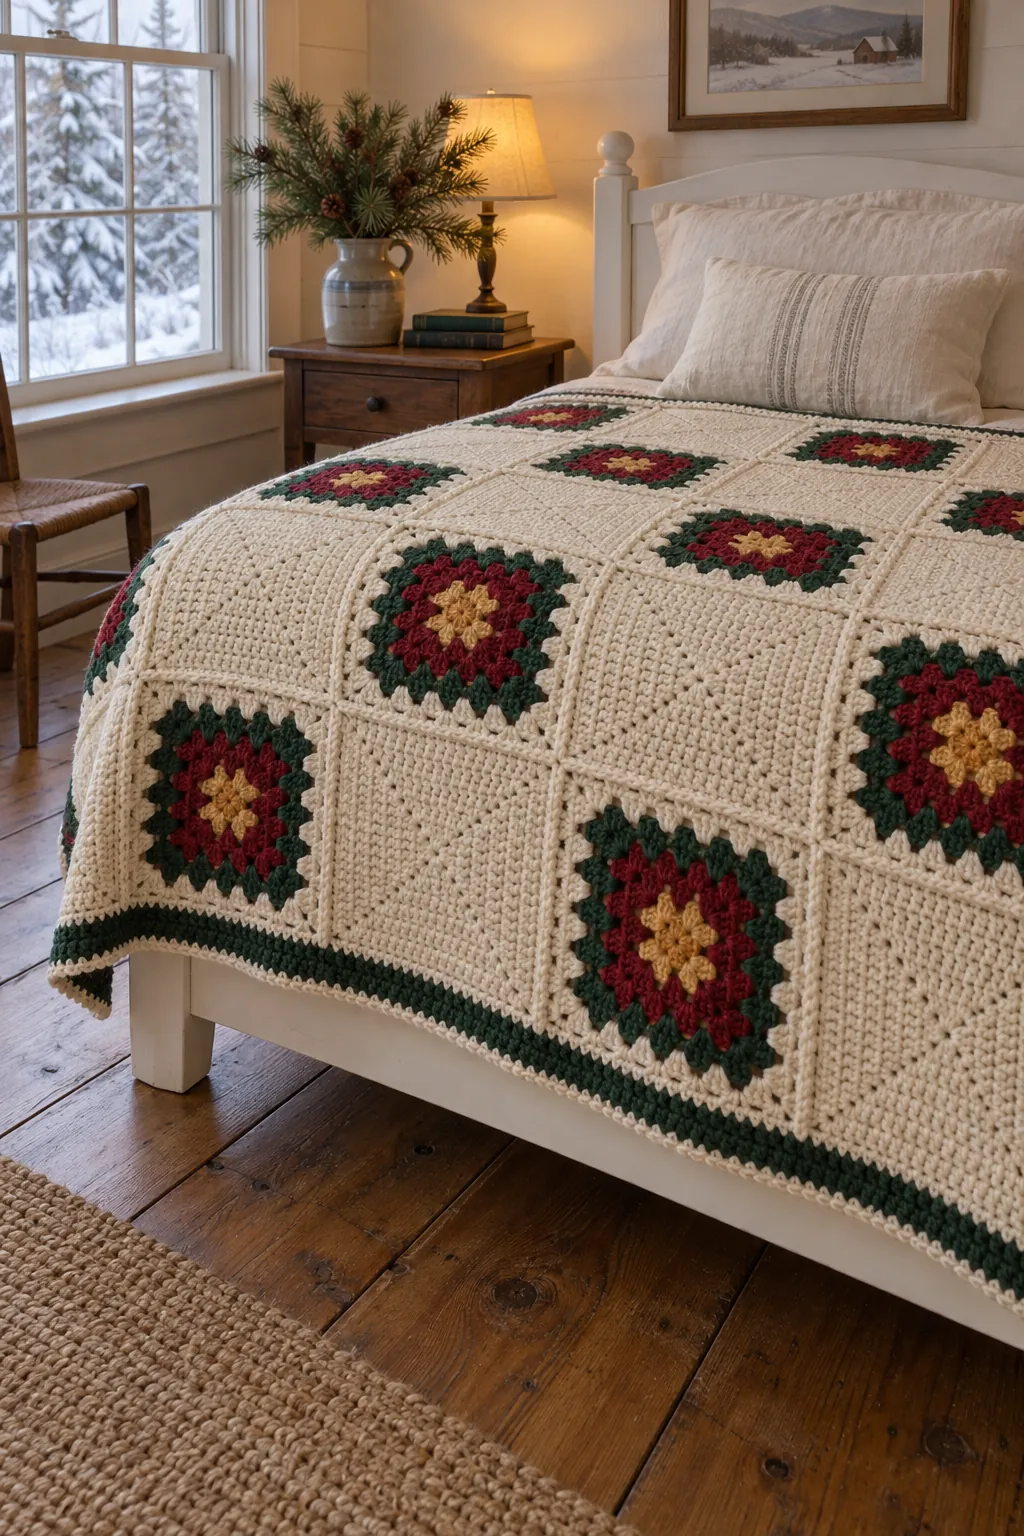
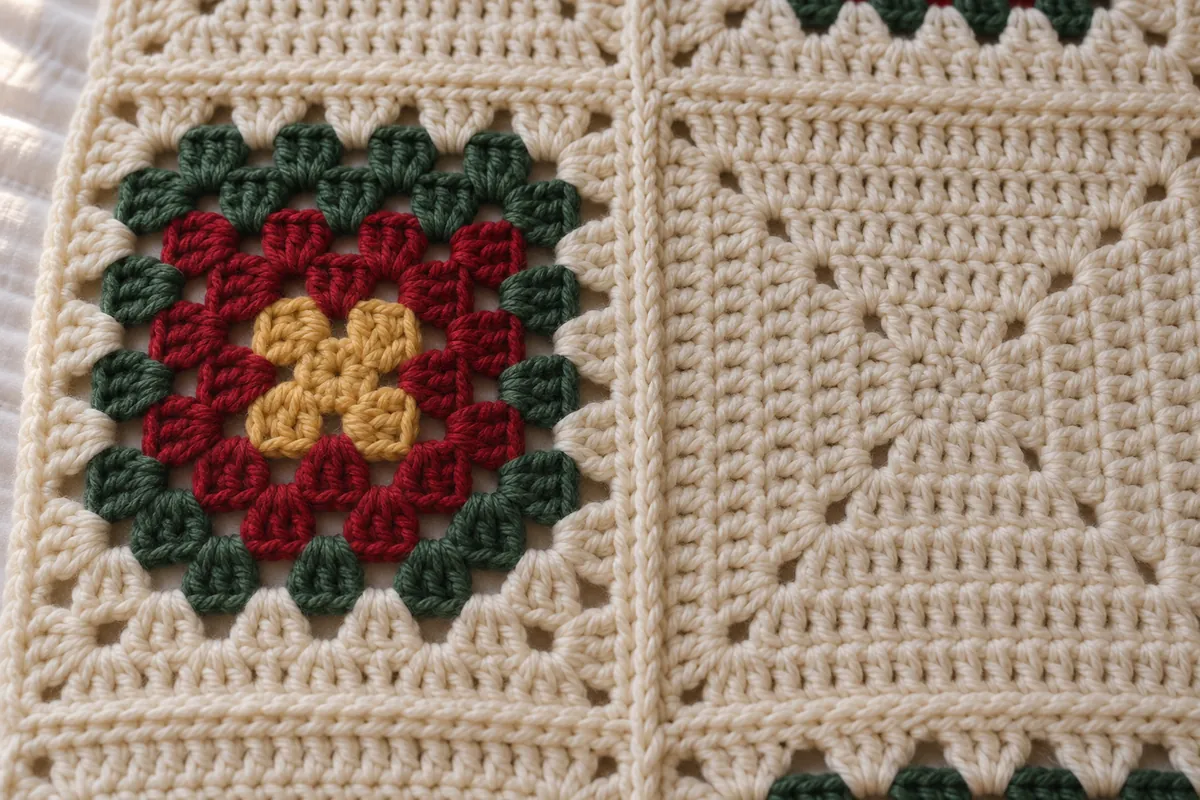
Picture the weekend after Thanksgiving: this coverlet comes out of the cedar chest and goes onto the guest bed, and December has started. It’s a Christmas granny square blanket in worsted yarn: granny squares with a honey center and bands of cranberry and spruce, set like a checkerboard between plain cream squares. The cream gives the colored squares room to breathe, so the bed looks festive without shouting.
The pattern is written for a twin bed, about 65 1/2 × 89 1/2 in (166 × 227 cm). That’s 88 squares of 8 in (20 cm), joined with a flat slip stitch seam and finished with a narrow border in spruce and cream. It’s a big project. Each square is only seven rounds, though, so one fits into a holiday movie, and the throw and queen sizes below use exactly the same squares.
Is this Christmas granny square blanket a good next step after your first granny?
The squares use the chain and the double crochet, and the last border round is single crochet. You’ll also use slip stitches to close rounds and to seam: push the hook into the stitch, catch the yarn, and pull it straight through everything on the hook.
It’s rated Intermediate. Each granny holds four colors, so you start a new color three times inside every square, the seams cross where four squares meet, and 88 squares have to come out the same size.
There are two kinds of square. Square A is a classic granny: groups of 3 double crochets worked into spaces, with a chain 1 between groups along the sides and a chain 2 at each corner. Every round adds one group to each side, so Round 7 has 7 groups per side. Square B is solid. You double crochet into every stitch and put (2 dc, ch 2, 2 dc) into each corner, which adds 4 stitches per side each round.
After seven rounds, both squares have exactly 27 stitches along each side between the corner spaces (on Square A, the chain-1 spaces count). That shared number is what lets a lacy square and a solid one sit side by side with straight seams.
The flat slip stitch join may be new to you. The two squares lie side by side, right sides up, and you slip stitch through the back loops of the facing stitches with the yarn held underneath. It leaves a thin raised line of cream on the front.
The card uses short forms like (2 dc, ch 2, 2 dc) and [ ] until you reach the corner. If they still look like a secret code, the Beginner Guide explains how to read a crochet pattern.
A worsted yarn that keeps its cranberry off the cream
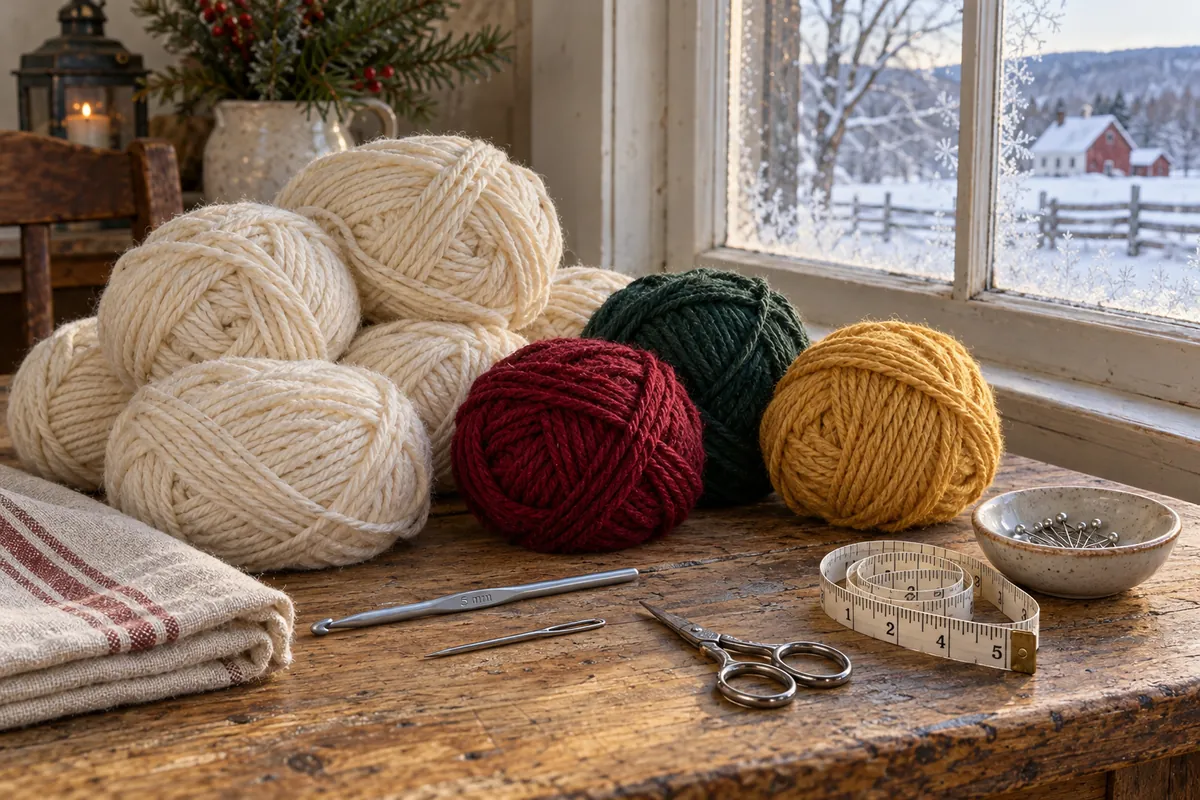
Look for a 4 and the word “worsted” on the label. Most worsted labels suggest a hook between 4.5 and 5.5 mm, and the pattern uses 5 mm (US H-8). Acrylic or a wool-acrylic blend is the practical choice here. A finished twin weighs about 4 1/2 lb (2 kg), so it needs to go through a washing machine. Pure wool means hand washing, and cotton stretches under that weight.
Cream is the yarn to plan around: about 3,200 yd (2,926 m) for the twin, so 16 balls of 200 yd. Buy them all at once, from one dye lot. Cream lots drift more than you’d expect, and a slightly yellower batch shows up on a solid square like a coffee ring.
Red is the most likely to bleed. Wet a few inches of cranberry, wrap it in a scrap of cream and let it dry. A pink stain means a different red, or a color-catcher sheet in every wash.
If you swap yarns, count yards instead of balls. Any #4 yarn works if your squares match the gauge. Make one Square A and one Square B first. If both block to 8 in (20 cm), you have your gauge, and both squares go into the blanket.
How cranberry, spruce and honey share each granny
Honey is a single round at the heart of each granny, a small warm spark that takes only 90 yd (82 m) for the whole twin. Cranberry and spruce trade places from square to square. In A1, two rounds of cranberry sit inside two rounds of spruce. In A2, it’s the other way around. Odd rows use A1 and even rows use A2, so the granny squares that touch at the corners never match.
Every granny ends with two rounds of cream. Since Square B is cream too, cream meets cream at each seam, and the colored centers float on a soft field instead of forming a grid of hard edges.
Some other combinations, listed as main color, Rounds 2 to 5 pair, and center:
- Candlelight: cream; burgundy and olive; old gold.
- Snowy Pine: white; pine green and silver gray; pale blue.
- Gingerbread: oatmeal; rust and chocolate brown; cream.
- Winter Cabin: cream; denim blue and sage; mustard. It works well past January.
Before you buy, take a black-and-white photo of the two band colors side by side. If they turn into the same gray, the A1 and A2 swap will vanish.
Throw, twin or queen: the same 8 in squares in a bigger grid
There’s no foundation chain in this blanket. Every square starts with a ring of 4 chains and works 7 rounds, so changing the size only changes the grid, the seams and the border. Yardage below is an estimate with about 10% extra.
- Throw: about 49 1/2 × 65 1/2 in (126 × 166 cm). A 6 × 8 grid of 48 squares (12 A1, 12 A2, 24 B). Border: 820 dc, then 832 sc. Cream 1,760 yd, Spruce 350 yd, Cranberry 260 yd, Honey 50 yd.
- Twin (written in the pattern): about 65 1/2 × 89 1/2 in (166 × 227 cm). An 8 × 11 grid of 88 squares (24 A1, 20 A2, 44 B). Border: 1,110 dc, then 1,122 sc. Cream 3,200 yd, Spruce 610 yd, Cranberry 470 yd, Honey 90 yd.
- Queen: about 81 1/2 × 89 1/2 in (207 × 227 cm). A 10 × 11 grid of 110 squares (30 A1, 25 A2, 55 B). Border: 1,226 dc, then 1,238 sc. Cream 3,980 yd, Spruce 740 yd, Cranberry 580 yd, Honey 110 yd.
On a twin mattress (38 × 75 in), the coverlet hangs about 14 in over each side; the queen leaves roughly 10 in to spare around a 60 × 80 in mattress.
Getting 88 squares to agree with each other
Count to 27 on every side. Before blocking, check one side of each square. Square A should show 7 groups and 6 chain-1 spaces, Square B 27 double crochets. One missing group throws a seam off by 4 stitches.
Compare the two squares after Round 3. Solid double crochet often comes out a little smaller than granny rounds made by the same hands. Both squares should be about 4 in (10 cm) across at this point. If Square B is smaller, make all your B squares with a 5.5 mm (US I-9) hook.
Stack the squares by row. Once they’re blocked, make 11 stacks in seaming order and tag the top square of each with its row number. It beats hunting through a basket for the next A2.
Keep the slip stitches long. A slip stitch seam tightens without you noticing, and a tight one makes the joined row shorter than the squares. After your first horizontal seam, measure: 8 squares should still span 64 in (163 cm). If they pull in, switch to the 5.5 mm hook just for joining.
Bury the tails as you crochet. The twin has close to 480 tails. Hold the ring tail along the stitches of Round 1, and the start of each new color along the top of the round below for the first few groups. Weave each end tail into a band of its own color, where it can’t peek through the cream.
US crochet terms
The pattern
Materials
- Yarn: worsted weight (#4) acrylic or wool-acrylic blend, about 4,370 yd (3,996 m) in total, each color from a single dye lot
- Cream (main color): about 3,200 yd (2,926 m)
- Spruce (deep green): about 610 yd (558 m)
- Cranberry (deep red): about 470 yd (430 m)
- Honey (golden yellow): about 90 yd (82 m)
- For example, with balls of about 200 yd (183 m): 16 Cream, 4 Spruce, 3 Cranberry, 1 Honey
- Hook: 5 mm (US H-8)
- Optional: 5.5 mm (US I-9) hook for the seams, or for Square B if it comes out smaller than Square A
- Yarn needle, scissors, measuring tape, rustproof pins, safety pins and paper tags to label rows, a towel or foam mat for blocking
Gauge
- 14 dc and 8 rows = 4 in (10 cm) in double crochet worked flat
- Rounds 1–3 of either square = about 4 in (10 cm) across
- One finished square (7 rounds) = 8 × 8 in (20 × 20 cm), after blocking
- Make one Square A and one Square B to check. If they’re larger than 8 in, try a smaller hook; if smaller, try a larger one.
Finished size
- About 65 1/2 × 89 1/2 in (166 × 227 cm) with the border, squares blocked to 8 in (20 cm)
- Joined squares before the border: 64 × 88 in (163 × 224 cm)
Abbreviations
- ch chain
- dc double crochet
- rep repeat
- sc single crochet
- sl st slip stitch
- sp(s) space(s)
- st(s) stitch(es)
- yo yarn over
Notes
- On the squares and on border Round 1, the ch 3 at the start of a round counts as 1 dc. On border Round 2, the ch 1 does not count as a st.
- A group is 3 dc worked into the same sp.
- Square A colors (Round 1 / Rounds 2–3 / Rounds 4–5 / Rounds 6–7):
- A1 (make 24): Honey / Cranberry / Spruce / Cream
- A2 (make 20): Honey / Spruce / Cranberry / Cream
- Square B (make 44): Cream for all 7 rounds.
- Every finished square has 27 sts along each side between its corner ch-2 sps: 21 dc and 6 ch-1 sps on Square A, 27 dc on Square B. The seams and the border rely on this count.
- Work over the starting tail of each new color for the first few groups to save weaving time.
- Flat slip stitch join: lay the two squares side by side, right sides up, edges touching, with the working yarn under the squares. Insert the hook from the front through the back loop of the st on one square and the back loop of the facing st on the other, yo under the work and draw the loop up through both loops and the loop on the hook. For a ch-1 sp or a corner ch-2 sp, insert the hook into the sp.
- Other sizes use the same squares, layout rule and seams. Throw: 6 × 8 grid (12 A1, 12 A2, 24 B), border 820 dc and 832 sc, about 1,760 yd Cream, 350 yd Spruce, 260 yd Cranberry, 50 yd Honey. Queen: 10 × 11 grid (30 A1, 25 A2, 55 B), border 1,226 dc and 1,238 sc, about 3,980 yd Cream, 740 yd Spruce, 580 yd Cranberry, 110 yd Honey.
Instructions
Square A (make 24 A1 and 20 A2)
- Round 1: With Honey, ch 4 and sl st into the first ch to make a ring. Ch 3 (counts as dc), 2 dc into the ring, *ch 2, 3 dc into the ring; rep from * 2 more times, ch 2. Sl st into the top of the beginning ch-3. Fasten off. (4 groups: 12 dc, 4 ch-2 corner sps)
- Round 2: With the Rounds 2–3 color, sl st into any ch-2 corner sp. Ch 3, then 2 dc, ch 2 and 3 dc into the same sp. *Ch 1, then 3 dc, ch 2 and 3 dc into the next corner sp; rep from * 2 more times, ch 1. Sl st into the top of the ch-3. Do not fasten off. (8 groups: 24 dc, 4 ch-1 sps)
- Round 3: Sl st into each of the next 2 dc and into the corner sp. Ch 3, then 2 dc, ch 2 and 3 dc into the same sp. *Ch 1, 3 dc into the next ch-1 sp, ch 1, then 3 dc, ch 2 and 3 dc into the next corner sp; rep from * 2 more times, ch 1, 3 dc into the last ch-1 sp, ch 1. Sl st into the top of the ch-3. Fasten off. (12 groups: 36 dc, 8 ch-1 sps)
- Round 4: With the Rounds 4–5 color, sl st into any ch-2 corner sp. Ch 3, then 2 dc, ch 2 and 3 dc into the same sp. *Work [ch 1, 3 dc into the next ch-1 sp] until you reach the next corner, ch 1, then 3 dc, ch 2 and 3 dc into the corner sp; rep from * 2 more times. Work [ch 1, 3 dc into the next ch-1 sp] along the last side, ch 1. Sl st into the top of the ch-3. Do not fasten off. (16 groups: 48 dc, 12 ch-1 sps)
- Round 5: Sl st into each of the next 2 dc and into the corner sp, then work as Round 4 from “Ch 3”. Fasten off. (20 groups: 60 dc, 16 ch-1 sps)
- Round 6: With Cream, sl st into any ch-2 corner sp and work as Round 4 from “Ch 3”. Do not fasten off. (24 groups: 72 dc, 20 ch-1 sps)
- Round 7: Work as Round 5. Fasten off. (28 groups: 84 dc, 24 ch-1 sps; 7 groups per side)
Square B (make 44)
- Round 1: With Cream, work as Round 1 of Square A, but do not fasten off. (12 dc, 4 ch-2 corner sps)
- Round 2: Ch 3 (counts as a dc in the st at its base), dc in each of the next 2 dc, (2 dc, ch 2, 2 dc) in the corner sp. *Dc in each of the next 3 dc, (2 dc, ch 2, 2 dc) in the next corner sp; rep from * 2 more times. Sl st into the top of the ch-3. (28 dc: 7 per side)
- Rounds 3–7: Ch 3 (counts as a dc in the st at its base), dc in each following dc up to the next corner sp, (2 dc, ch 2, 2 dc) in the corner sp. *Dc in each dc up to the next corner sp, (2 dc, ch 2, 2 dc) in the corner sp; rep from * 2 more times, dc in each remaining dc. Sl st into the top of the ch-3. Fasten off at the end of Round 7. (Round 3: 44 dc. Round 4: 60 dc. Round 5: 76 dc. Round 6: 92 dc. Round 7: 108 dc, 27 per side)
Blocking and layout
- Blocking: Pin each square face up to 8 × 8 in (20 × 20 cm) on a towel or foam mat, spray it until damp and leave it until completely dry.
- Layout: Arrange 11 rows of 8 squares, right sides up. Odd rows (1, 3, 5, 7, 9, 11): A1, B, A1, B, A1, B, A1, B. Even rows (2, 4, 6, 8, 10): B, A2, B, A2, B, A2, B, A2.
Joining
- Horizontal seams: Lay Row 1 above Row 2. With Cream and a slip knot on the hook, start at the right-hand end. On each pair of squares, work the flat slip stitch join (see Notes) into the corner ch-2 sps, into each of the 27 sts, then into the next corner ch-2 sps (29 sl sts). Move straight on to the next pair without cutting the yarn. Fasten off at the end. (232 sl sts) Join Row 2 to Row 3 the same way, and continue until all 10 horizontal seams are done.
- Vertical seams: Give the blanket a quarter turn so the columns lie side by side. Join each pair of columns the same way along the full length, working straight across each horizontal seam without an extra st. (319 sl sts per seam; 7 seams)
Border
- Round 1: With Spruce, sl st into the ch-2 sp at any corner of the blanket. Ch 3 (counts as dc), then dc, ch 2 and 2 dc into the same sp. *Dc in each dc and each ch-1 sp along the edge to the next blanket corner, working 1 dc into each square’s corner ch-2 sp on both sides of every seam, then 2 dc, ch 2 and 2 dc into the blanket corner sp; rep from * 2 more times. Dc along the last edge in the same way. Sl st into the top of the ch-3. Fasten off. (1,110 dc: 234 on each short edge and 321 on each long edge, counting the dc on both sides of the corners; 4 ch-2 corner sps)
- Round 2: With Cream, sl st into any corner ch-2 sp. Ch 1, 3 sc into the same sp. *Sc in each dc up to the next corner sp, 3 sc into the corner sp; rep from * 2 more times, sc in each remaining dc. Sl st into the first sc. Fasten off. (1,122 sc)
- Finishing: Weave in the remaining ends through stitches of their own color. Lay the blanket flat, mist it and smooth it to about 65 1/2 × 89 1/2 in (166 × 227 cm) to dry.
Washing a twin coverlet with cranberry next to cream
For the first wash, use cold water on a gentle cycle and add a color-catcher sheet, even if your bleed test came out clean. A wool-acrylic blend should only go in if the label says machine washable, and then on the wool cycle. Skip hot water, which can set stray red into the cream.
Size is the real challenge. Wet, the coverlet weighs far more than its dry 4 1/2 lb (2 kg), so use a large-capacity washer and lift it out in your arms, not by one corner.
Acrylic can tumble on low until just damp, then finish flat across two drying racks. Dry wool blends flat the whole way. Between seasons, store it in a cotton bag rather than plastic, and fold it along different lines each year so no crease settles into one row of squares.
Holly Berry questions about grannies, solid squares and joins
Can I make this Christmas granny square blanket with granny squares only?
Yes. Replace every Square B with a granny: odd rows become all A1 and even rows all A2, so the twin takes 48 A1 and 40 A2. Seams and border stay the same, because every square still has 27 stitches per side. Plan on about 1,960 yd Cream, 1,100 yd Spruce, 930 yd Cranberry and 180 yd Honey. For an all-granny bed blanket with much bigger squares, there’s also a bulky bed-size granny in greens and taupe.
My solid squares come out smaller than my granny squares. What should I change?
Change the hook, not the pattern. Make Square B with a 5.5 mm (US I-9) hook, or ease your grip on that square only. Don’t add a round to Square B: it would jump to 31 stitches per side and no longer match the granny squares at the seams. Blocking evens out differences of about 1/4 in (6 mm), not more.
Why does every granny end with two rounds of cream?
So that every seam is cream against cream. The flat slip stitch line almost disappears, and the colored centers look like they float. If you’d like a bolder grid, work Round 7 in Spruce instead. Each granny then takes about 10 yd (9 m) more Spruce and the same amount less Cream.
Can I sew the squares together instead of using the slip stitch join?
Yes. A whipstitch in Cream through the back loops gives an even flatter seam, with no raised line on the front. Use the same counts: 29 stitches per square edge, from corner space to corner space. It’s slower than slip stitching.
How many squares would a holiday table runner take?
Twelve: a grid 2 squares wide and 6 long, with 3 A1, 3 A2 and 6 B. Use the same layout rule and border, which comes to 472 dc and 484 sc. It measures about 17 1/2 × 49 1/2 in (44 × 126 cm) and uses roughly 670 yd in all, 460 yd of it Cream.
Quick recap
- With a 5 mm (US H-8) hook, make one Square A and one Square B and check they block to 8 in (20 cm).
- Make 24 A1, 20 A2 and 44 B for the twin, and block every square to 8 × 8 in.
- Lay out 11 rows of 8: odd rows alternate A1 and B, even rows alternate B and A2.
- With Cream, work the 10 horizontal seams, then the 7 vertical seams, in flat slip stitch.
- Work one round of dc in Spruce and one round of sc in Cream, then weave in the remaining tails.
Let this Christmas granny square blanket become your own sign that December has started. If a count won’t come out right or you’d like a size between the ones here, send a note through the contact page with your square size and the bed you’re covering.