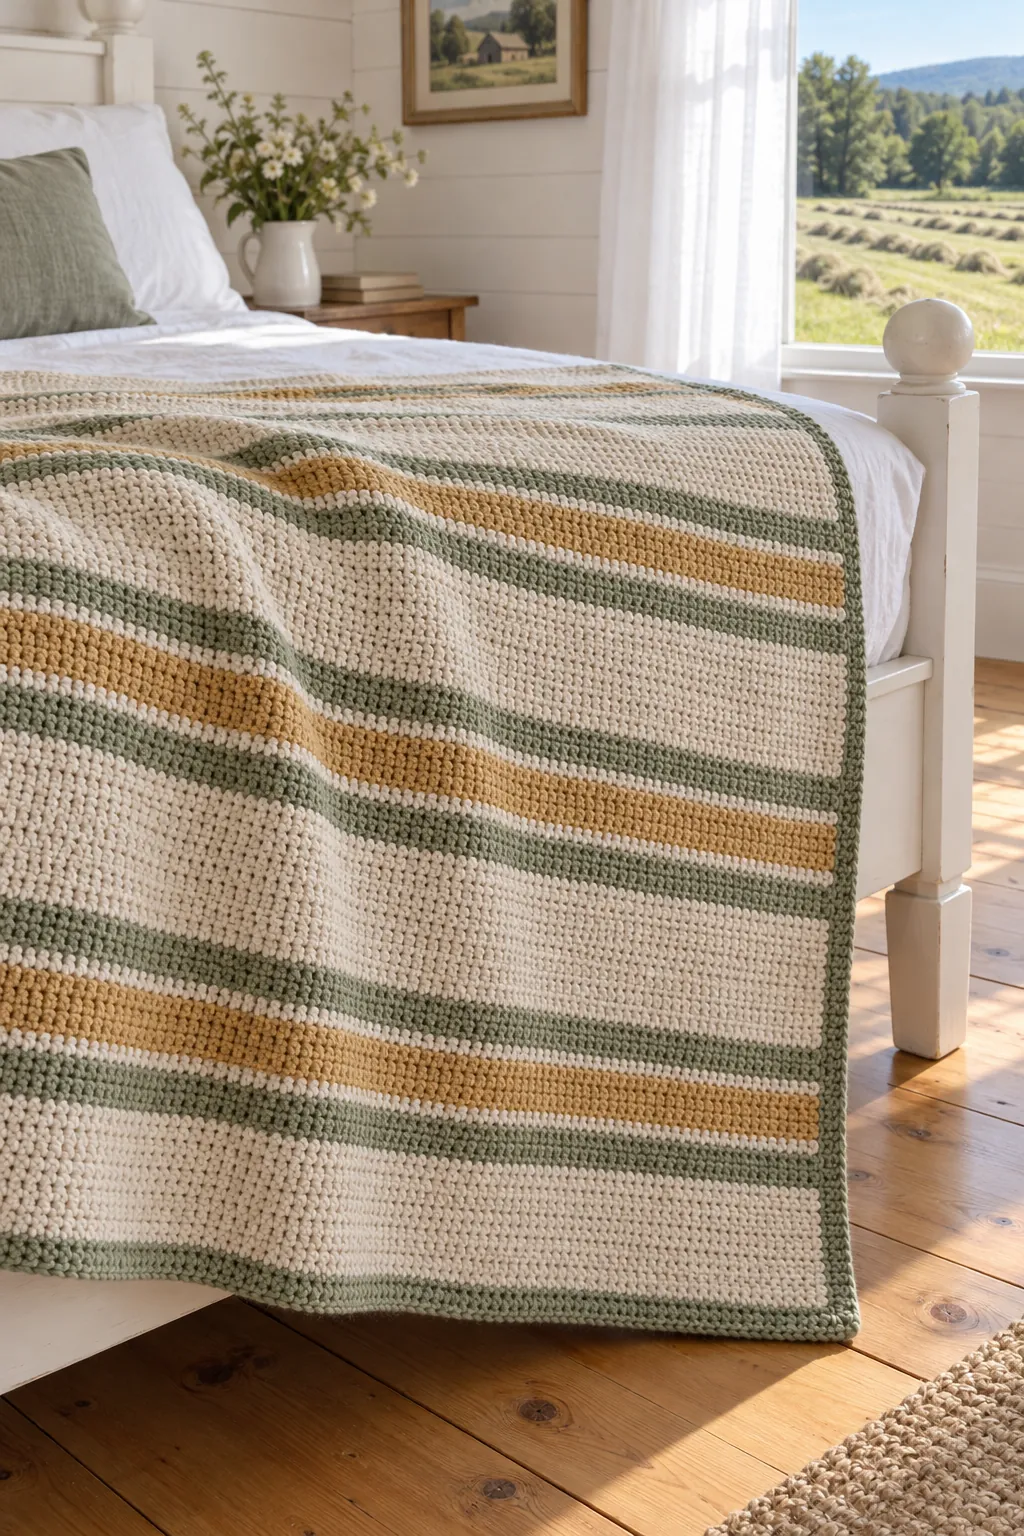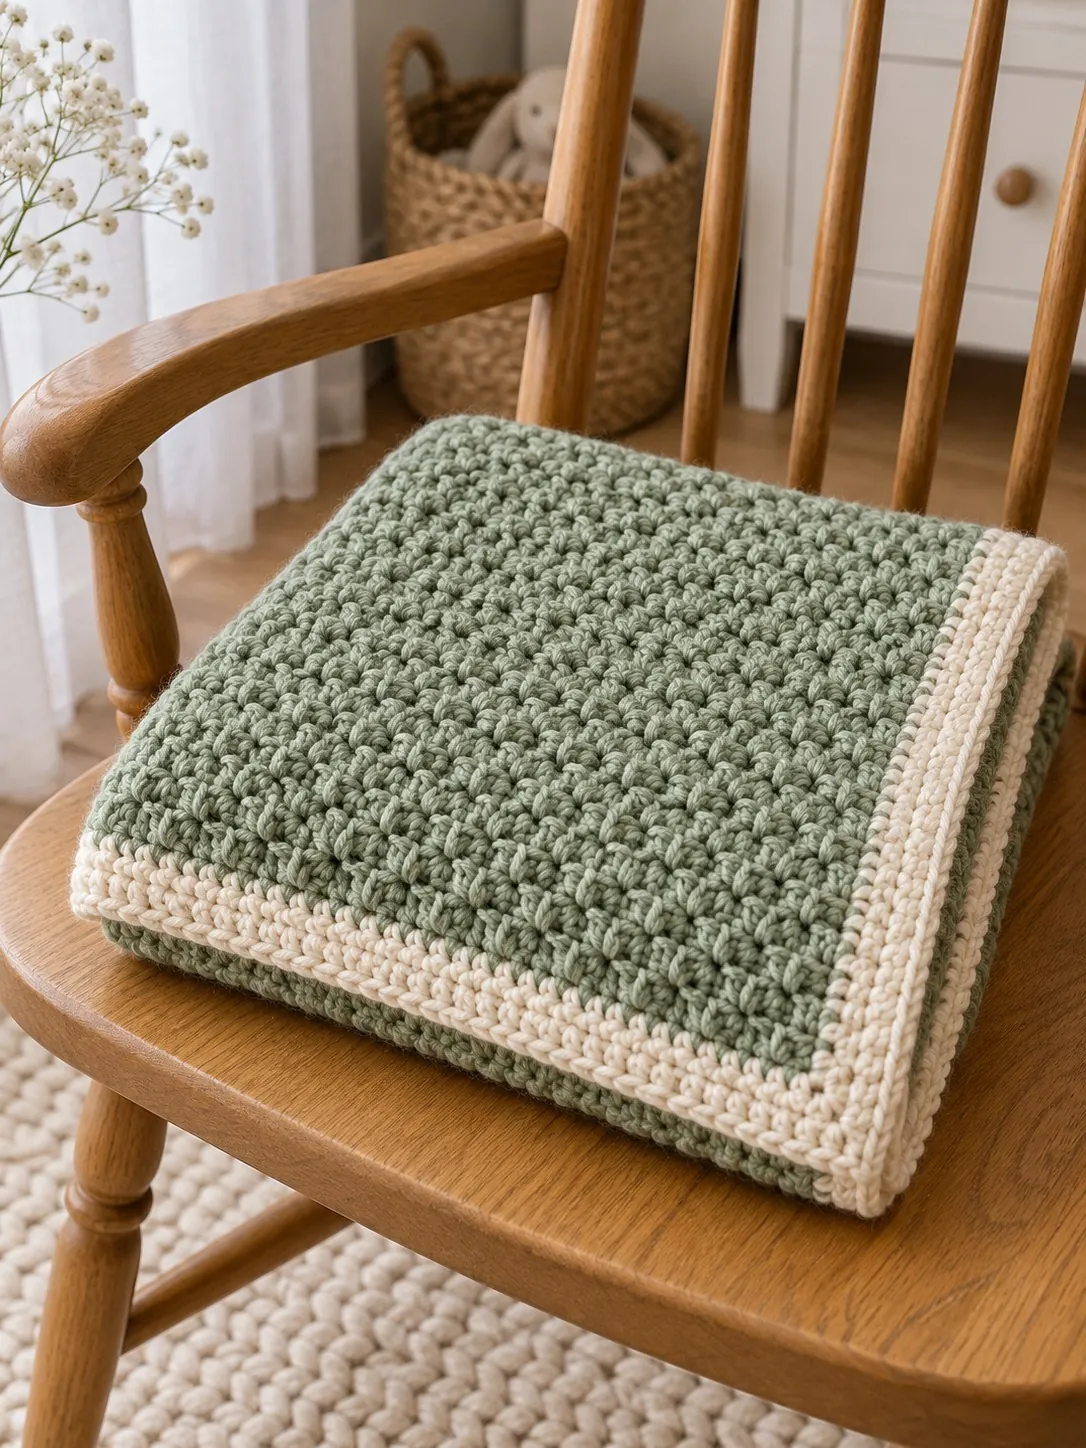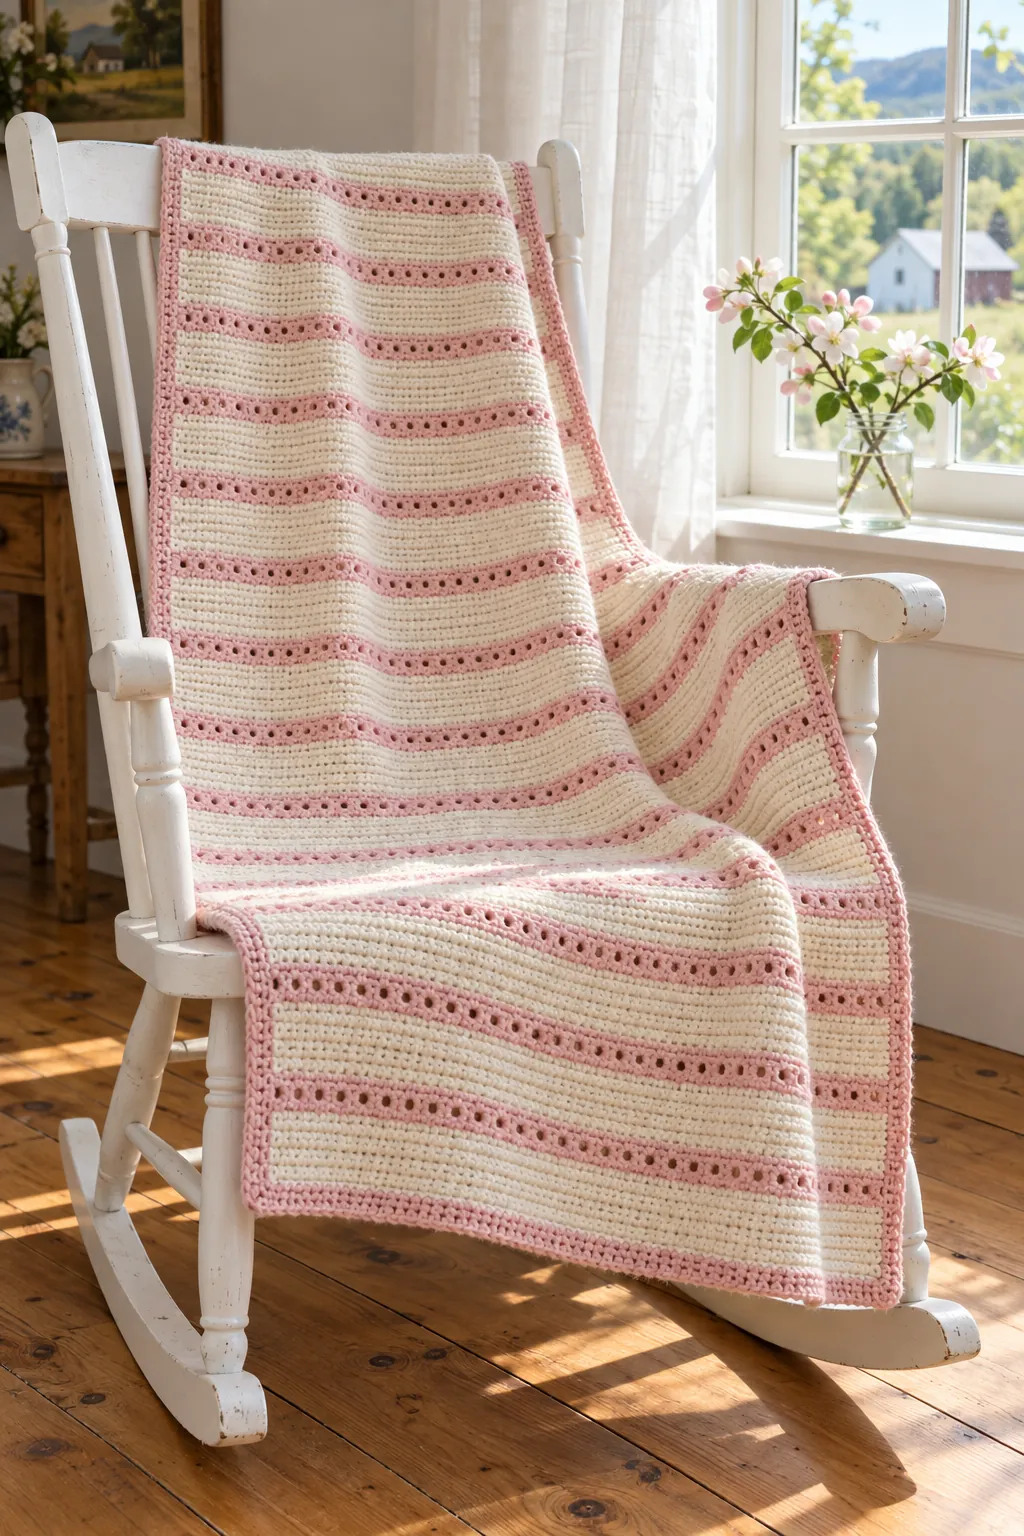
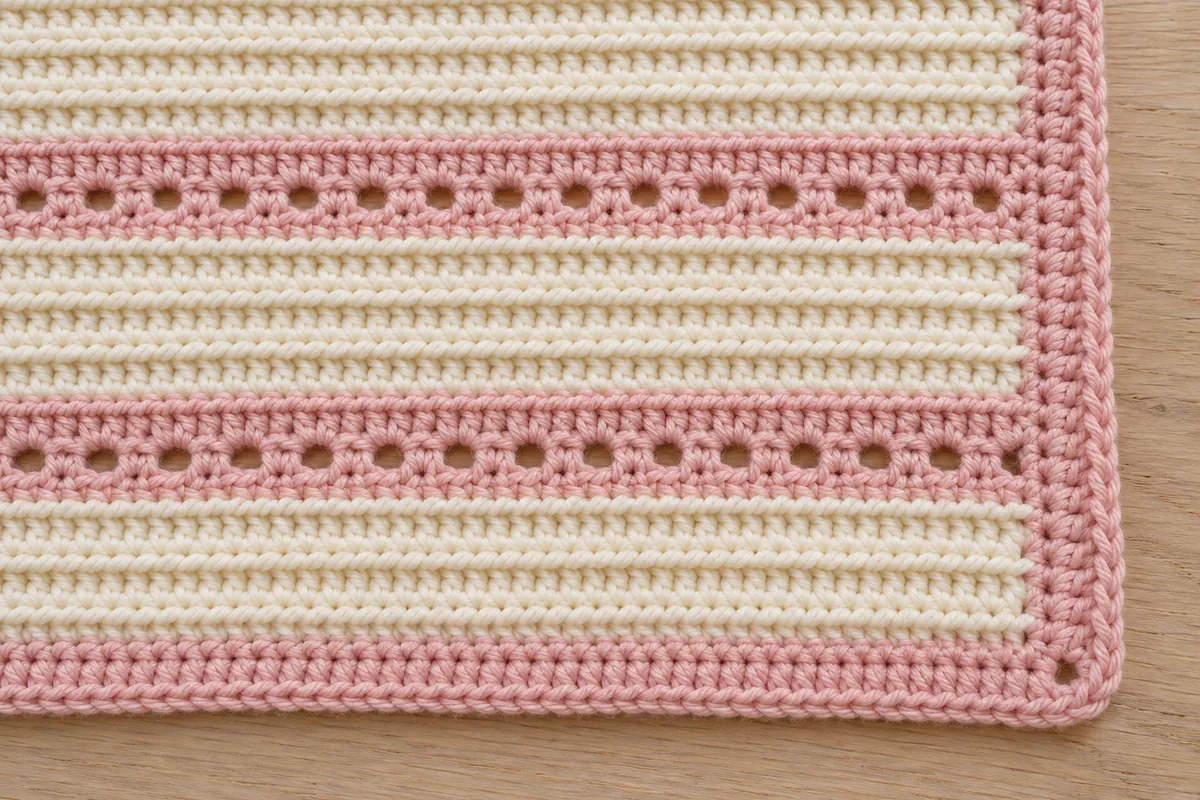
Picture a May afternoon in a Vermont orchard, when the apple trees turn pink and white in the same week and the grass underneath fills with petals. This eyelet crochet baby blanket borrows those two colors. The body is a warm buttermilk cream, worked in single crochet through the back loop only, so every row leaves a fine ridge. Every inch and a half, a narrow apple blossom stripe carries one line of small round holes.
It’s worked in a worsted cotton blend on a 5.5 mm hook, light enough for a warm stroller ride and sturdy enough for the washer. Both colors travel up the same edge, so the whole blanket leaves just four tails to weave in. The pattern comes in three sizes, from a 23 1/2 × 29 in (60 × 74 cm) pram blanket to a 36 × 47 in (91 × 119 cm) toddler blanket.
Is this eyelet crochet baby blanket a good first project?
Yes. The body uses only a chain and a single crochet, and the border adds two rounds of single crochet, each closed with a slip stitch (insert the hook, yarn over, pull through the stitch and the loop on your hook). Colors change only at row ends.
The move that may be new is working in the back loop only, written BLO. The top of a single crochet has two loops lying side by side like a flattened V. Slide your hook under only the loop farther from you. The front loop stays on the surface as a thin line, and those lines stacked row after row are the ridges.
The eyelets come from a pair of pink rows. On the eyelet row you alternate a single crochet with a chain 1, skipping the stitch under each chain, so every chain leaves a gap. On the next row you work one single crochet into each stitch and each chain-1 space, which brings you back to the full count.
If sc BLO, ch-1 sp or rep from * look like a secret code, the Beginner Guide explains how to read a crochet pattern. Keep it open beside the card for the first band. And if you’d rather work a lighter one-color body, the sage Little Fern pattern in DK yarn uses the same two stitches plus a double crochet.
A worsted cotton blend that keeps the eyelets round
Look for the number 4 on the label, the worsted symbol. A cotton and acrylic blend suits this design best. Cotton gives crisp definition, so the ridges stay sharp and the holes stay round instead of closing up. Acrylic keeps the blanket lighter, softer on a cheek, and less likely to shrink.
Plain acrylic works too, with softer, fuzzier eyelets. Skip brushed, chenille or eyelash yarns: the holes vanish into the fluff, and shedding fibers don’t belong near a baby’s face. Avoid loosely twisted yarns too, since back-loop stitches mean aiming for one thin loop again and again.
Buy each color from a single dye lot. Two cream lots can look identical in the ball and still show as a slightly different band between two pink stripes. The yardage assumes balls of about 200 yd (183 m) per 100 g; for another put-up, divide the yardage for your size by the yardage on your label and round up.
Then make a swatch: chain 22 and work 20 rows of back-loop single crochet. It should measure 6 in (15 cm) wide and 5 in (13 cm) tall. Check both, because the length comes from a row count, not a tape measure: at 15 rows per 4 in instead of 16, the stroller size grows by more than 2 in.
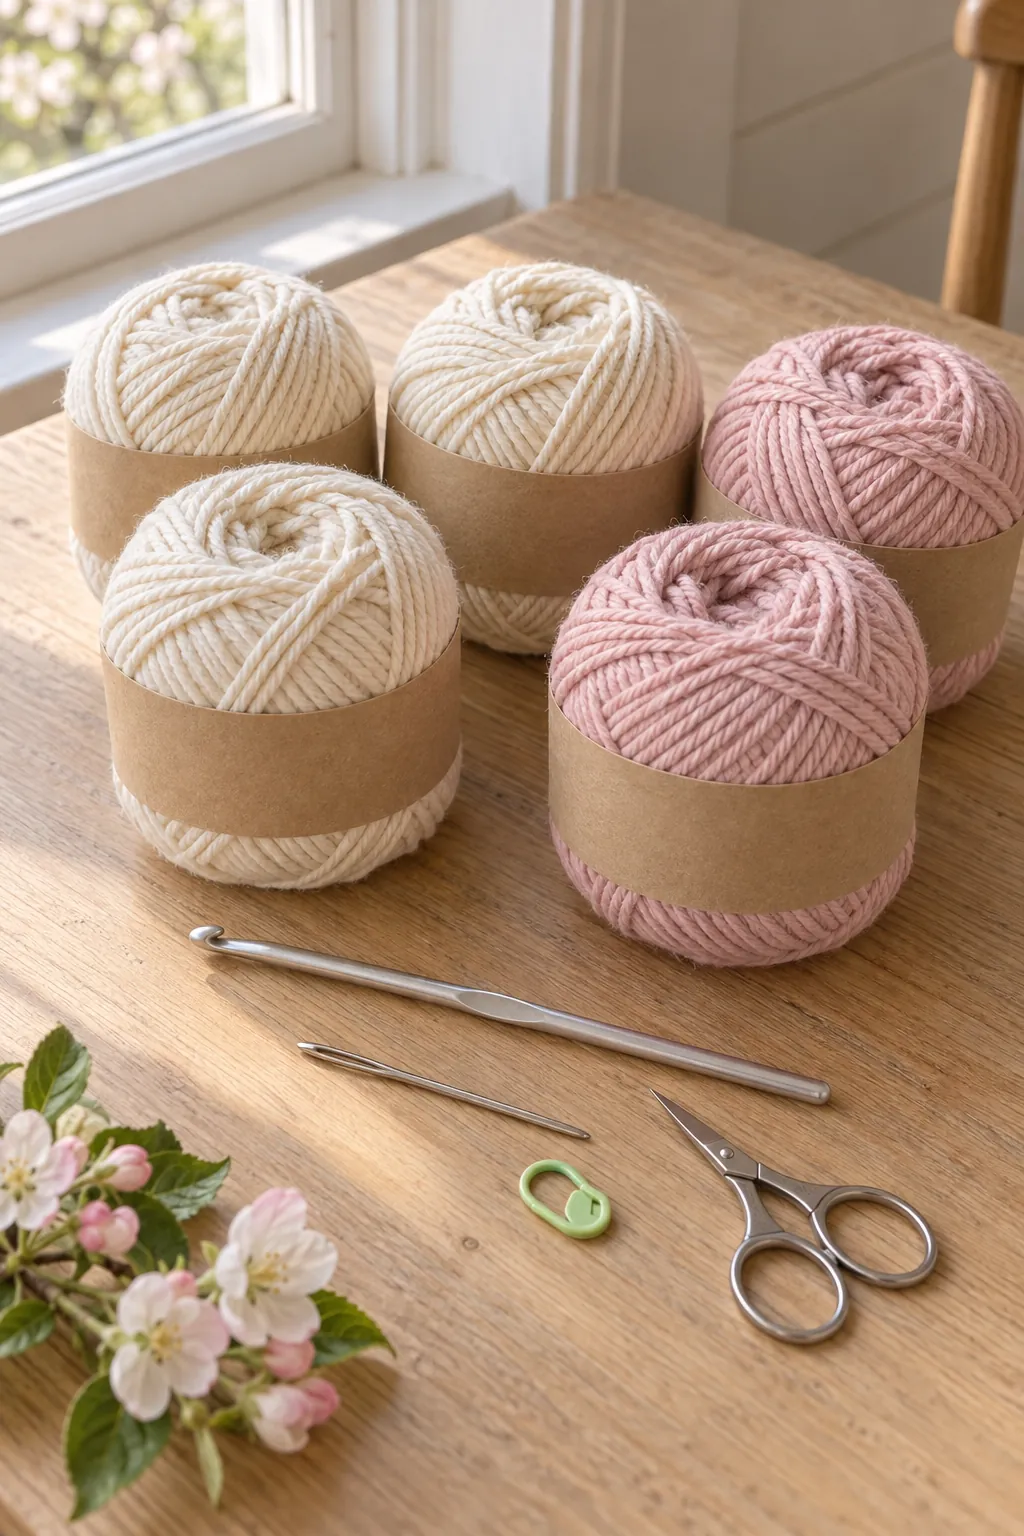
Buttermilk, apple blossom and the stripe around each line of holes
Cream is four of every six rows, so it sets the mood and takes about two thirds of the yarn. Pink makes each eyelet row and the row after it, a stripe about 1/2 in (1.3 cm) wide with a line of holes along it, then comes back for the border so stripes and edge read as one design. Other pairs with the same light-and-medium balance:
- Buttermilk and Apple Blossom: warm cream with a soft blush pink. This is the pattern colorway.
- Oatmeal and Pea Shoot: toasty beige with a pale sage green.
- Ivory and Lilac Hedge: ivory with a dusty lavender.
- Snow and Sugar on Snow: a soft white with a light honey gold, the color of maple syrup poured over spring snow.
Before you buy, set the two balls side by side and take a black-and-white photo with your phone. If they turn into the same gray, the stripes will disappear from across the room. Aim for a contrast a couple of shades deeper than the cream, never so dark that it looks harsh beside it.
Pram, stroller and toddler sizes from 14 stitches per 4 inches
All sizes use 14 sts and 16 rows over 4 in (10 cm) and the same two-round border, which adds about 1/2 in (1.3 cm) per side. The card gives all three as Pram [Stroller, Toddler]. Yardage is an estimate with about 10% extra.
- Pram, about 23 1/2 × 29 in (60 × 74 cm): ch 80, 112 rows with 18 pink stripes, border rounds of 358 and 366 sc. About 450 yd cream and 300 yd pink (750 yd, 686 m).
- Stroller, about 30 × 35 in (76 × 89 cm): ch 102, 136 rows with 22 stripes, border rounds of 444 and 452 sc. About 700 yd cream and 450 yd pink (1,150 yd, 1,052 m).
- Toddler, about 36 × 47 in (91 × 119 cm): ch 124, 184 rows with 30 stripes, border rounds of 572 and 580 sc. About 1,150 yd cream and 650 yd pink (1,800 yd, 1,646 m).
For another width, chain any even number: that always gives the odd stitch count the eyelet row needs, and every 2 chains add a little over 1/2 in. For length, rows = 4 + 6 × stripes, and the border’s 7-in-8 spacing needs a multiple of 8. That means 18, 22, 26, 30 or 34 stripes; each jump of 4 adds 6 in (15 cm).
A word on safe sleep: a baby under 12 months should never have a loose blanket in the crib, bassinet or any sleep space. The pram and stroller sizes are for awake time with an adult close by, like a stroller walk or tummy time on the floor. The toddler size is for after the first birthday.
Keeping 101 stitches, straight edges and only four tails
- Count every eyelet pair. On the stroller size, an eyelet row has 51 sc and 50 ch-1 spaces, and the next row has 101 sc again.
- Find the first and last stitch. The ch 1 doesn’t count, so your first sc goes into the very first stitch. The last stitch of a back-loop row hides at the edge; mark it during the first band until your eye knows it.
- Change color on the last stitch. Work the last sc until two loops are left, then finish it with the new color.
- Catch the waiting pink. Before the ch 1 that starts the third cream row, lay the pink across the cream so the chain traps it. Keep that strand loose: pulled tight, it gathers the edge like a drawstring.
- Weave the four tails securely. Cream at the start, pink at Row 5, cream at the end, pink after the border: weave each through at least 3 in (8 cm) of stitches, change direction twice, and trim.
- No extras. Skip buttons, beads and pompoms. Anything that can come loose can end up in a mouth.
US crochet terms
The pattern
Materials
- Yarn: worsted weight (#4 medium) cotton-acrylic blend, about 200 yd (183 m) per 100 g ball, about 750 [1,150, 1,800] yd (686 [1,052, 1,646] m) in total (estimate, includes about 10% extra), each color from a single dye lot
- Color A, Buttermilk (cream): about 450 [700, 1,150] yd (411 [640, 1,052] m), 3 [4, 6] balls
- Color B, Apple Blossom (blush pink): about 300 [450, 650] yd (274 [411, 594] m), 2 [3, 4] balls
- Hook: 5.5 mm (US I-9)
- 1 locking stitch marker
- Yarn needle and scissors
Gauge
- 14 sts and 16 rows = 4 in (10 cm) in sc worked in back loop only
- Swatch: ch 22, sc in 2nd ch from hook and in each ch across (21 sc), then work 19 rows of sc BLO. The swatch should measure 6 in (15 cm) wide and 5 in (13 cm) tall.
- Too wide: try a 5 mm (US H-8) hook. Too narrow: try a 6 mm (US J-10) hook.
Finished size
- Pram: about 23 1/2 × 29 in (60 × 74 cm)
- Stroller: about 30 × 35 in (76 × 89 cm)
- Toddler: about 36 × 47 in (91 × 119 cm)
- Measured after the border, unblocked. Sizes are written Pram [Stroller, Toddler].
Abbreviations
- BLO back loop only
- ch chain
- ch-1 sp chain-1 space
- rep repeat
- RS right side
- sc single crochet
- sk skip
- sl st slip stitch
- st(s) stitch(es)
- WS wrong side
- yo yarn over
Notes
- The ch 1 at the start of each row and round does not count as a st. Work the first sc in the first st.
- Stitch multiple: the foundation chain is any multiple of 2. This gives an odd number of sts, which the eyelet row needs.
- Rows 2–4 and every A row after them are worked in the back loop only. Row 6 and every row like it are worked under both loops.
- Odd rows are RS rows, so every eyelet row is a RS row. Mark Row 1 with the locking marker.
- To change color: work the last sc of the row until 2 loops remain on the hook, yo with the new color and pull through.
- All color changes happen at the end of an even (WS) row, at the same edge. Don’t cut the color you’re not using; carry it loosely up that edge. Before the ch 1 at the start of the third A row in each band, lay B across A so the chain traps it. Border Round 1 covers the carried strands.
- To change the length, keep the total row count a multiple of 8 (4 + 6 × stripes, with 18, 22, 26, 30 or 34 stripes) so the border spacing works out.
- Safety: never leave a loose blanket in a crib, bassinet or sleep space with a baby under 12 months. Use the Pram and Stroller sizes for supervised awake time. Add no buttons, beads or other small trims, and weave all ends in securely.
Instructions
Body
- Foundation: With A, ch 80 [102, 124].
- Row 1 (RS): Sc in 2nd ch from hook and in each ch across, turn. Place the marker in this row. (79 [101, 123] sc)
- Rows 2–4: Ch 1, sc BLO in each sc across, turn. At the end of Row 4, change to B. (79 [101, 123] sc)
- Row 5 (RS, eyelet row): With B, ch 1, sc BLO in first sc, *ch 1, sk next sc, sc BLO in next sc; rep from * across, turn. (40 [51, 62] sc and 39 [50, 61] ch-1 sps)
- Row 6: Ch 1, sc in each sc and in each ch-1 sp across, working each sc under both loops. Change to A in the last st, turn. (79 [101, 123] sc)
- Rows 7–10: With A, ch 1, sc BLO in each sc across, turn. At the end of Row 10, change to B. (79 [101, 123] sc)
- Rows 11–112 [11–136, 11–184]: Rep Rows 5–10 another 17 [21, 29] times, ending with a Row 10. (79 [101, 123] sc) You now have 18 [22, 30] B stripes and 112 [136, 184] rows. The body measures about 22 1/2 × 28 [29 × 34, 35 × 46] in (57 × 71 [73 × 86, 89 × 117] cm).
Border
- Round 1: Fasten off A and turn, so the RS faces you and B is on your hook. Working across the last row: ch 1, (sc, ch 1, sc) in first st (corner), sc in each of next 77 [99, 121] sts, (sc, ch 1, sc) in last st (corner). Working down the side in row ends: *sk next row end, sc in end of each of next 7 rows; rep from * 14 [17, 23] times in all (98 [119, 161] sc). Working in the free loops of the foundation chain: (sc, ch 1, sc) in first loop (corner), sc in each of next 77 [99, 121] loops, (sc, ch 1, sc) in last loop (corner). Working up the other side in row ends: rep from * of this round 14 [17, 23] times in all (98 [119, 161] sc). Join with sl st to first sc. (358 [444, 572] sc and 4 corner ch-1 sps; counted between corner ch-1 sps: 79 [101, 123] sc across top and bottom, 100 [121, 163] sc along each side)
- Round 2: Ch 1, do not turn. Sc in same st as joining and in each sc around, working (sc, ch 1, sc) in each corner ch-1 sp. Join with sl st to first sc. (366 [452, 580] sc and 4 corner ch-1 sps; 81 [103, 125] sc across top and bottom, 102 [123, 165] sc along each side)
- Finishing: Fasten off. Weave in the 4 ends securely, through at least 3 in (8 cm) of sts each.
Washing cream and blush cotton without muddy stripes
Follow the yarn label. Most cotton-acrylic blends take a gentle machine cycle in cool or warm water with mild detergent. Skip bleach, which can yellow cream cotton and fade the pink unevenly.
Watch the first wash, since pink touches cream on both sides of every stripe. Use cool water and a color-catcher sheet; if the sheet comes out pink, repeat the same way before mixing the blanket with other laundry.
Tumble dry on low or flat on a towel. A hot dryer pulls the ridges closer together, so the blanket loses more length than width. While it’s damp, pat the edges straight and nudge any closed eyelet open with a fingertip. Rinse spit-up in cold water right away, and store the blanket in a cotton pillowcase rather than plastic.
Apple Blossom questions about eyelets, cotton and size
Can I make this eyelet crochet baby blanket in a single color?
Yes. Work every row in cream and skip the color changes. The eyelets still show every inch and a half, just more quietly. Add the two yardages for your size and buy it all in one dye lot.
How big are the holes, and can small fingers catch in them?
Each eyelet is about one stitch wide, roughly 1/4 in (6 mm) with this yarn and hook, and the row above closes its top with a single crochet. That’s smaller than the gaps in most lacy baby blankets. Don’t go up a hook size, and use the blanket with an adult nearby.
My eyelet row ends with a chain 1. What went wrong?
An eyelet row starts and ends with a single crochet, so a final chain 1 means the count is off by one. Usually the first stitch was skipped or the last stitch of the row below was missed. Pull the row back, count the cream row (79 [101, 123] sc), and work it again.
Can I use 100% cotton instead of a cotton blend?
You can, but expect a heavier blanket, especially in the toddler size, and more shrinkage in the dryer. Pure cotton has almost no stretch, so uneven tension shows on the ridges. Swatch with your cotton and check both gauges first.
How do I make the toddler size long enough for a toddler bed?
Work 34 pink stripes instead of 30. That gives 208 rows, still a multiple of 8, so the border rule works: 26 repeats of 7 sc down each side. The blanket comes out about 36 × 53 in (91 × 135 cm). Plan on roughly 150 yd more cream and 100 yd more pink.
Quick recap
- Make a swatch of 21 sts and 20 rows of back-loop single crochet and check that it measures 6 × 5 in.
- Chain 80 [102, 124] in cream and work 4 rows of single crochet, Rows 2–4 in the back loop only.
- Work the pink eyelet row and the pink fill row, then 4 more cream rows, carrying both colors up the same edge.
- Repeat that six-row band until you have 18 [22, 30] pink stripes and 112 [136, 184] rows.
- Work 2 rounds of pink single crochet around the blanket and weave in the 4 ends.
Whether this eyelet crochet baby blanket rides along on a June stroller walk or ends up folded at the foot of a toddler bed, those pink stripes will catch the light. For a quicker make in heavier yarn, the bulky Maple Lane pattern works up in far fewer rows. If a count stops adding up, send a note through the contact page.