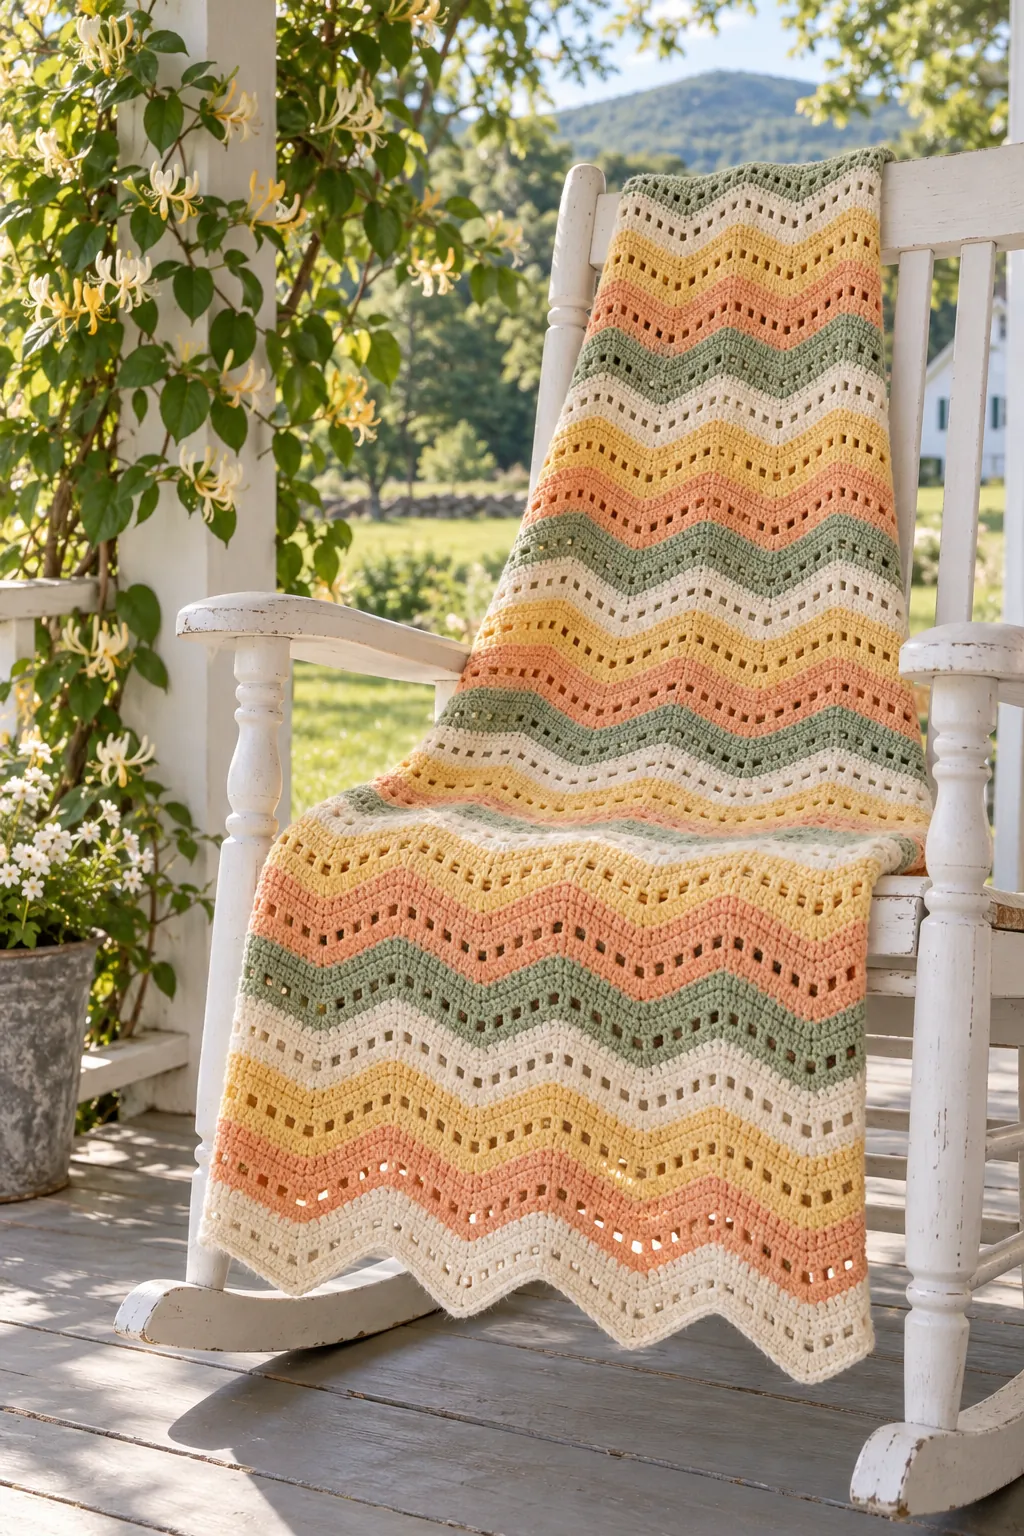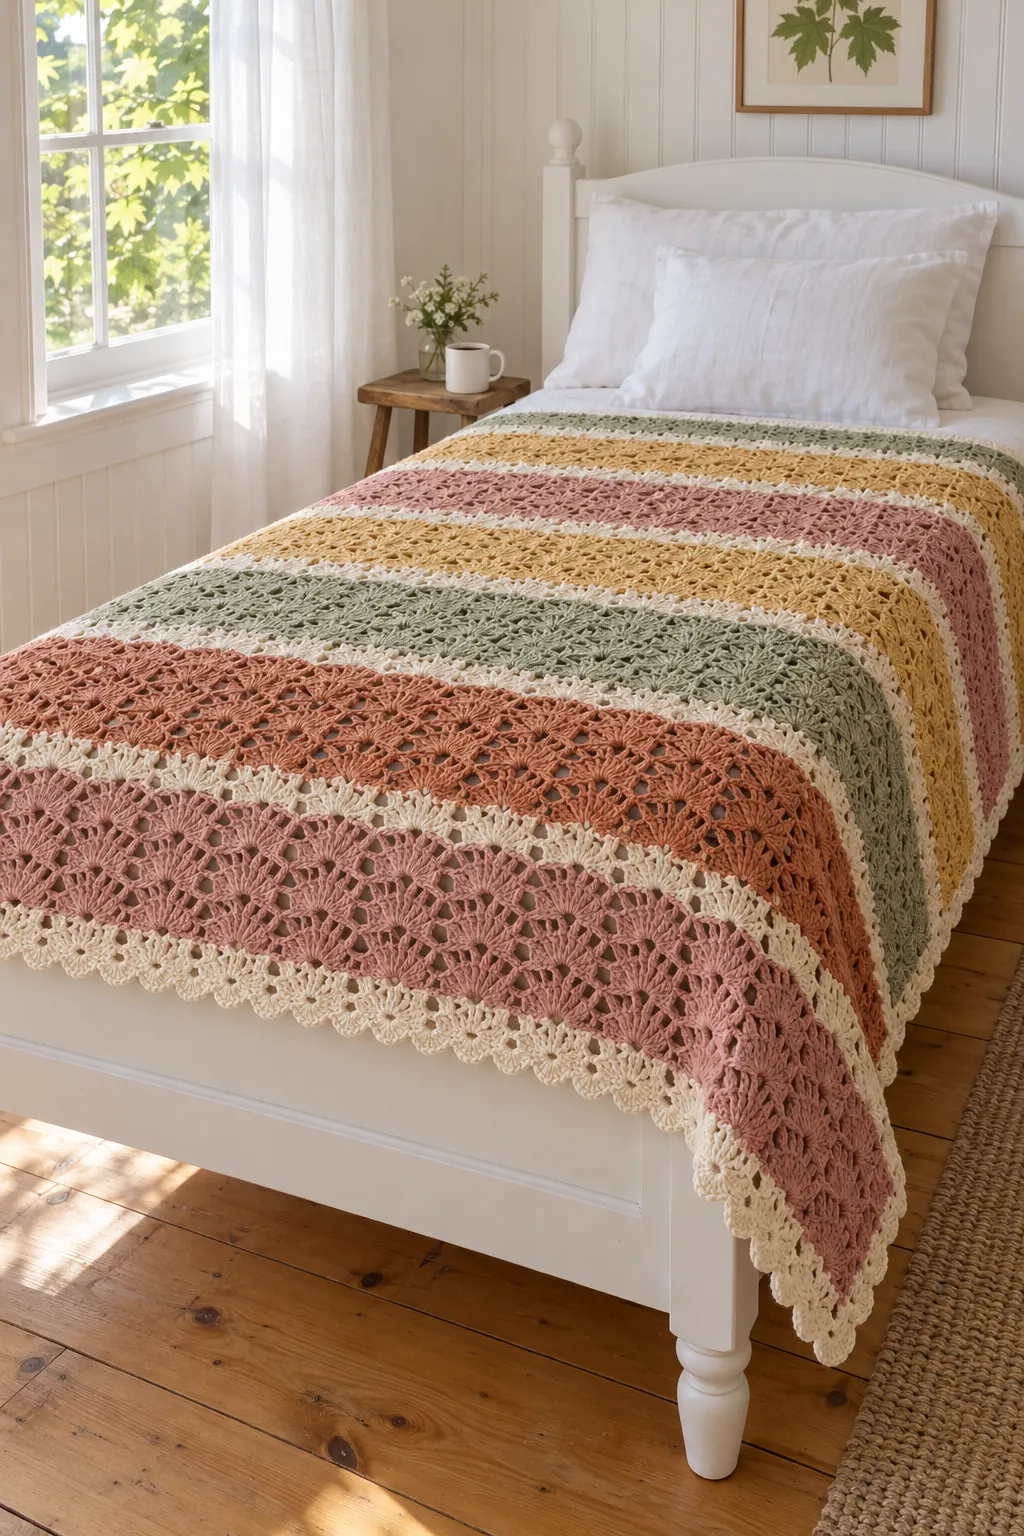
Picture a June strawberry social: ripe berries, warm shortcake, plenty of whipped cream and a stack of sage-green napkins. That’s the palette of this fan stitch crochet blanket. Dusty rose, terracotta, honey and sage stripes each get a thin cream frame, little five-stitch fans sit in rows, and a lacy lattice row runs between them.
You’ll find it written for a twin bed, with counts for a throw and a queen, in a DK cotton blend that stays light on a July night. The stitch pattern is only two rows long, and after the first row you’re mostly counting fans.
Is this fan stitch crochet blanket a good second project?
You only need three stitches: chain, single crochet and double crochet. If abbreviations like sk and ch-2 sp still slow you down, the guide to reading a pattern explains them before you start.
What’s new here is the shape. A fan is five double crochets worked into one stitch, so they spread out like an open hand. To make room, you skip two stitches before and after each fan, and a single crochet holds the spot in between. Then comes the lattice row. You chain over each fan, anchor a single crochet into its middle double crochet, chain again, and place a double crochet over the single crochet below. On the next fan row, each new fan grows out of that single crochet, so the fans stack straight up in columns.
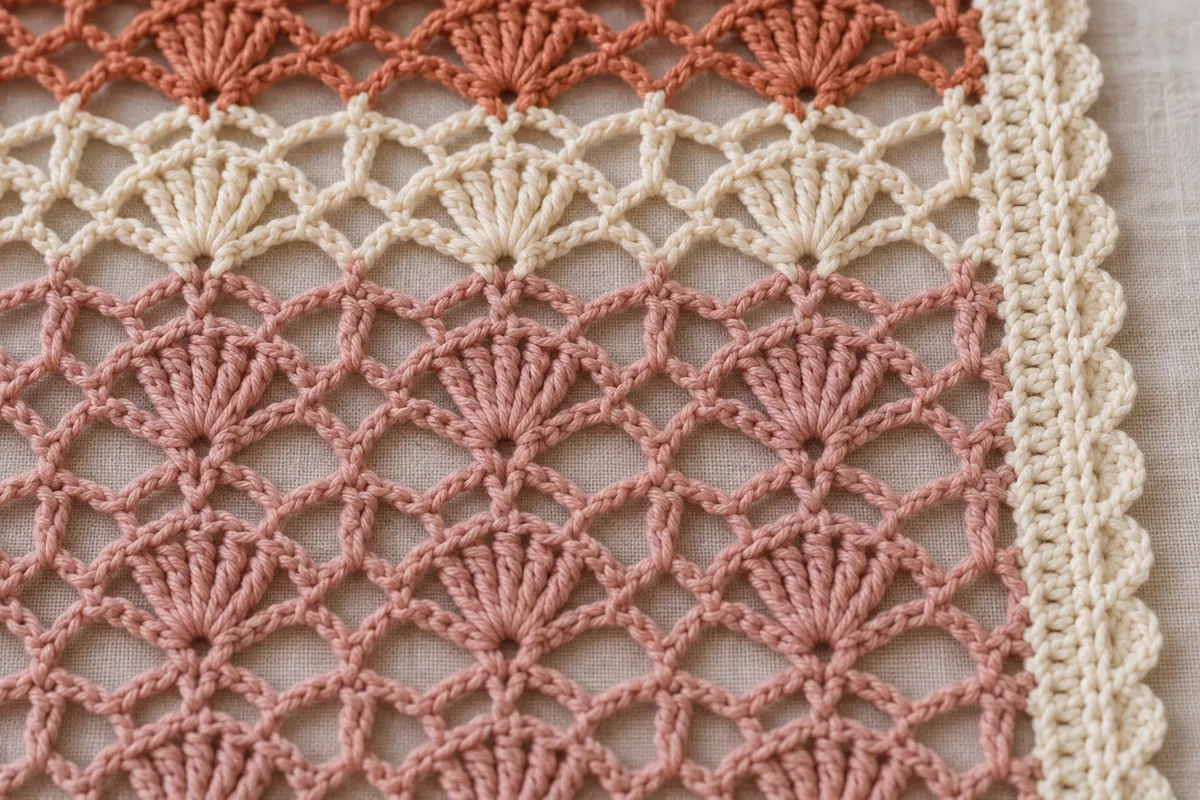
This is an Easy pattern rather than a Beginner one: you skip stitches on purpose, and you find the center of each fan by eye. Both get comfortable fast, but if your only project so far is rows of plain single crochet, make the gauge swatch first. It’s 25 stitches wide, which gives you four fans to practice on before you commit to 290 chains.
Choosing a DK cotton blend for 3,750 yards of fans
Look for the #3 light symbol on the label, usually sold as DK, with roughly 230 yards per 100 g ball. A cotton and acrylic blend suits this coverlet best. The cotton keeps the fans crisp and breathes in summer. The acrylic keeps the weight down and gives the lattice a little bounce, so it doesn’t sag over the side of the bed. 100% cotton works too, but a twin in pure cotton is heavy, and long lattice rows can stretch downward over time.
Skip fuzzy or brushed yarns. The fans are the whole look, and a halo blurs them into a texture you can’t read.
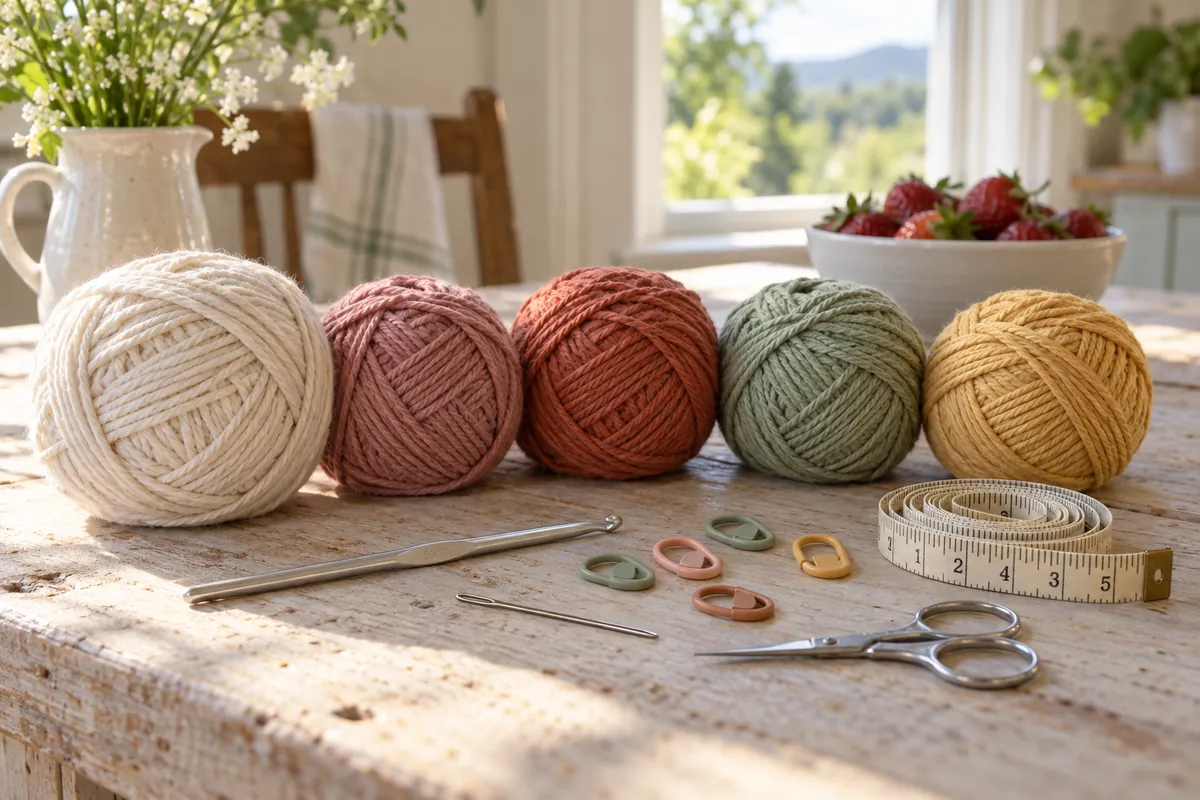
Buy all your Cream at once, from one dye lot. In the twin it shows up in 32 stripes plus the border, so a slightly different cream halfway up the bed would be easy to spot. The colored stripes are more forgiving, because no two stripes of the same color ever touch.
To substitute, compare yardage rather than ball counts, and swatch with the 4.5 mm (US 7) hook. Gauge is 3 fans and 9 rows to 4 in. If your 3 fans measure 4.25 in instead, the twin comes out about 4 in wider and eats more yarn, so try a 4 mm (US G-6) hook first. And if you’ve never worked with DK at all, a baby-size project in the same yarn weight is a smaller place to get used to it.
Rose, terracotta, sage and honey, divided by cream
Rose opens and closes the coverlet, so the stripes at the head and the foot match. Terracotta and honey bring the warmth, and sage is the cool, quiet one that keeps them from running together. Cream does the most work: two rows between every stripe, plus the whole border. Because each cream stripe starts with a fan row, it traces a light outline along the scalloped tops of the colored fans underneath.
Other combinations that keep the same light divider:
- Peach orchard: cream divider with peach, apricot, sage and oat.
- Hayloft: oat divider with rust, mustard, olive and walnut brown.
- Lilac porch: cream divider with lilac, dusty rose, sage and soft gray.
Keep the divider your lightest color, or at least clearly lighter than the four stripe colors. Before you buy a whole bag, wrap yarn around a strip of cardboard in the real order, two wraps of cream and four of each color, and look at it from across the room. If you’ve never changed colors at the end of a row, a faster bulky blanket with simpler stripes is a gentler first try.
Throw, twin or queen: chains, rows and yarn for each size
All three sizes use the same gauge and the same 24-row stripe sequence. The card is written for the twin, and the other sizes sit in its Notes so they print with it. Yardage is an estimate with about 10% extra, and the Cream totals include the border.
- Throw, 50 × 57 in (127 × 145 cm): ch 218 (36 fans), 124 rows (the sequence 5 times), 936 sc in border Round 1. About 1,850 yd (1,690 m): Rose 330 yd, Terracotta 270 yd, Sage 270 yd, Honey 270 yd, Cream 710 yd.
- Twin, 66 × 89 in (168 × 226 cm), written in the card: ch 290 (48 fans), 196 rows (8 times), 1,368 sc in Round 1. About 3,750 yd (3,430 m): Rose 650 yd, Terracotta 570 yd, Sage 570 yd, Honey 570 yd, Cream 1,390 yd.
- Queen, 90 × 100 in (229 × 254 cm): ch 398 (66 fans), 220 rows (9 times), 1,680 sc in Round 1. About 5,680 yd (5,190 m): Rose 980 yd, Terracotta 880 yd, Sage 880 yd, Honey 880 yd, Cream 2,060 yd.
On a standard twin mattress (38 × 75 in), the twin hangs about 14 in over each side and over the foot. The queen gives about 15 in at the sides of a 60 × 80 in mattress and 20 in at the foot, enough to tuck a little under the pillows.
For a size in between, change the width two fans at a time (12 chains, about 2.7 in), because the shell border only fits an even number of fans. Change the length in whole 24-row sequences, about 10.7 in each, so it still starts and ends with rose.
Keeping 48 fans stacked from Row 1 to Row 196
Make the foundation loose: a tight chain pulls the bottom edge in. Use a 5 mm (US H-8) hook for the chain only, and clip a marker every 60 chains, since each 60 chains turn into ten fans. After Row 1, count fans instead of stitches: you want 48.
On lattice rows, count your single crochets as you go. There should be one for every fan below. If you come up short, a fan got skipped, and it’s easier to find now than three stripes later.
Fan rows start with a ch 1 and a single crochet, so their edge stitches look short next to the lattice rows. That notch is normal, and border Round 1 fills it.
Every color change happens at the end of a lattice row, and every lattice row ends on the same edge (the right edge with the RS facing you). Cream never has more than 4 rows to travel, so you can carry it up that edge instead of cutting it. In the twin, that drops the yarn tails from 130 to about 68, and the border hides the carried strands.
US crochet terms
The pattern
Materials
- DK weight (#3 light) cotton-acrylic blend yarn, about 230 yd (210 m) per 100 g ball, about 3,750 yd (3,430 m) in total for the twin (estimate, 10% extra included):
- Rose (dusty rose): 650 yd (594 m), 3 balls
- Terracotta: 570 yd (521 m), 3 balls
- Sage: 570 yd (521 m), 3 balls
- Honey: 570 yd (521 m), 3 balls
- Cream: 1,390 yd (1,271 m), 7 balls
- 4.5 mm (US 7) crochet hook
- 5 mm (US H-8) crochet hook for the foundation chain (optional)
- Stitch markers, yarn needle, scissors and tape measure
Gauge
- 3 fans (18 sts) and 9 rows = 4 in (10 cm) in fan pattern with the 4.5 mm hook.
- Swatch: ch 26 and work Rows 1–3 of the Body, then repeat Rows 2–3 until you have 10 rows (4 fans). It measures about 5.5 × 4.5 in (14 × 11 cm).
- Measure 3 fans on a fan row, from the center of one sc to the center of the sc three fans along.
Finished size
- Twin: 66 × 89 in (168 × 226 cm) after light blocking, border included.
- Throw and queen counts are in the Notes.
Abbreviations
- ch chain
- dc double crochet
- rep repeat
- RS right side
- sc single crochet
- sk skip
- sl st slip stitch
- sp(s) space(s)
- st(s) stitch(es)
- yo yarn over
Notes
- Fan: 5 dc in the same st.
- The ch 1 at the start of fan rows does not count as a st. The ch 5 at the start of lattice rows counts as 1 dc plus a ch-2 sp.
- Row 1 is the RS. Odd rows are fan rows and even rows are lattice rows.
- Stripe sequence (twin): Rows 1–4 Rose. Then rep this 24-row sequence 8 times: 2 rows Cream, 4 rows Terracotta, 2 rows Cream, 4 rows Sage, 2 rows Cream, 4 rows Honey, 2 rows Cream, 4 rows Rose. Every stripe starts with a fan row and ends with a lattice row.
- Change color on the last yo of the last dc of the final row of each stripe. All changes fall on the same edge, so Cream can be carried up that edge (never more than 4 rows). Cut the other colors.
- Throw, 50 × 57 in (127 × 145 cm): ch 218 (36 fans), 124 rows (sequence 5 times). Border Round 1: top bracket worked 35 times, 215 sc across top and bottom, 247 sc along each side between corners (936 sc). Round 3: 54 shells across top and bottom, 62 along each side. About 1,850 yd (1,690 m): Rose 330 yd, Terracotta 270 yd, Sage 270 yd, Honey 270 yd, Cream 710 yd.
- Queen, 90 × 100 in (229 × 254 cm): ch 398 (66 fans), 220 rows (sequence 9 times). Border Round 1: top bracket worked 65 times, 395 sc across top and bottom, 439 sc along each side between corners (1,680 sc). Round 3: 99 shells across top and bottom, 110 along each side. About 5,680 yd (5,190 m): Rose 980 yd, Terracotta 880 yd, Sage 880 yd, Honey 880 yd, Cream 2,060 yd.
- To change the width, add or remove fans in pairs (12 ch per pair) so the shell edge fits.
- All yardage figures are estimates.
Instructions
Body
- Foundation: With Rose and the 5 mm hook (or the 4.5 mm hook worked loosely), ch 290. Change to the 4.5 mm hook.
- Row 1 (RS, fan row): Sc in 2nd ch from hook, *sk 2 ch, 5 dc in next ch, sk 2 ch, sc in next ch; rep from * across. (48 fans, 49 sc)
- Row 2 (lattice row): Ch 5 (counts as dc and ch 2), turn, sc in center (3rd) dc of first fan, ch 2, dc in next sc, *ch 2, sc in center dc of next fan, ch 2, dc in next sc; rep from * across. (48 sc, 49 dc, 96 ch-2 sps)
- Row 3 (fan row): Ch 1, turn, sc in first dc, *sk next ch-2 sp, 5 dc in next sc, sk next ch-2 sp, sc in next dc; rep from * across, working last sc in 3rd ch of turning ch-5. (48 fans, 49 sc)
- Rows 4–196: Work Row 2 on even rows and Row 3 on odd rows, following the stripe sequence in the Notes. Change color at the end of the last row of each stripe (Rows 4, 6, 10, 12, 16 and so on). Row 196 is a Rose lattice row. Fasten off.
Border
- Round 1: With RS facing, join Cream with sl st in last dc of Row 196 (top right corner). Ch 1, 3 sc in same st. Working across top edge, [2 sc in next ch-2 sp, sc in next sc, 2 sc in next ch-2 sp, sc in next dc] 47 times, 2 sc in next ch-2 sp, sc in next sc, 2 sc in next ch-2 sp, 3 sc in 3rd ch of turning ch-5 (corner). Working down the side, 2 sc in end of each row to Row 2, 1 sc in end of Row 1. Working in the free loops of the foundation ch, 3 sc in first ch (corner), sc in each of next 287 ch, 3 sc in next ch (corner, the ch that holds the first sc of Row 1), leave the last ch unworked. Working up the side, 1 sc in end of Row 1, 2 sc in end of each remaining row. Join with sl st in first sc. (287 sc across top and bottom and 391 sc along each side between corners, 3 sc in each corner: 1,368 sc)
- Round 2: Ch 1, sc in same st as join, 3 sc in next sc (corner), *sc in each sc to center sc of next corner, 3 sc in center sc; rep from * 2 more times, sc in each remaining sc. Join with sl st in first sc. (1,376 sc)
- Round 3 (shell edge): Sl st in next 2 sc (center sc of first corner). Ch 3 (counts as dc), 4 dc in same st (corner shell). Across top edge, sk next sc, sc in next sc, [sk next sc, 3 dc in next sc, sk next sc, sc in next sc] 72 times, sk next sc, 5 dc in center sc of corner. Down the side, sk next sc, sc in next sc, [sk next sc, 3 dc in next sc, sk next sc, sc in next sc] 98 times, sk next sc, 5 dc in center sc of corner. Across the bottom, work as for the top edge (72 shells), ending with 5 dc in center sc of corner. Up the side, sk next sc, sc in next sc, [sk next sc, 3 dc in next sc, sk next sc, sc in next sc] 98 times, sk next sc. Join with sl st in 3rd ch of beginning ch-3. Fasten off. (340 shells of 3 dc, 4 corner shells of 5 dc)
- Finishing: Weave in all ends. Mist lightly, pat out to 66 × 89 in (168 × 226 cm) on a flat surface and let dry.
Washing a cotton coverlet with terracotta and cream side by side
Most cotton-acrylic DK blends handle a machine wash, but check your label. Use cold water, a gentle cycle and mild detergent, and put the coverlet in a large mesh laundry bag or a zipped duvet cover so the lattice can’t catch on anything. A wet twin is heavy, so a front-loader or a large laundromat machine suits it better than a small top-loader.
For the first wash, add a color-catching sheet. Rose and terracotta are the colors most likely to bleed, and both sit right next to cream.
Dry it flat if you can, over two drying racks pushed together or on a sheet on the floor. A low tumble dry is fine for most blends, but pull it out while it’s still a little damp and lay it flat to finish. Don’t hang it from one edge, because the weight of 196 wet rows pulls the lattice long. When the nights turn cold, fold it loosely into a cotton bag or an old pillowcase rather than plastic.
Questions about the Strawberry Social Coverlet
Can I make this fan stitch crochet blanket in worsted yarn instead of DK?
Yes, but the size changes. In worsted with a 5 mm (US H-8) hook, many crocheters get around 15 stitches per 4 in instead of 18, so everything grows by about a fifth, and the throw counts would land near 60 × 68 in. Make a swatch, measure 3 fans, and plan your fan count from that, keeping it an even number.
How do I find the center double crochet of each fan?
It’s the third of the five, and it usually stands straight up while the others lean out. If a fan looks crowded, spread it gently with your thumb before you insert the hook. A single crochet in the wrong double crochet tilts the next fan, so take a second look on your first lattice row.
Why do the side edges look notched on the fan rows?
Fan rows begin with a ch 1 and a single crochet, which is much shorter than the double crochet that ends each lattice row. That leaves a small dip at every fan row. It’s built into the stitch, and border Round 1 evens it out by working two single crochets into every row end.
How would I size it for a full bed?
Chain 338 for 56 fans and work the same 196 rows. The coverlet will measure about 77 × 89 in (196 × 226 cm), hanging about 11.5 in over each side of a 54 in mattress. In border Round 3, work 84 shells across the top and bottom and 98 along each side, and plan on roughly 4,320 yd in total.
Can I skip the shell edge and finish with plain single crochet?
Yes. Work border Rounds 1 and 2, then fasten off and weave in your ends. The lone sc at the end of Row 1 is only there to make the shells fit, so you can work 2 sc in that row end like all the others. You’ll use roughly 100 yd less Cream.
Quick recap
- Chain 290 loosely in Rose and work the first fan row (48 fans).
- Alternate lattice rows and fan rows, stacking each fan on the single crochet at the center of the fan below.
- Follow the 24-row stripe sequence 8 times, changing color at the end of lattice rows.
- Finish with a Rose lattice row at Row 196.
- Work two rounds of Cream single crochet and the shell edge, then block lightly.
Two rows, five colors and a lot of cream: that’s the whole coverlet. If you make this fan stitch crochet blanket in your own berry-season colors, or get stuck counting fans on a lattice row, send a note through the contact page.