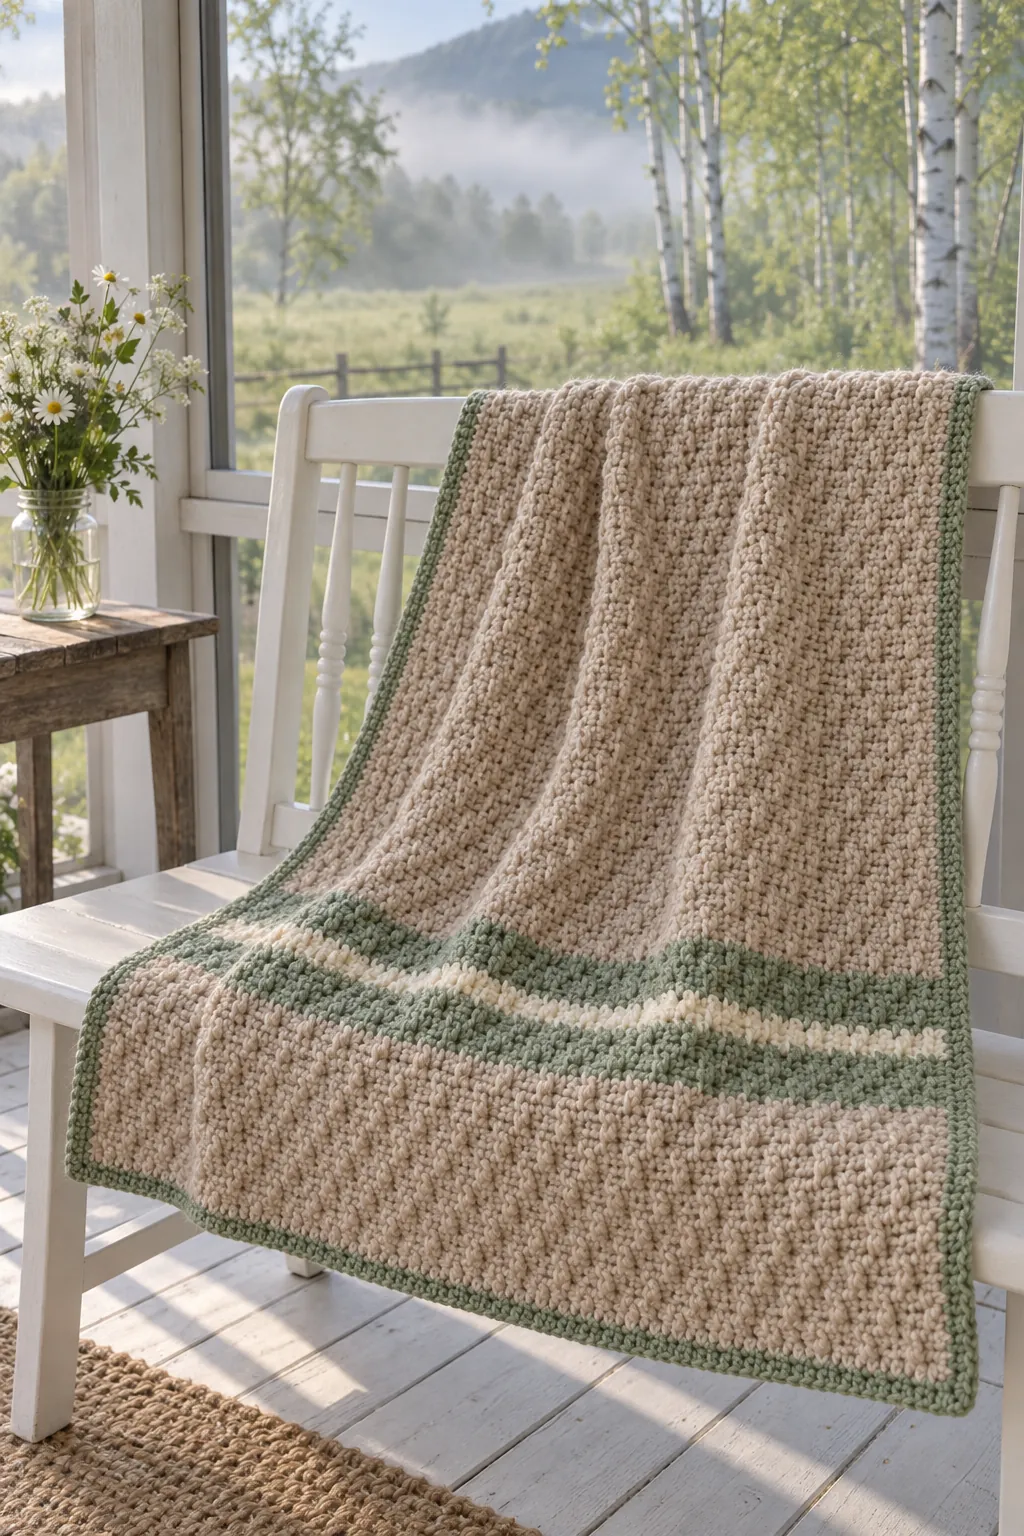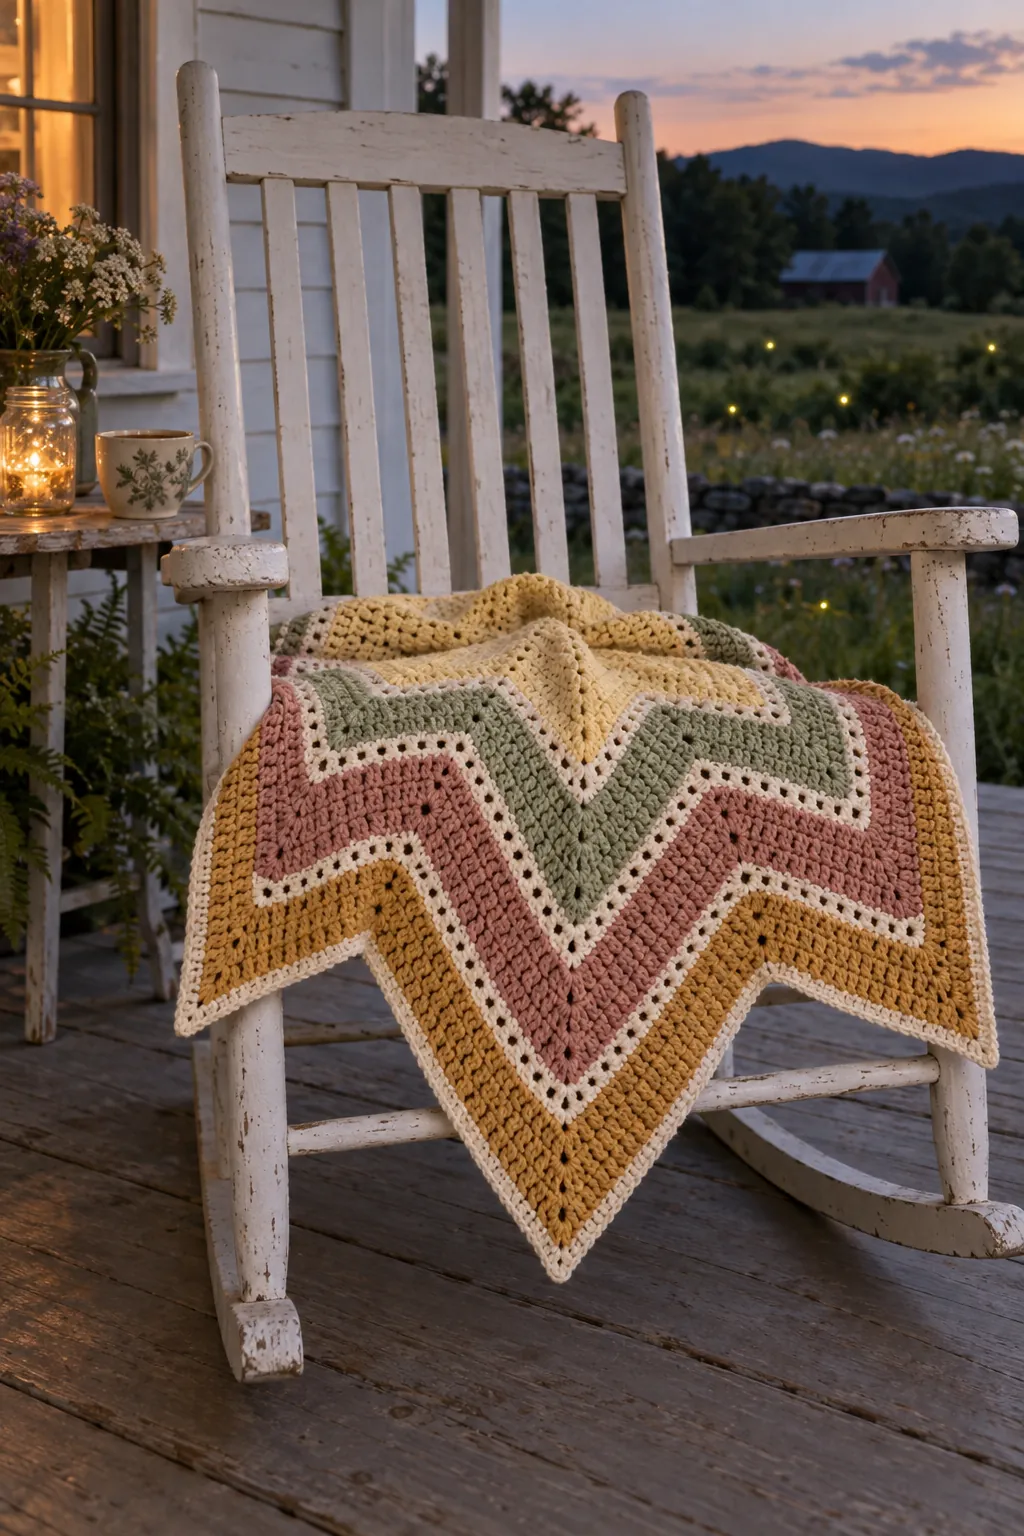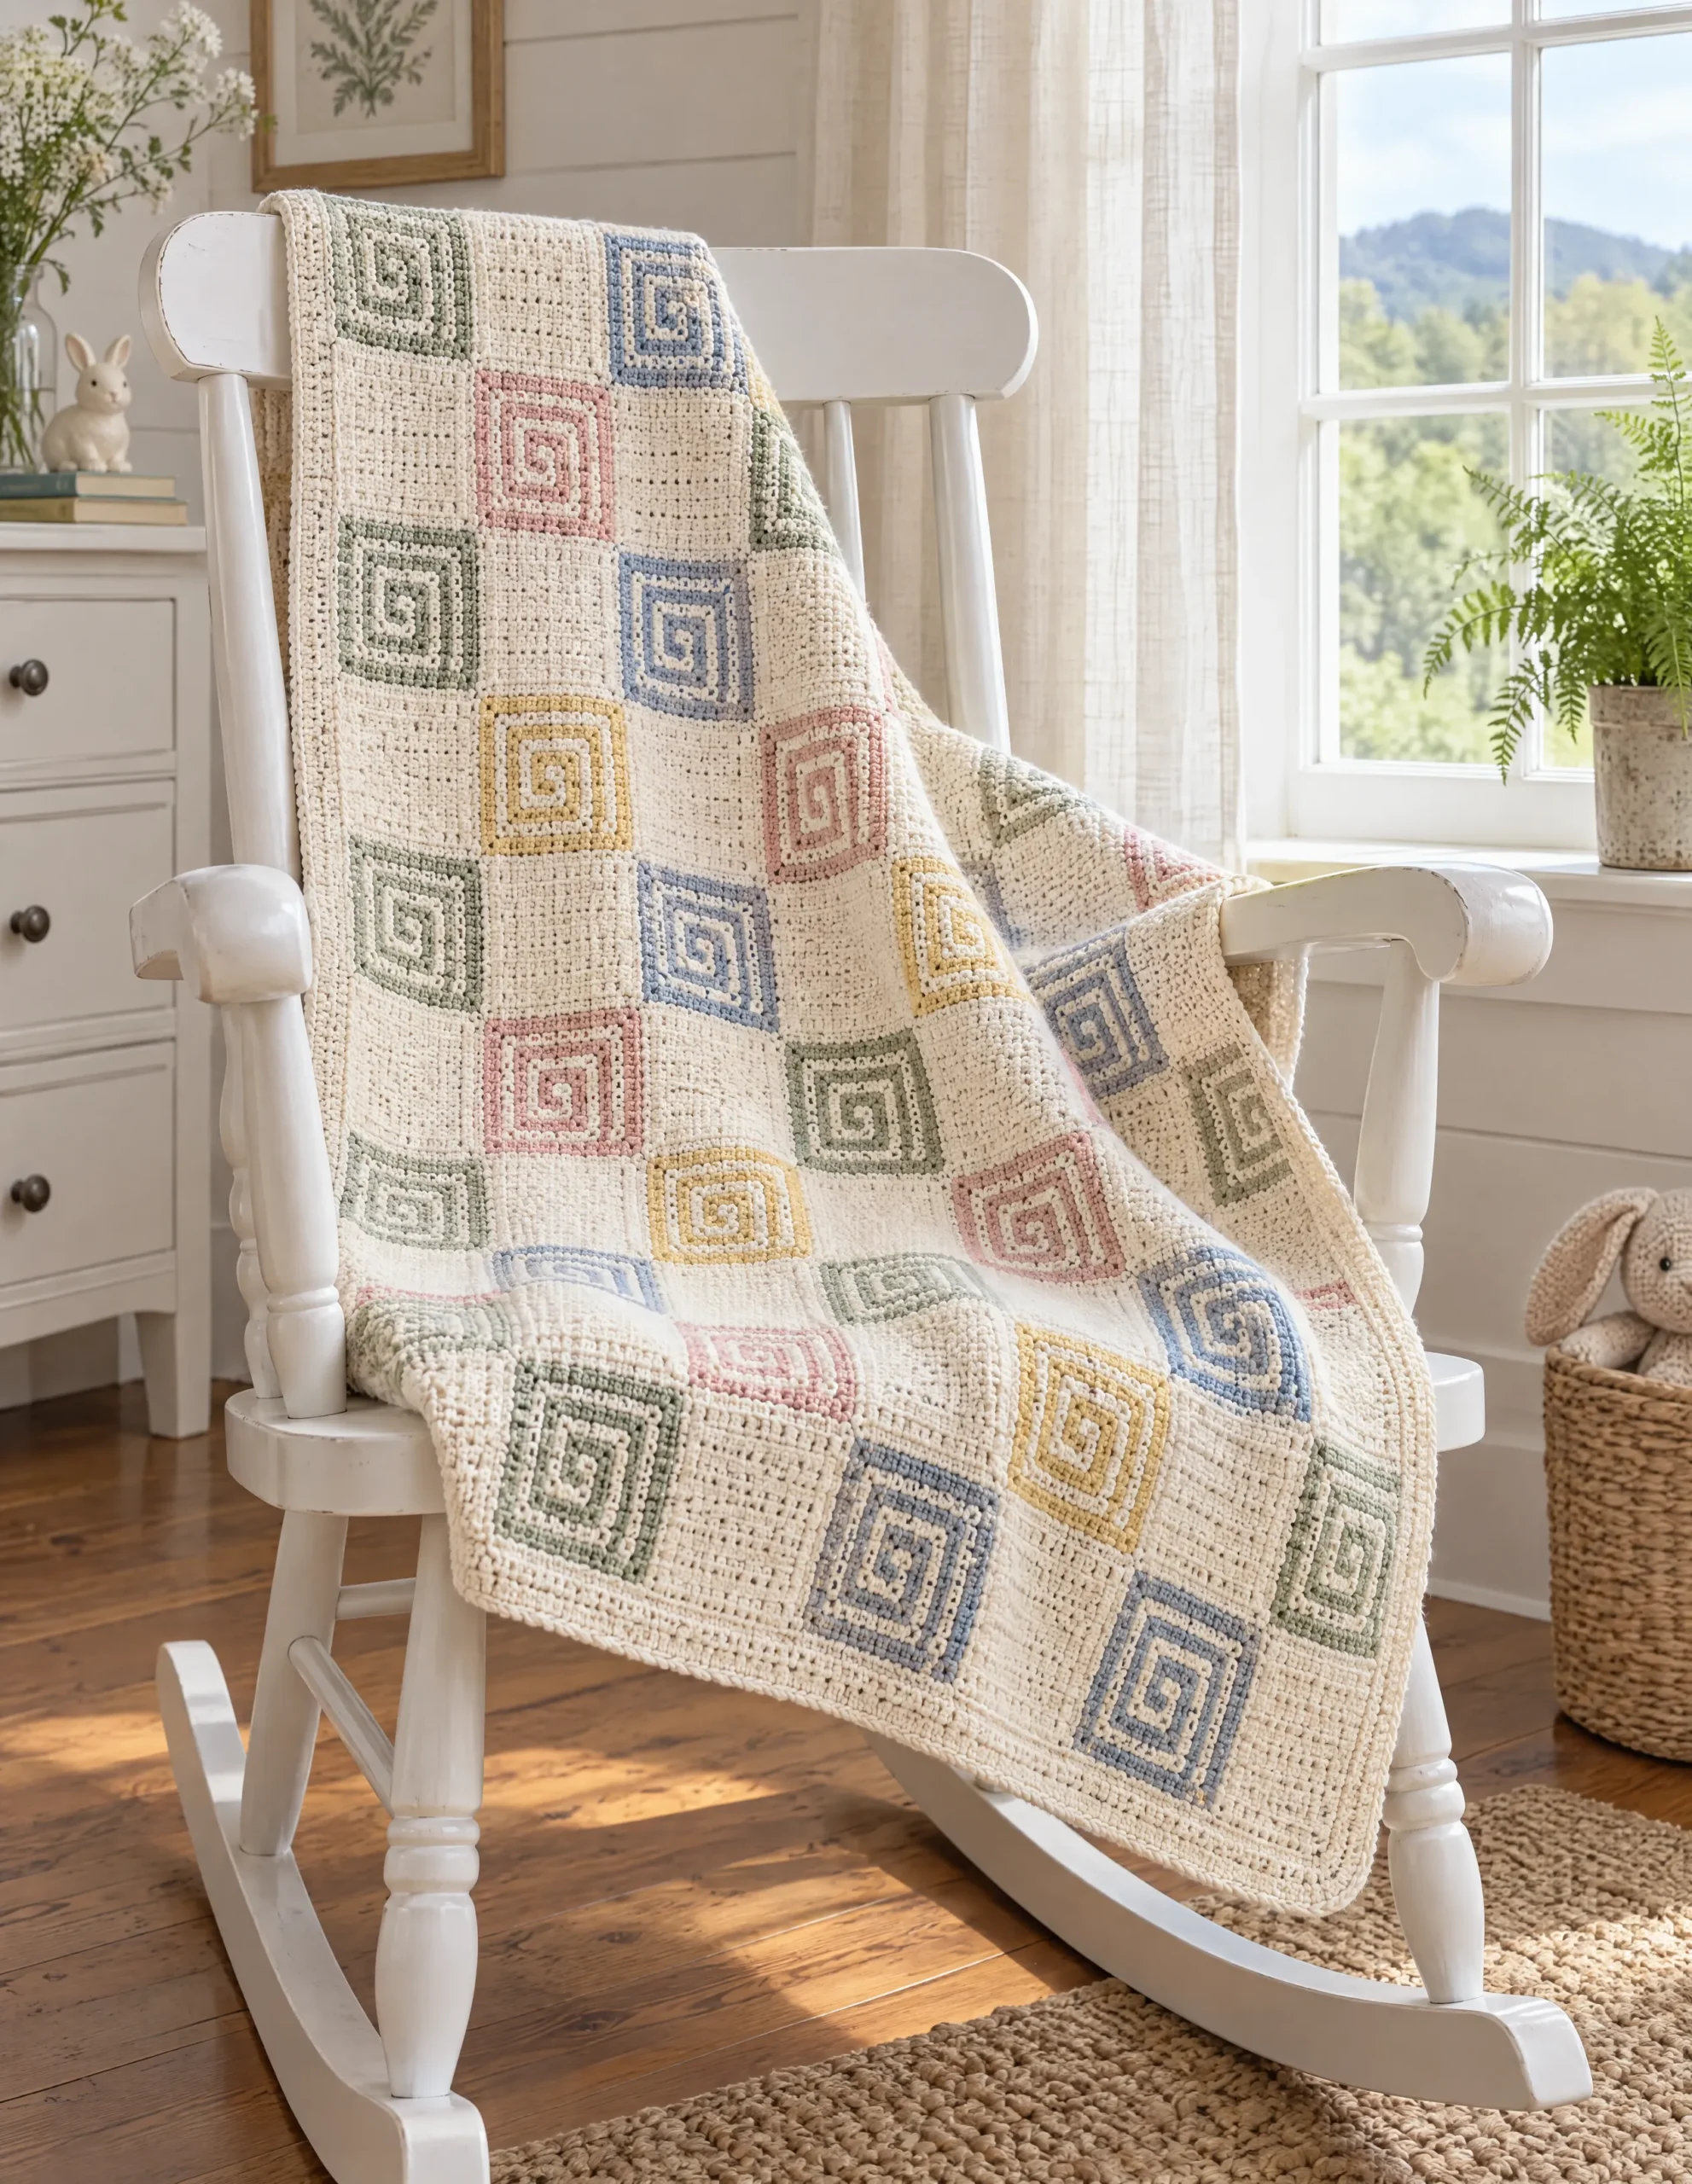
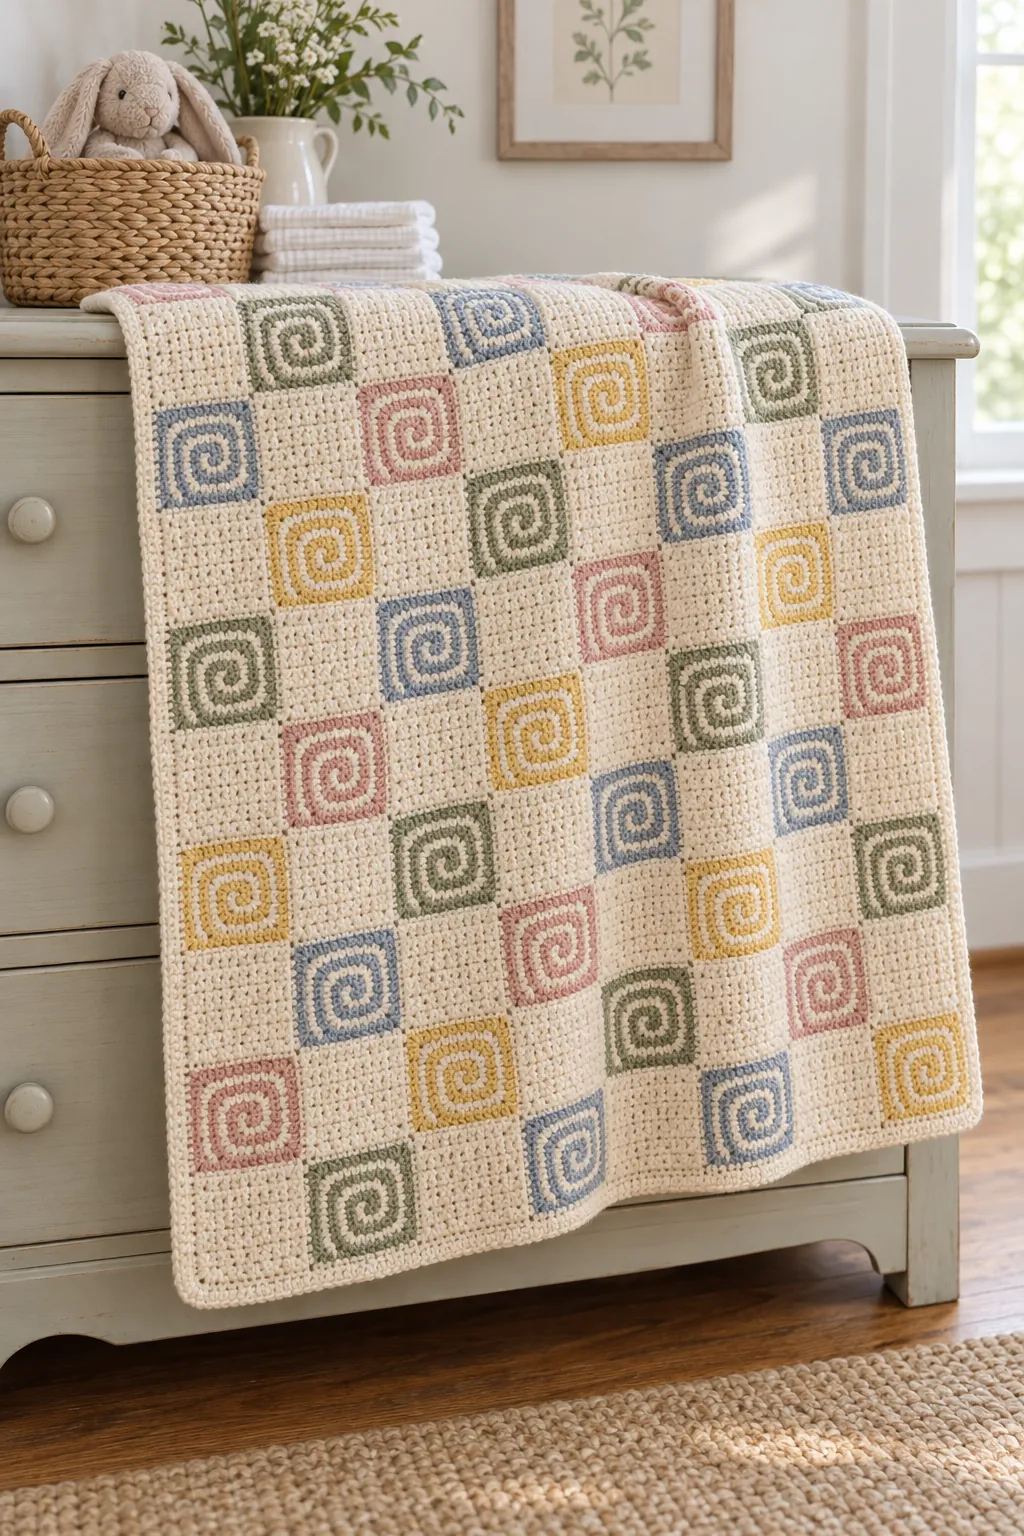
Picture the first fiddleheads pushing up along a Vermont stream in May, each one curled tight like a green watch spring. The Fiddlehead Spiral Afghan carries that shape into yarn: a spiral square crochet blanket where every colored square winds a thin stripe of sage, dusty blue, blush or butter yellow around a stripe of cream, from a tiny center dot out to crisp corners.
Plain cream squares sit between them in a checkerboard, so the spirals have room to breathe. The squares are small, 3 1/2 in (8.9 cm) across, so you can carry a few in a bag and make them anywhere. The pattern below gives every round, the layout of each strip, the seams and the border, in a baby, a stroller and a throw size.
Is a spiral square crochet blanket hard to make?
The only stitch is single crochet, plus a chain at the start, but the colored squares change color on every round, which is why the pattern is rated Intermediate. If abbreviations like CC or sl st are new to you, the guide to reading a crochet pattern covers them.
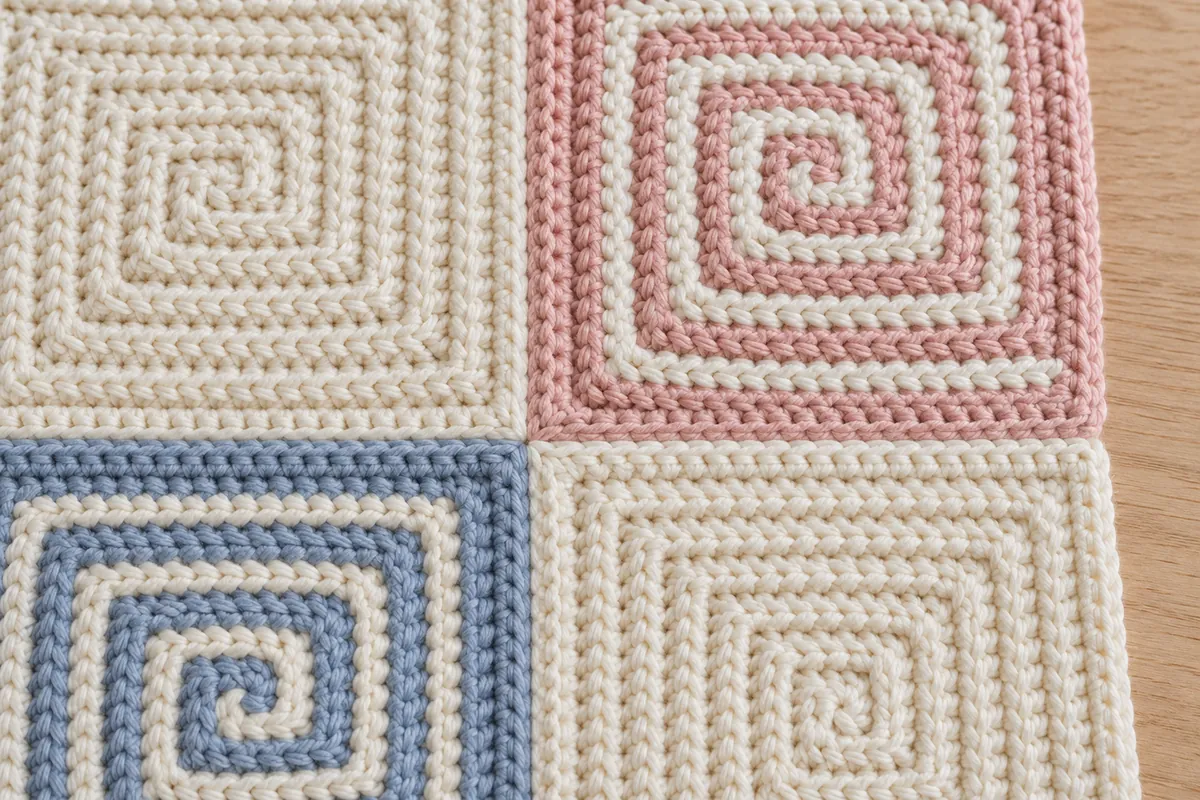
Most striped squares close every round with a slip stitch, which leaves a seam line climbing one side. These squares never close a round. Two strands share the work instead: the square color makes one full round, then waits on a locking stitch marker while the cream makes the next round on top of it. Then they swap again. Because neither strand stops, the stripes wind outward as one unbroken spiral, turning at each corner with 3 single crochets in the middle stitch.
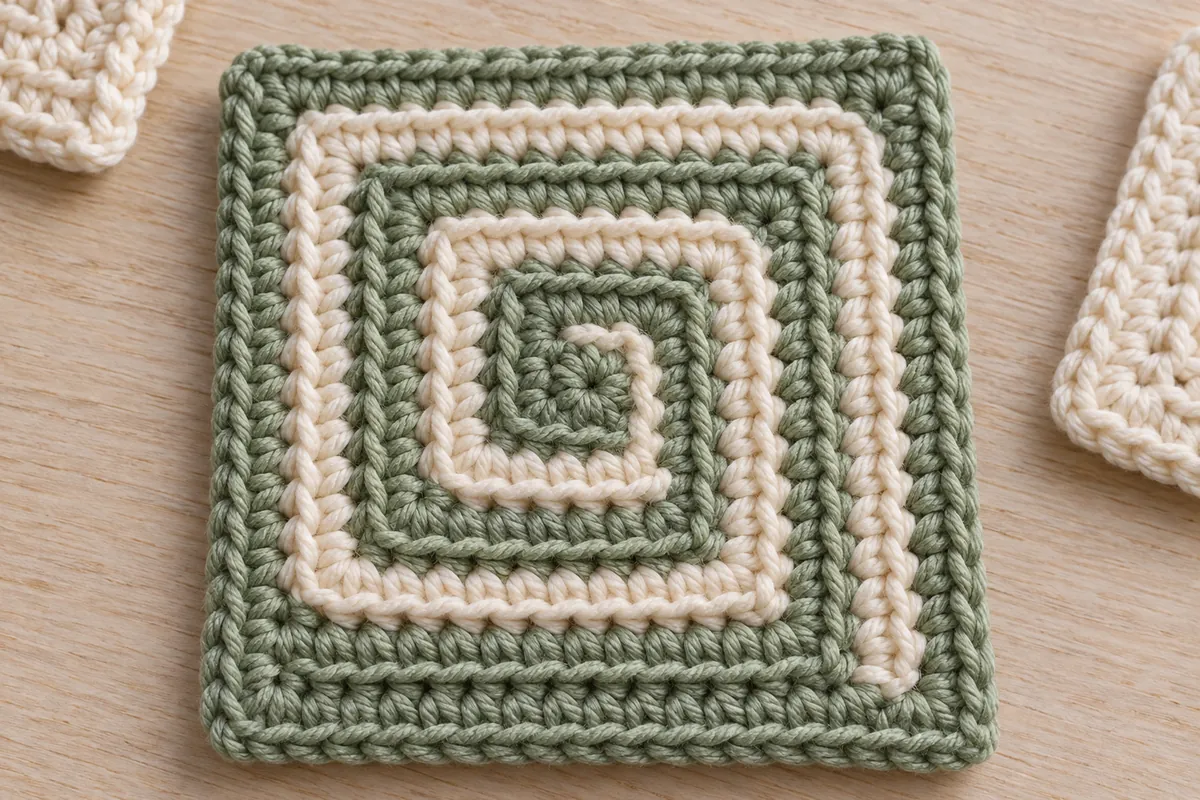
Every stitch after the first round goes into the back loop only. That leaves a fine ridge along each round, and on a two-color square the ridges trace the spiral, so even the cream squares show a quiet swirl of texture. Expect the first two or three squares to feel slow. By the fifth, the color swap at the end of each round becomes automatic, and the cream squares fly by.
A soft DK that shows every ridge
Look for a 3 on the label, with DK or light next to it. The hook is a 4.0 mm (G-6). A soft cotton-acrylic blend gives crisp ridges and a cool hand for spring and summer; a machine-washable acrylic or superwash wool blend works too. For a baby, choose a yarn that goes in the washer.
Skip fuzzy or brushed yarns. The back-loop ridges are fine and close together, and a halo hides them, so the spiral turns into plain stripes.
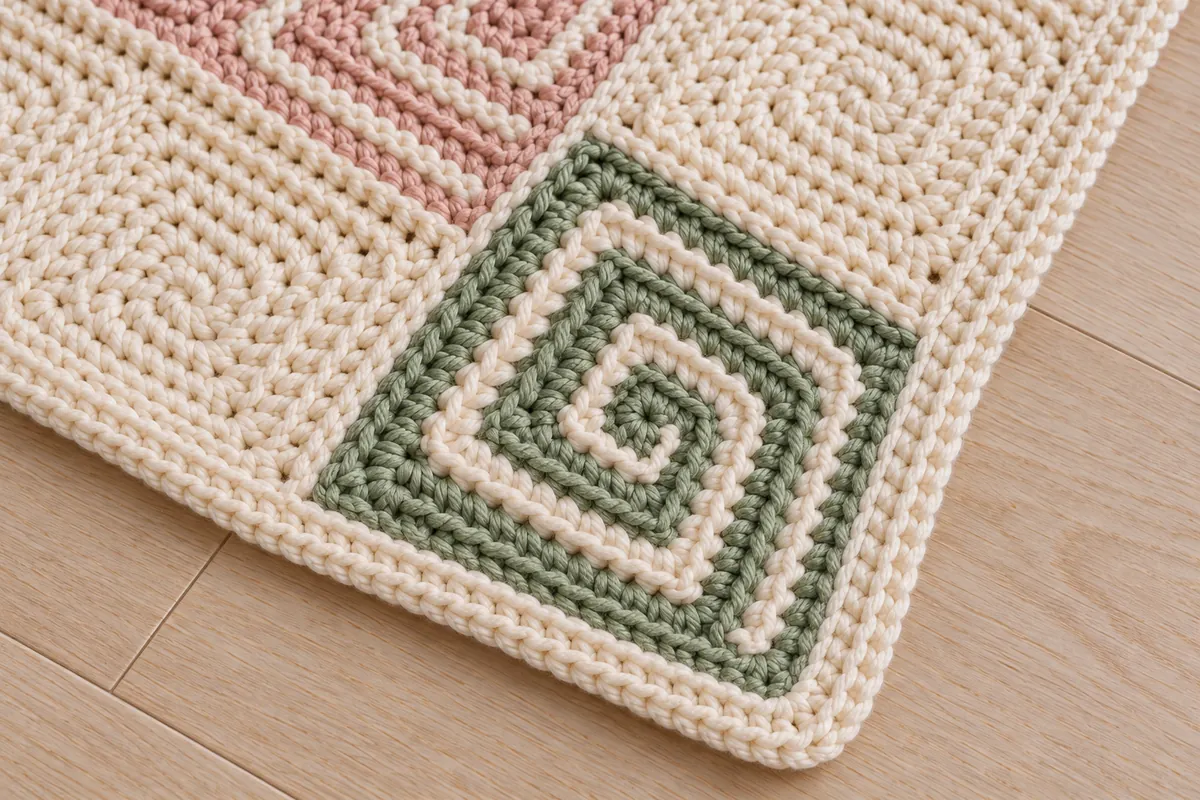
Cream is the big purchase: it fills every other round of the colored squares, all the plain squares, the seams and the border. Buy it all from one dye lot. Half the squares are plain cream, and a shade change would show right away. Each colored square takes only about 12 yd of its color, so the four square colors are small buys.
Four pastels on a cream background
Cream, called A in the card, is the background and the plain squares. B to E are the four square colors, and each strip of squares follows its own short sequence, so no two colored neighbors ever match.
- Fiddlehead: cream with sage, dusty blue, blush and butter, as written.
- Apple Orchard: oat with moss, apricot, clay rose and honey, warm and sunny.
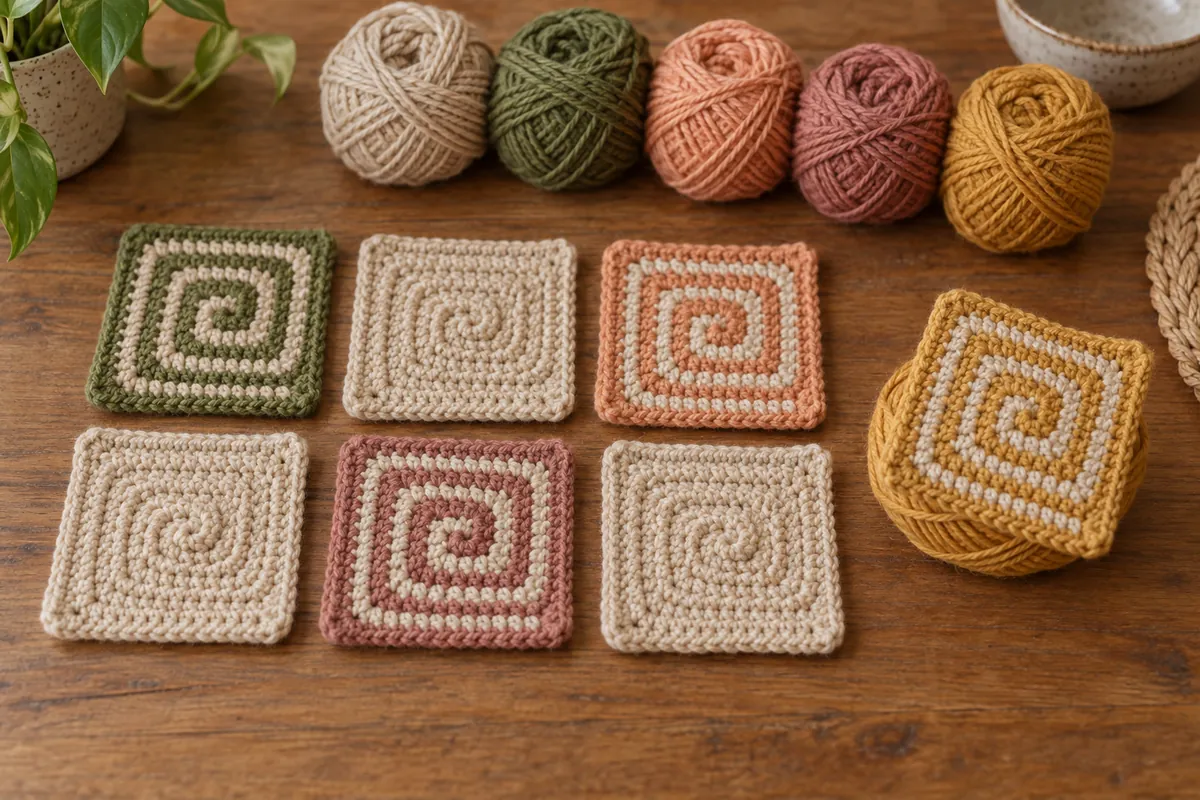
- Woodland Nursery: oatmeal with olive, rust, taupe and mustard, earthy and gender neutral.
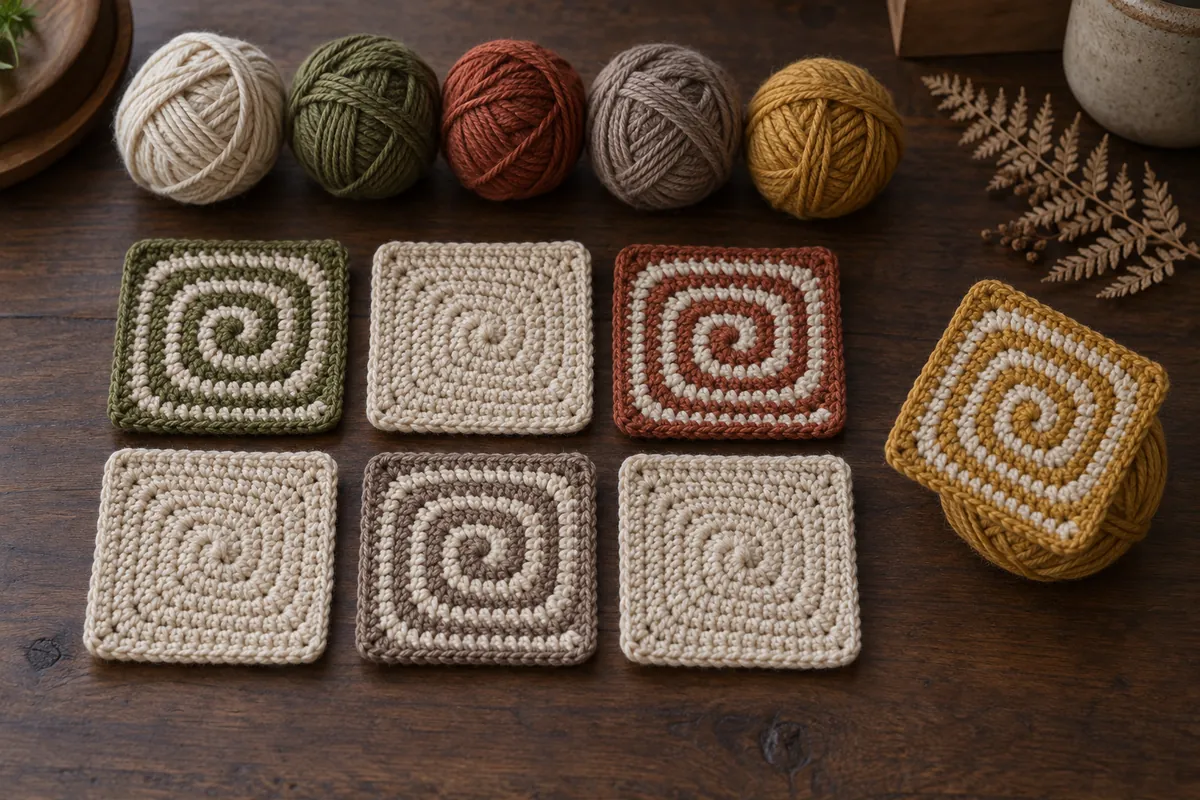
Keep the background clearly lighter than the four colors, so the spirals stand out on every square. To test a palette, make one square in each color and lay them on a skein of the background shade. If two colors blur together from a few feet away, swap one of them.
Baby, stroller or throw, square by square
The afghan grows by whole squares, 3 1/2 in (8.9 cm) each, and a two-round cream border adds 1/2 in (1.3 cm) on every side. The card is written as Baby [Stroller, Throw].
- Baby: about 29 × 36 in (74 × 91 cm). 80 squares in 8 strips of 10. Cream about 1,334 yd; sage, dusty blue, blush and butter 120 yd each.
- Stroller: about 36 × 46 1/2 in (91 × 118 cm). 130 squares in 10 strips of 13. Cream about 2,134 yd; sage 215 yd, dusty blue 203 yd, blush and butter 179 yd each.
- Throw: about 50 × 60 1/2 in (127 × 154 cm). 238 squares in 14 strips of 17. Cream about 3,847 yd; sage 382 yd, dusty blue 370 yd, blush and butter 334 yd each.
The layout keeps the colors balanced without any guesswork. Four strip types repeat across the afghan, each one a short run such as sage, cream, dusty blue, cream. Set side by side, they shift against each other, so a colored square only ever meets cream along its edges and the four colors spread evenly. Before you sew, lay all the squares out on a bed and take a photo: it’s your map for every seam.
For a baby, keep the safe-sleep rule in mind: no loose blanket in the crib for babies under 12 months. This afghan is meant for cuddles in a rocking chair, the stroller or a play mat. There are no buttons, fringe or loose parts anywhere on it.
Waiting loops, matching squares and flat seams
Each colored square needs two locking stitch markers, one for each waiting color. When you pick a loop back up, bring it straight up to the height of the work without pulling. A loop pulled too tight puckers the edge; a loop left too loose shows as a little bump on the front.
Each round ends in the stitch that holds the waiting loop of the other color. Hold that loop to the front and work into the back loop of the stitch beneath it. That’s the one spot where beginners lose a stitch, so count each round: 8, 16, 24 and on to 56.
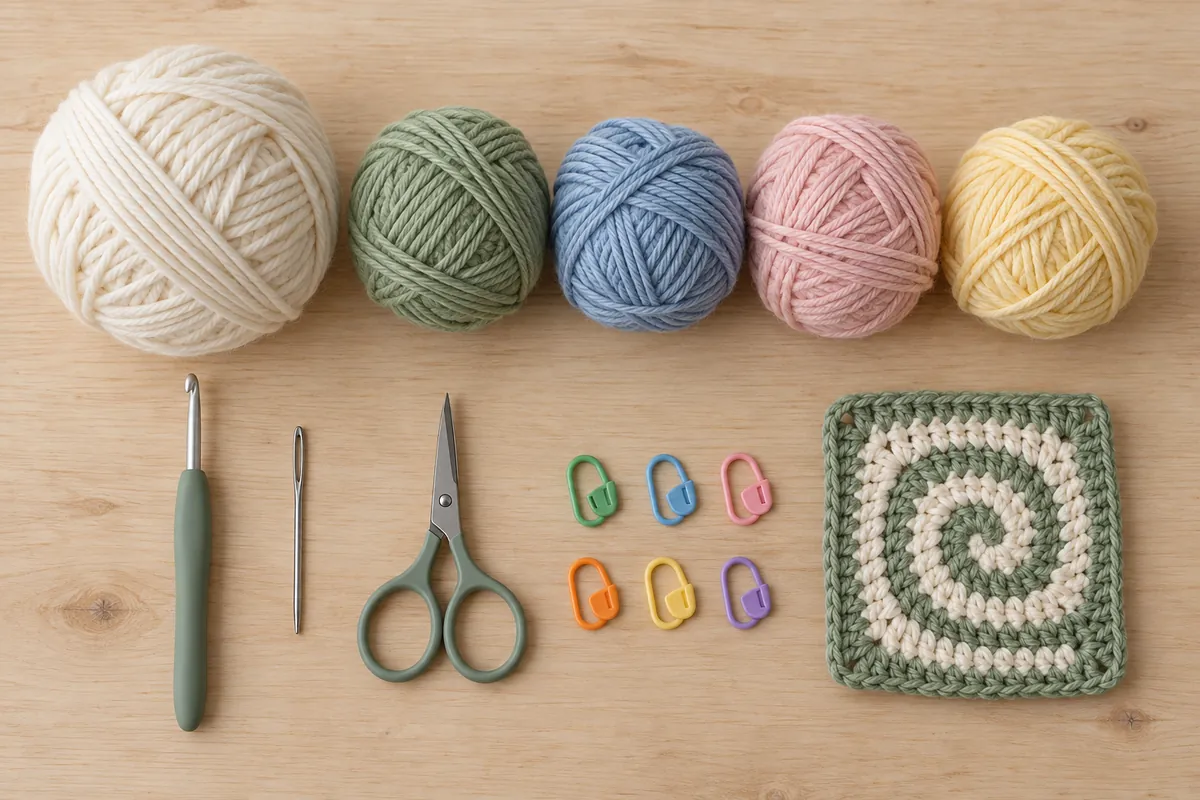
Weave in the tails of each square as you finish it, then block every square to 3 1/2 in before sewing anything. Squares of the same size give seams of the same length. Every square ends with 15 stitches on each edge, from corner to corner, and you sew one whipstitch in each pair, so the edges match one for one. For a tidy look, lay every square with the end of its spiral in the same corner.
If you love DK baby projects but want something with no color changes at all, the Little Fern blanket worked in simple rows makes a relaxing companion piece. For a second baby gift, the hooded wrap with a shell edge pairs nicely with it.
US crochet terms
The pattern
Materials
- DK weight yarn (#3, light), cotton-acrylic blend, washable acrylic or superwash wool blend, in 5 colors (estimate; A includes the cream rounds of the colored squares, the seams and the border):
- A, Cream: about 1,334 [2,134, 3,847] yd (1,220 [1,951, 3,518] m)
- B, Sage: about 120 [215, 382] yd (110 [197, 349] m)
- C, Dusty Blue: about 120 [203, 370] yd (110 [186, 338] m)
- D, Blush: about 120 [179, 334] yd (110 [164, 305] m)
- E, Butter: about 120 [179, 334] yd (110 [164, 305] m)
- 4.0 mm (G-6) crochet hook
- 2 locking stitch markers per square in progress
- Yarn needle and scissors
- Blocking mat and pins
Gauge
One square measures 3 1/2 × 3 1/2 in (8.9 × 8.9 cm) after Round 7, blocked, with a 4.0 mm (G-6) hook. This is about 17 sc = 4 in (10 cm) along one side of a square. Make one colored square first and block it: if it’s larger, use a smaller hook; if it’s smaller, use a larger hook. Estimate: your size may vary with your gauge.
Finished size
- Baby: about 29 × 36 in (74 × 91 cm), 8 strips of 10 squares (80 squares: 40 cream, 10 each of B, C, D and E)
- Stroller: about 36 × 46 1/2 in (91 × 118 cm), 10 strips of 13 squares (130 squares: 65 cream, 18 B, 17 C, 15 D, 15 E)
- Throw: about 50 × 60 1/2 in (127 × 154 cm), 14 strips of 17 squares (238 squares: 119 cream, 32 B, 31 C, 28 D, 28 E)
- Measured after blocking, border included (about 1/2 in / 1.3 cm on each side). Estimates based on the gauge above.
Abbreviations
- approx. approximately
- CC contrasting color, the color of the square being made (B, C, D or E)
- ch chain
- RS right side
- sc single crochet
- sl st slip stitch
- st(s) stitch(es)
- WS wrong side
Notes
- Rounds, never turned: Every square is worked from the center out with the RS facing you. The work is never turned.
- Continuous rounds: The rounds of a square are never joined: there is no sl st and no starting chain between rounds. Each round starts in the first stitch of the round below.
- Starting chains: The ch 1 at the start of Round 1 and the ch 1 after joining A in Round 2 do not count as stitches. In the border, the ch 1 at the start of each round does not count as a stitch, and the joining sl st is never counted.
- Back loop only: From Round 2 on, every sc of a square is worked in the back loop only (the loop farther from you). The front loops stay as a fine ridge on the RS.
- Corner center: Each round has four groups of 3 sc. The middle sc of each group is the corner center: the next round places its 3 sc in that stitch.
- Two-color spiral (colored squares): Odd rounds are worked in CC, even rounds in A. When a round is finished, remove the hook from the loop and put a locking stitch marker in the loop so it cannot unravel: that color waits there. To work the next round, take the other color’s loop off its marker, bring it straight up to the height of the work without pulling, put it on the hook and start the round. A loop pulled too tight puckers the edge; a loop left too loose shows on the RS.
- Where a round ends: Each round ends in the stitch that holds the waiting loop of the other color. Hold that loop to the front and work into the back loop of the stitch beneath it.
- Tails: Leave 6 in (15 cm) tails. A colored square has 4 tails: the A starting tail is worked over in Round 2, the other 3 are woven in on the WS. A cream square has 2 tails. Weave in the tails of each square before blocking: about 200 [325, 595] tails in all for the squares, plus the seam and border tails.
- Stitch multiple: There is no stitch multiple: the afghan grows by whole squares. Each square adds 3 1/2 in (8.9 cm) in width or length. To change the size, add or remove whole strips or whole squares, keep the strip sequences below, and recount the border (15 sts per square edge).
- Sizes: Values are given as Baby [Stroller, Throw]. When only one number is given, it applies to all sizes.
- Optional: for a tidy look, lay every square with the end of its spiral in the same corner.
- Safe sleep: Babies under 12 months should never sleep with a loose blanket. Use this afghan for supervised cuddles, the stroller or a play mat, never in the crib. Do not add buttons or any small part to a baby blanket.
- Yardage and sizes are estimates based on the gauge above.
Instructions
Colored square
Make 40 [65, 119] colored squares: 10 [18, 32] in B, 10 [17, 31] in C, 10 [15, 28] in D and 10 [15, 28] in E.
Odd rounds are in CC, even rounds in A. From Round 2 on, work every sc in the back loop only.
- Round 1 (CC): Make a magic ring, ch 1, work 8 sc in the ring, pull the tail to close the center. Do not join. Remove the hook and put a locking marker in the CC loop. (8 sts)
- Round 2 (A): Leaving the CC loop on its marker, join A with a sl st in the back loop of the first sc of Round 1, ch 1, sc in the same st, 3 sc in next st, [sc in next st, 3 sc in next st] 3 times. Lay the A tail along the top of Round 1 as you go and work the stitches over it. Remove the hook and put a locking marker in the A loop. (16 sts)
- Round 3 (CC): Pick up the CC loop, sc in next 2 sts, [3 sc in next st, sc in next 3 sts] 3 times, 3 sc in next st, sc in next st. Put the CC loop on its marker. (24 sts)
- Round 4 (A): Pick up the A loop, sc in next 3 sts, [3 sc in next st, sc in next 5 sts] 3 times, 3 sc in next st, sc in next 2 sts. Put the A loop on its marker. (32 sts)
- Round 5 (CC): Pick up the CC loop, sc in next 4 sts, [3 sc in next st, sc in next 7 sts] 3 times, 3 sc in next st, sc in next 3 sts. Put the CC loop on its marker. (40 sts)
- Round 6 (A): Pick up the A loop, sc in next 5 sts, [3 sc in next st, sc in next 9 sts] 3 times, 3 sc in next st, sc in next 4 sts. Cut A, leaving a 6 in (15 cm) tail, and pull the tail through the loop to fasten off. (48 sts)
- Round 7 (CC): Pick up the CC loop, sc in next 6 sts, [3 sc in next st, sc in next 11 sts] 3 times, 3 sc in next st, sc in next 5 sts. (56 sts)
- Finish: Sl st in the back loop of the next st (the first st of Round 7) to smooth the step of the spiral. Fasten off CC, leaving a 6 in (15 cm) tail. Each edge now has 15 sts from corner center to corner center, both corner centers included.
Cream square
Make 40 [65, 119] cream squares in A only. The rounds are the same as for a colored square, worked in one strand without dropping the yarn. Put a marker in the first st of each round and move it up as you go. From Round 2 on, work every sc in the back loop only.
- Round 1: Make a magic ring, ch 1, work 8 sc in the ring, pull the tail to close the center. Do not join. (8 sts)
- Round 2: Sc in the first sc of Round 1, 3 sc in next st, [sc in next st, 3 sc in next st] 3 times. (16 sts)
- Round 3: Sc in next 2 sts, [3 sc in next st, sc in next 3 sts] 3 times, 3 sc in next st, sc in next st. (24 sts)
- Round 4: Sc in next 3 sts, [3 sc in next st, sc in next 5 sts] 3 times, 3 sc in next st, sc in next 2 sts. (32 sts)
- Round 5: Sc in next 4 sts, [3 sc in next st, sc in next 7 sts] 3 times, 3 sc in next st, sc in next 3 sts. (40 sts)
- Round 6: Sc in next 5 sts, [3 sc in next st, sc in next 9 sts] 3 times, 3 sc in next st, sc in next 4 sts. (48 sts)
- Round 7: Sc in next 6 sts, [3 sc in next st, sc in next 11 sts] 3 times, 3 sc in next st, sc in next 5 sts. (56 sts)
- Finish: Sl st in the back loop of the next st, fasten off, leaving a 6 in (15 cm) tail.
Blocking
Weave in the tails of every square. Pin each square to 3 1/2 × 3 1/2 in (8.9 × 8.9 cm), RS up, with square corners, and block it following the yarn label (light steam or a fine mist of water). Let the squares dry before sewing. Squares of the same size give seams of the same length.
Layout
Lay out the squares RS up in 8 [10, 14] vertical strips of 10 [13, 17] squares each.
Each strip follows one of four sequences, read from the top of the strip down. Repeat the 4 squares of the sequence down the strip and stop after the 2nd [1st, 1st] square of the sequence: 10 [13, 17] squares per strip.
- Strip type 1: B, A, C, A.
- Strip type 2: A, D, A, E.
- Strip type 3: C, A, B, A.
- Strip type 4: A, E, A, D.
From left to right, place strip types 1, 2, 3, 4 and repeat this order: 8 [10, 14] strips, ending with a strip type 4 [2, 2]. The colored and cream squares then alternate like a checkerboard in both directions.
Joining
Sew every seam with A and a yarn needle, on the WS: hold two squares RS together, so the seam ridge sits on the WS.
- One seam: Place two squares RS together, edges aligned, corner centers matched. Leaving a 6 in (15 cm) tail, pass the needle through both corner center sts twice to lock the yarn. Insert the needle from front to back under both loops of the next st on the front square and of the matching st on the back square, then bring the yarn over the top of the edges. Repeat in each pair of sts, always in the same direction: 15 whipstitches per edge, from corner center to corner center. Pull each stitch snug, not tight.
- Strips first: Sew the squares of each strip together, top to bottom, in the order of the layout: 9 [12, 16] seams per strip.
- Then the strips: Sew the strips together side by side, left to right: 7 [9, 13] long seams. Match the seams of the two strips at each meeting point.
- Where 4 squares meet: Pass the needle through the 4 corner center sts before going on, and take the cross seam through the same point again. Never start a new length of yarn at a meeting point: join it in the middle of a square edge.
- Ends: Finish each length with a locking stitch and weave the tail along the seam on the WS.
Border
With A, RS facing. Work every sc in the back loop only. Each long side has 10 [13, 17] square edges and each short side 8 [10, 14] square edges, 15 sts per square edge.
- Round 1: Join A with a sl st in the back loop of the st just after the corner center at one end of a long side, ch 1, sc in the same st. Work along the long side: sc in each st to the next corner of the afghan, working into both corner center sts wherever two squares meet (148 [193, 253] sc on the side, the first sc included). In the corner center st of the afghan corner, work 3 sc. Along the short side: sc in each st to the next corner, again into both corner center sts at each seam (118 [148, 208] sc), 3 sc in the corner center st. Work the second long side (148 [193, 253] sc) and its corner (3 sc), then the second short side (118 [148, 208] sc) and the last corner (3 sc). Join with a sl st in the first sc. (544 [694, 934] sts)
- Round 2: Ch 1, sc in each st around, with no increase at the corners: work 1 sc in each of the 3 sts of every corner group. Join with a sl st in the first sc. (Each long side: 148 [193, 253] sc between the 3 corner sts; each short side: 118 [148, 208] sc between the 3 corner sts; 544 [694, 934] sts in all.) Fasten off.
Finishing
- Weave in all remaining tails on the WS. Lay the afghan flat, RS up, pat it to the finished size, smooth the border corners and let it dry fully.
Washing a pastel baby afghan
Follow the yarn label first. For a cotton-acrylic or acrylic blend, machine wash cold on a gentle cycle and lay flat or tumble dry on low. For a superwash wool blend, wash cold on the wool cycle and dry flat. Never iron the back-loop ridges flat: they’re what makes the spiral show.
Wash the afghan once before its first use as a baby blanket, and wash it on its own that first time in case a color bleeds into the cream. Store it folded in a drawer or a cotton bag, away from direct sun, which fades pastels.
Fiddlehead questions about spirals, colors and sizes
Is a spiral square crochet blanket harder than a striped one?
Only for the first few squares. The move is always the same: finish the round, put the loop on a marker, pick up the other color. Since nothing is ever cut between rounds, you get far fewer tails than with a striped square.
Why does each colored square need two locking stitch markers?
Each color waits for one full round while the other works. A locking marker in each waiting loop keeps it from unraveling and shows you exactly where to pick it up.
Can the plain squares be a color instead of cream?
Yes. Keep the cream for the stripes inside the colored squares and the border, then choose a light solid for the plain squares, such as pale oat or soft gray. Keep it lighter than the four square colors so the checkerboard stays clear.
My squares come out different sizes. What can I do?
Check that you’re working every stitch after Round 1 in the back loop, and that each round ends with its full count. Then block every square to 3 1/2 in. Blocking evens out small differences, and the seams line up as long as every edge has 15 stitches.
Quick recap
- Make 40 [65, 119] colored squares: odd rounds in the square color, even rounds in cream, never joined.
- Make 40 [65, 119] cream squares with the same rounds in one strand.
- Block every square to 3 1/2 in (8.9 cm).
- Lay out the strips with the four strip sequences, sew each strip, then sew the strips together.
- Work two cream border rounds all around.
Square by square, this spiral square crochet blanket curls into a soft checkerboard of little fiddleheads. If a round or a seam puzzles you, ask through the Contact page.