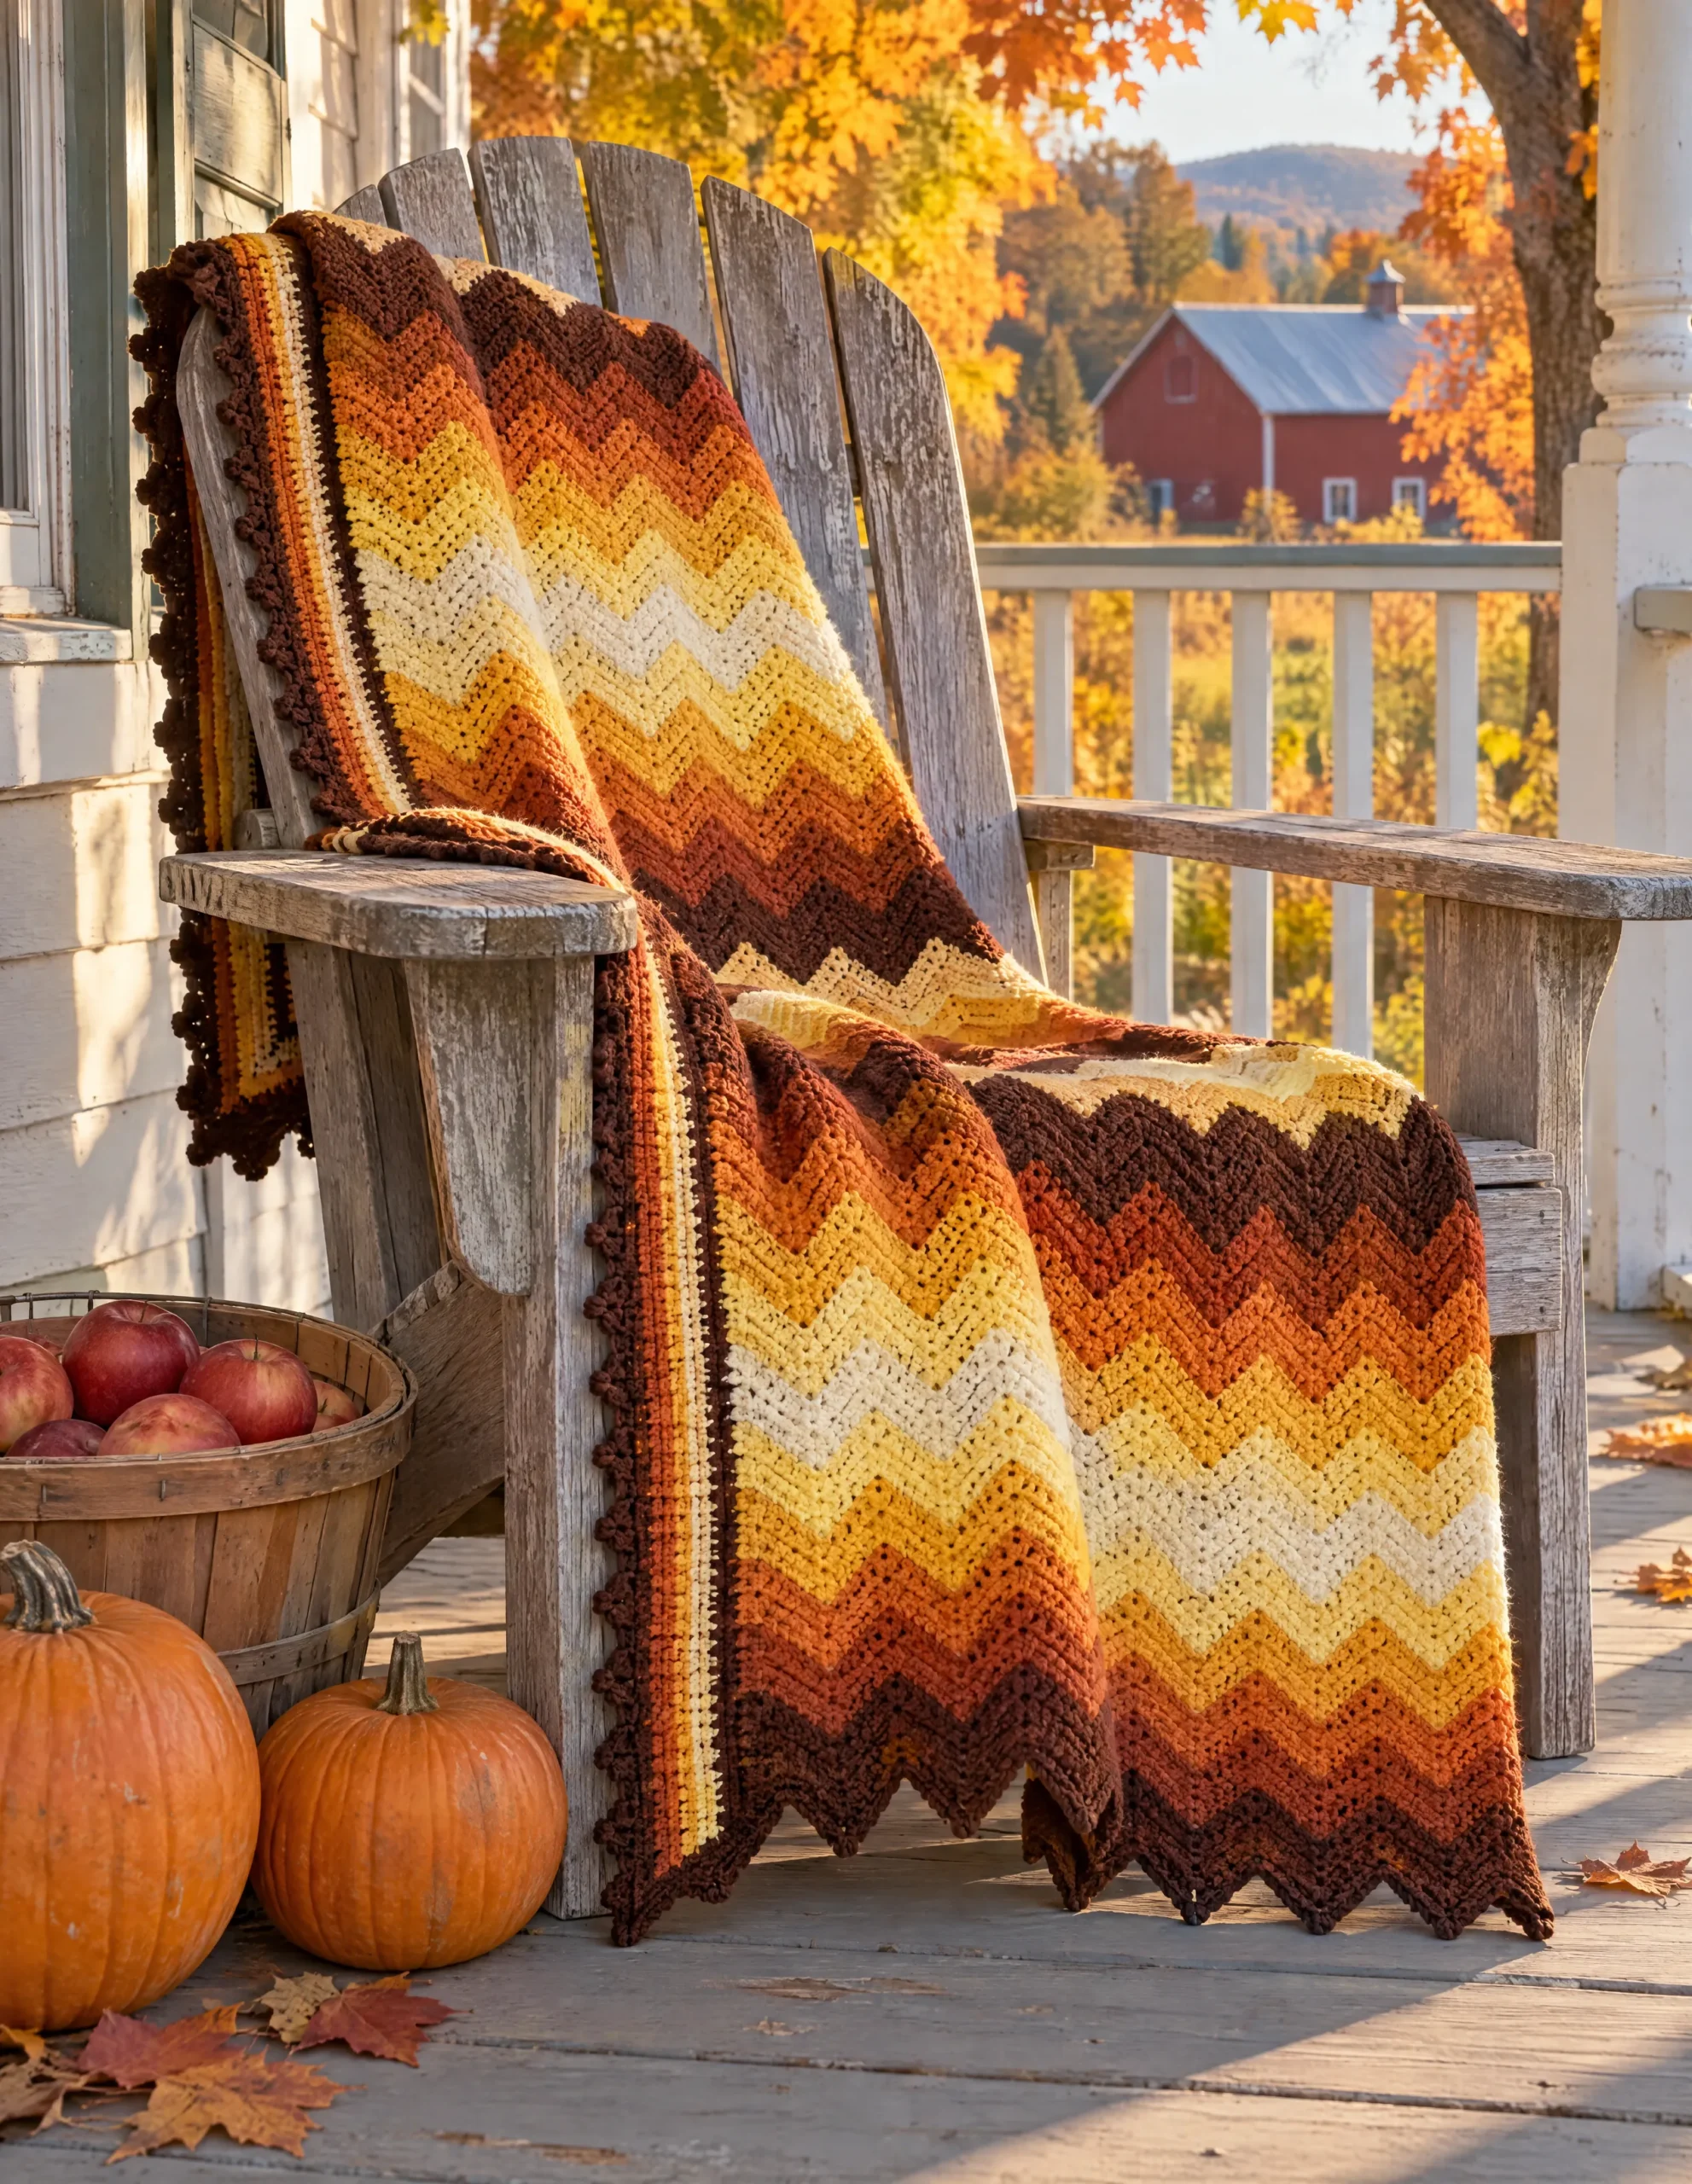
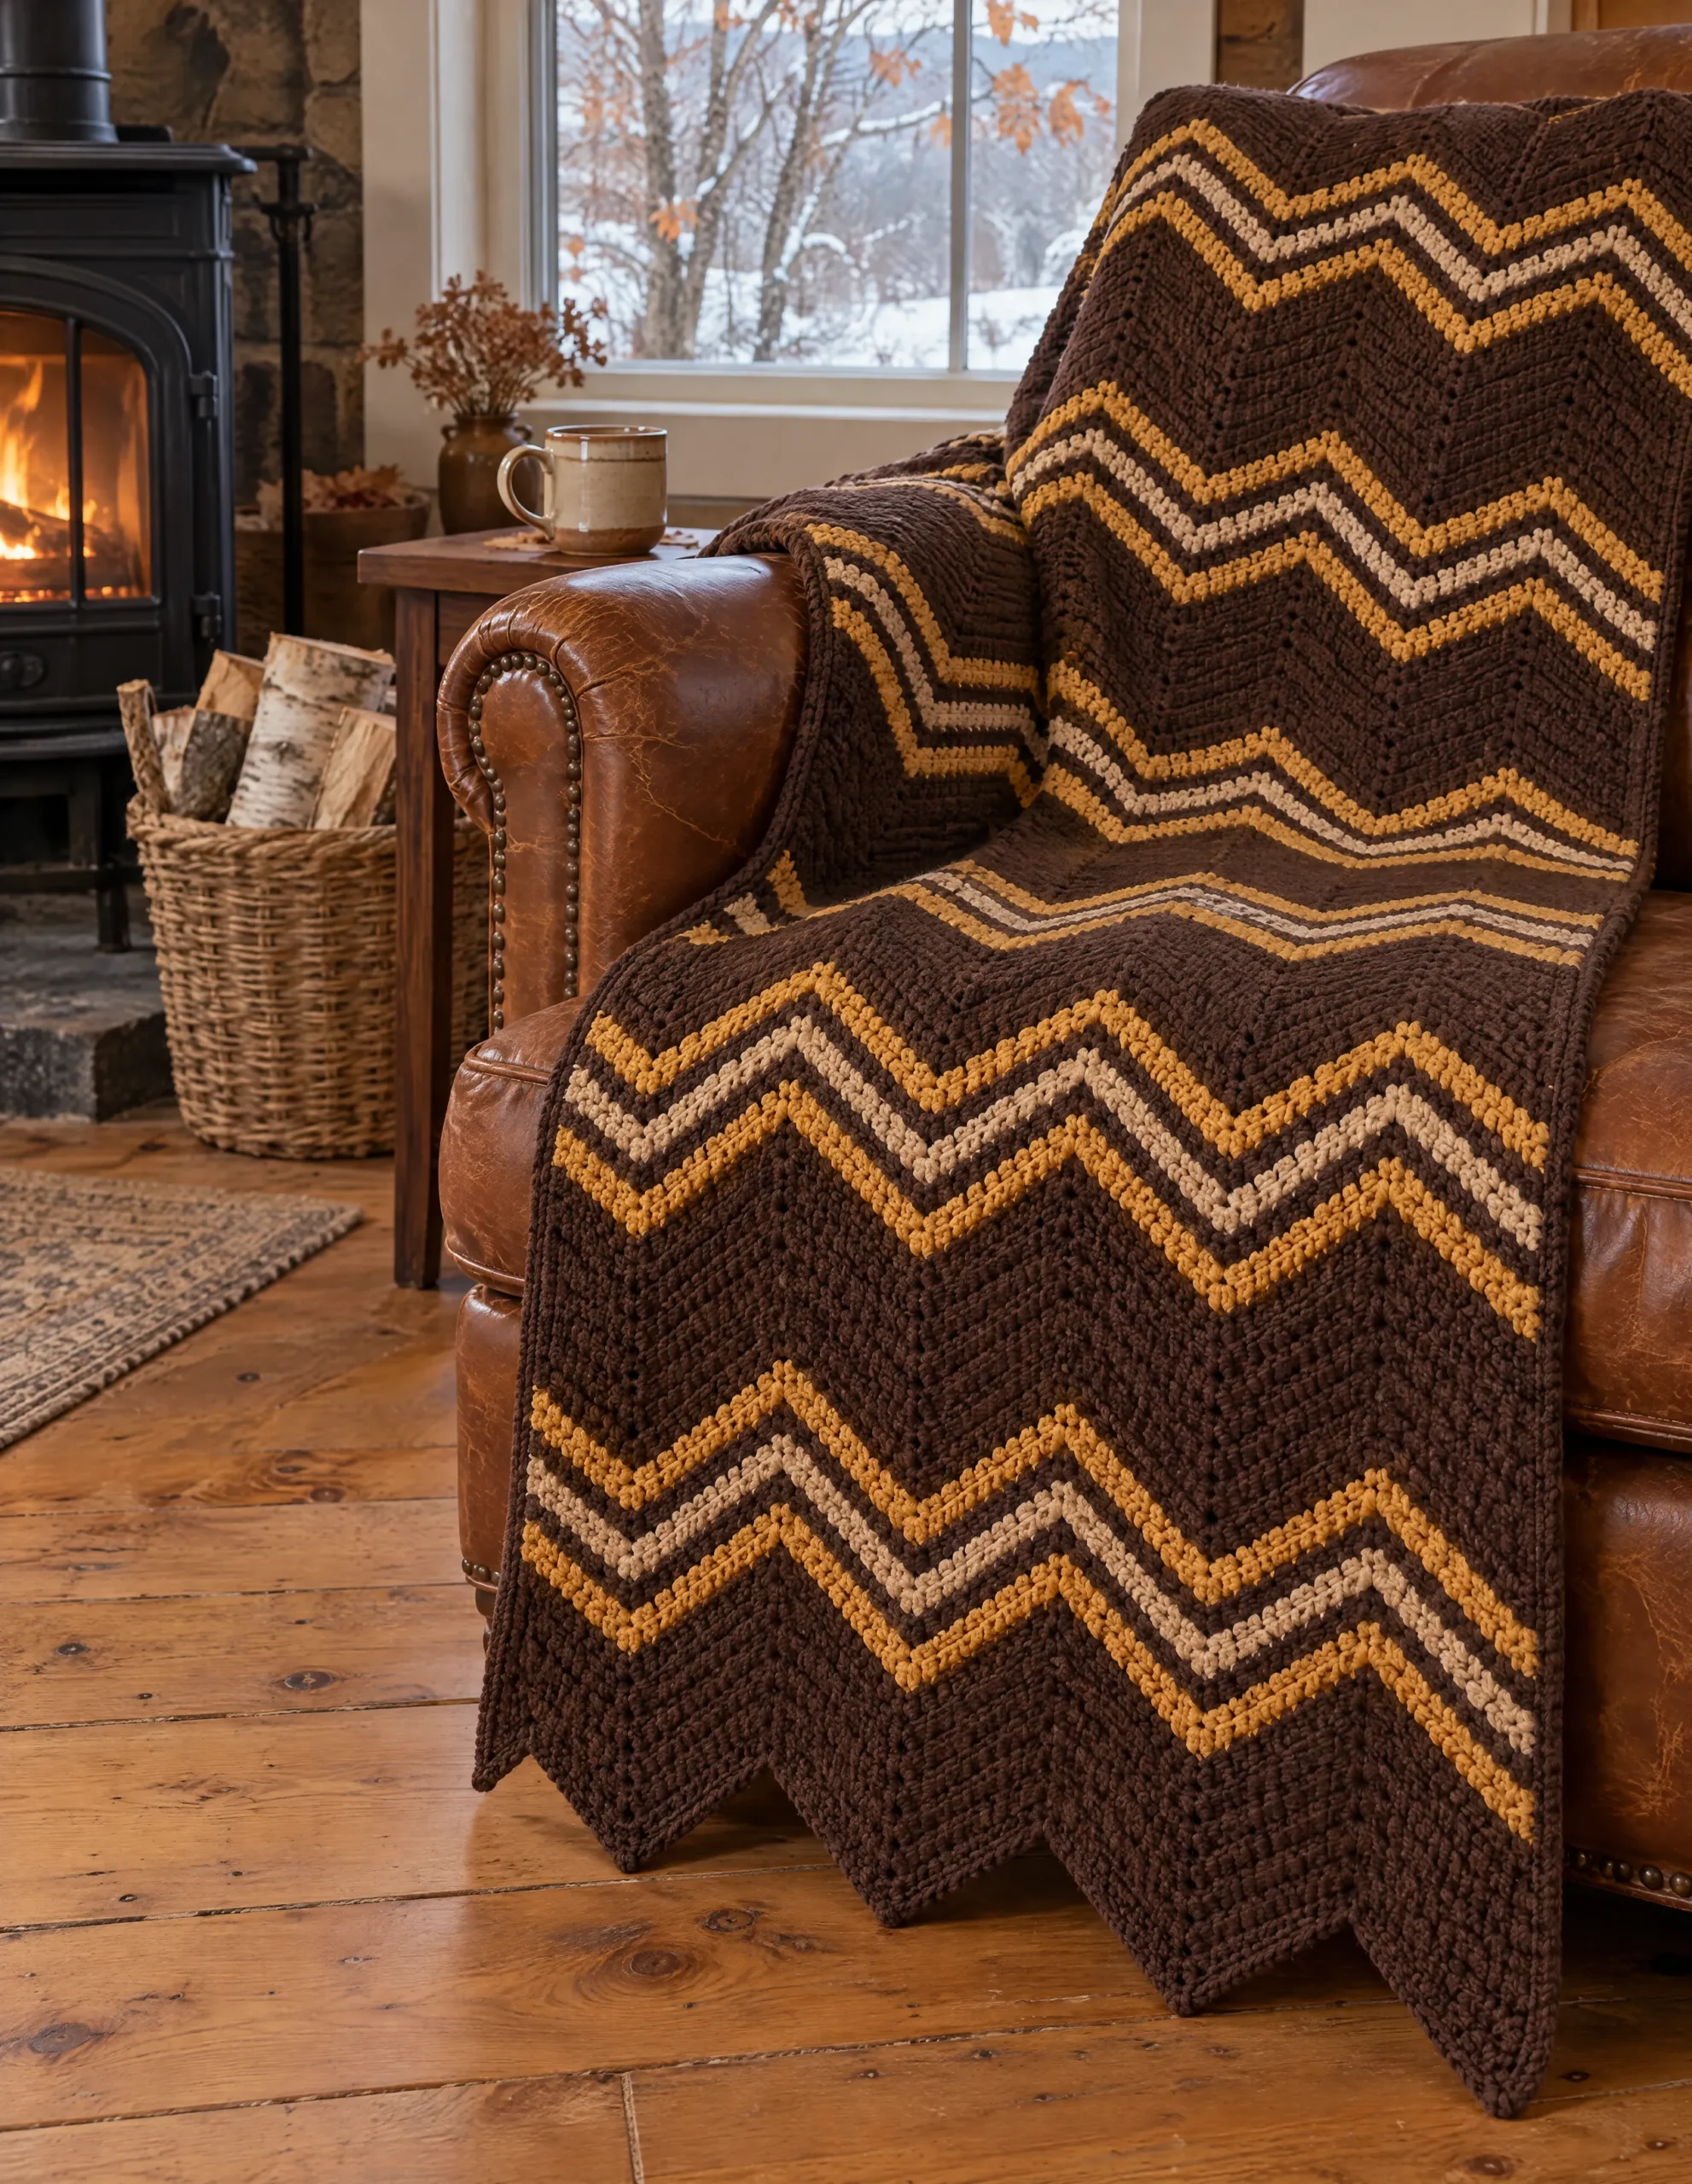
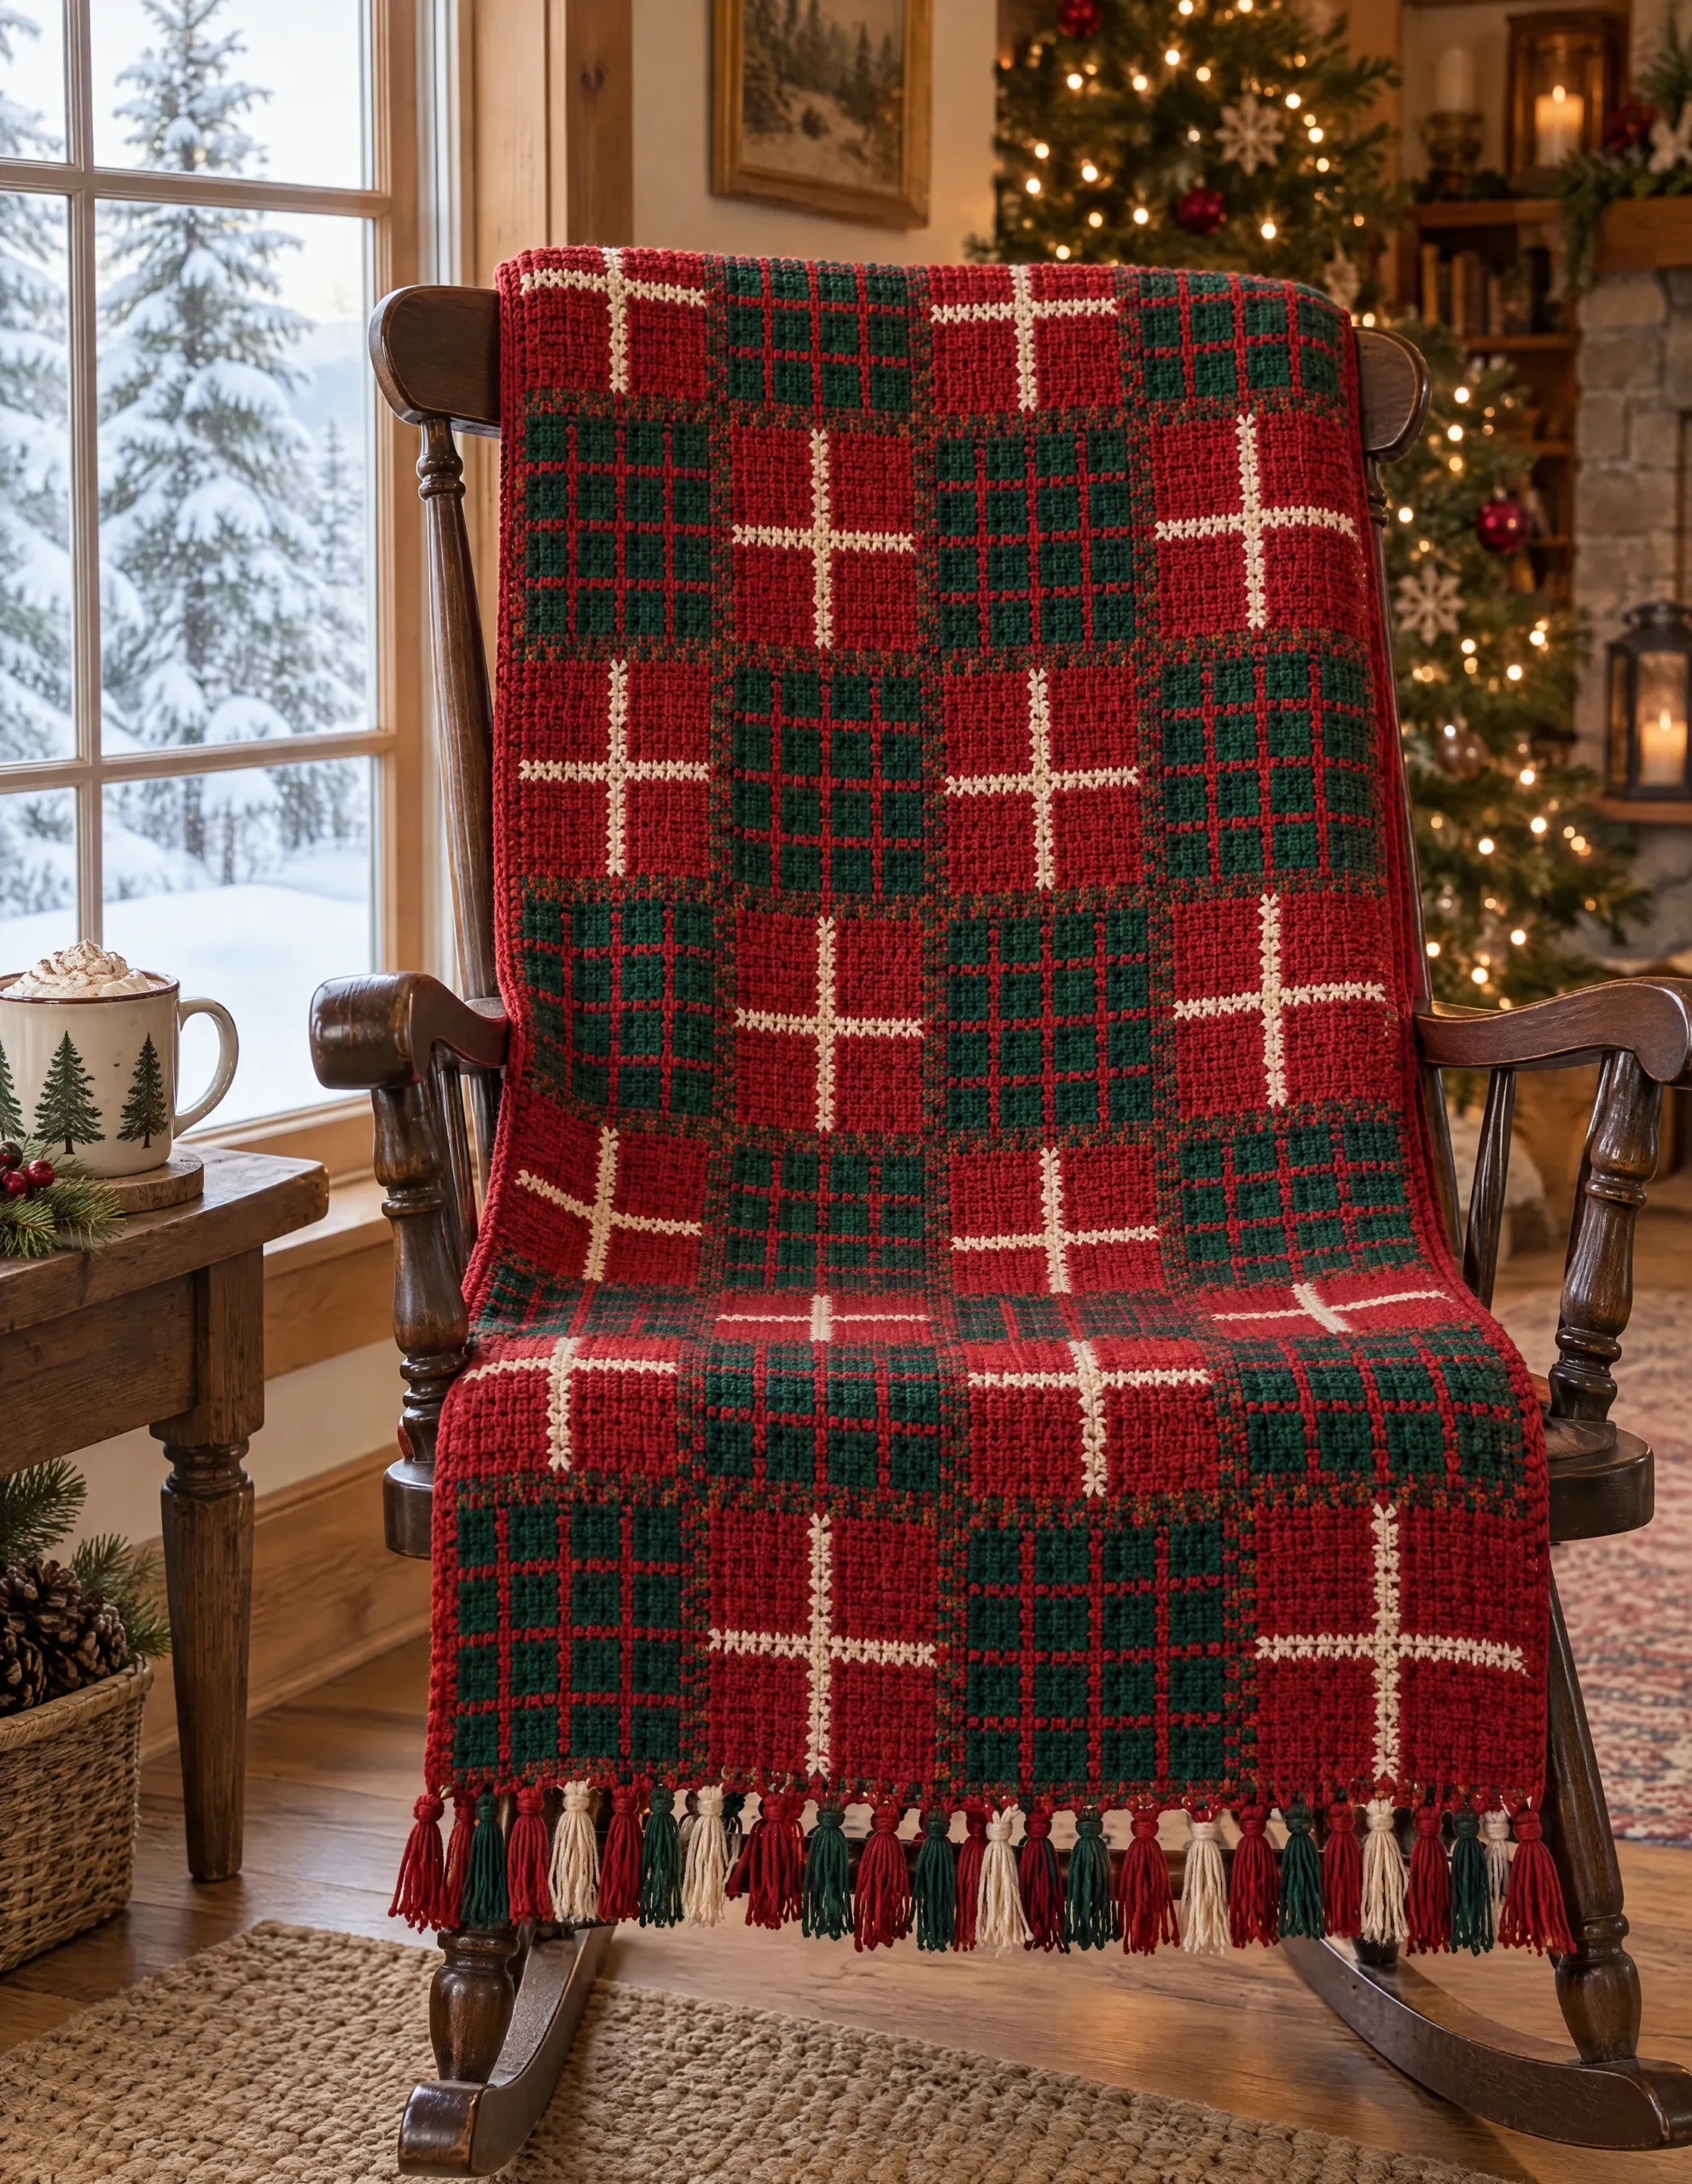
Picture a December evening in a Vermont farmhouse, snow on the birches and a row of candles on the sill, and a vintage granny square afghan thrown over the armchair. Dozens of small squares in cranberry, pine green, antique gold and cream sit inside black frames, so the colors glow like candle flames on a dark window. A long fringe in all four colors swings from every edge.
The squares are the true classic, groups of three double crochets with nothing fancy. The planning around them is what this pattern gives you: four color orders that keep the scrappy look balanced, a layout for every square, and counts for the seams, the border and the fringe in four sizes, from a stroller blanket to a queen bedspread.
Is this vintage granny square afghan a good first big project?
It’s a very good one. You need three stitches: the chain, double crochet and single crochet. Every square is worked in joined rounds from a magic ring, with the right side always facing you, and the colors change only at the start of a round. If the abbreviations look unfamiliar, the guide to reading a crochet pattern explains each one.
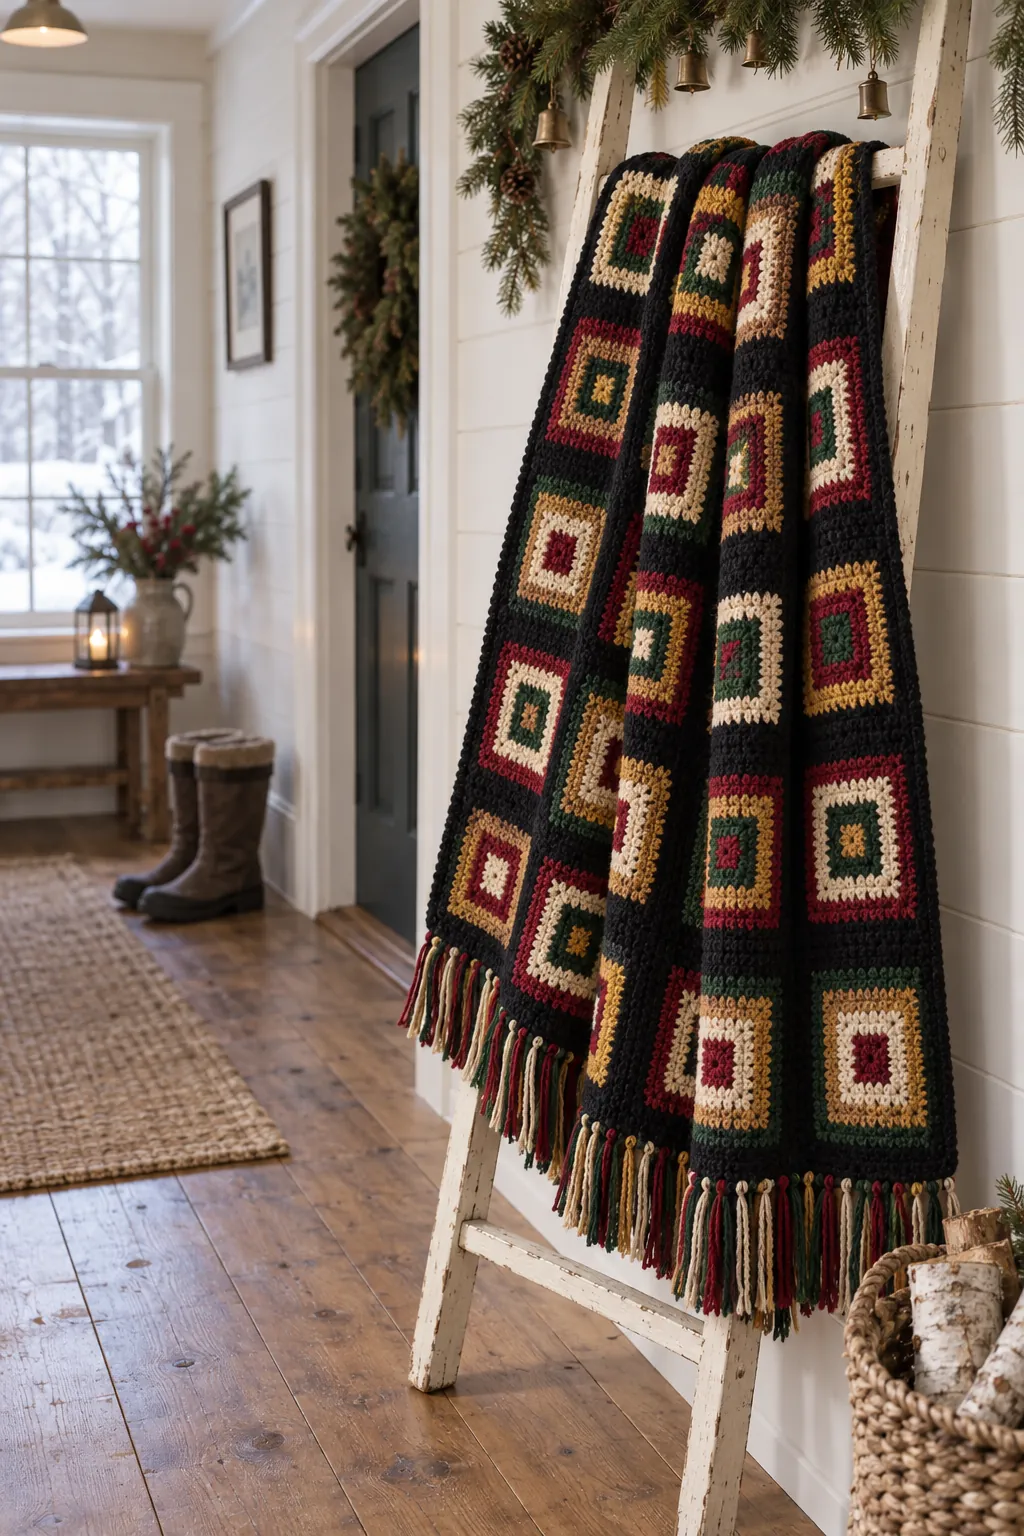
This version has no chains along the sides. In many granny squares, a chain sits between the groups of three double crochets. Here the groups stand shoulder to shoulder, each one tucked into the gap between two groups of the round below. The fabric comes out denser, the colors read as solid bands, and the square keeps a crisp, almost woven look.
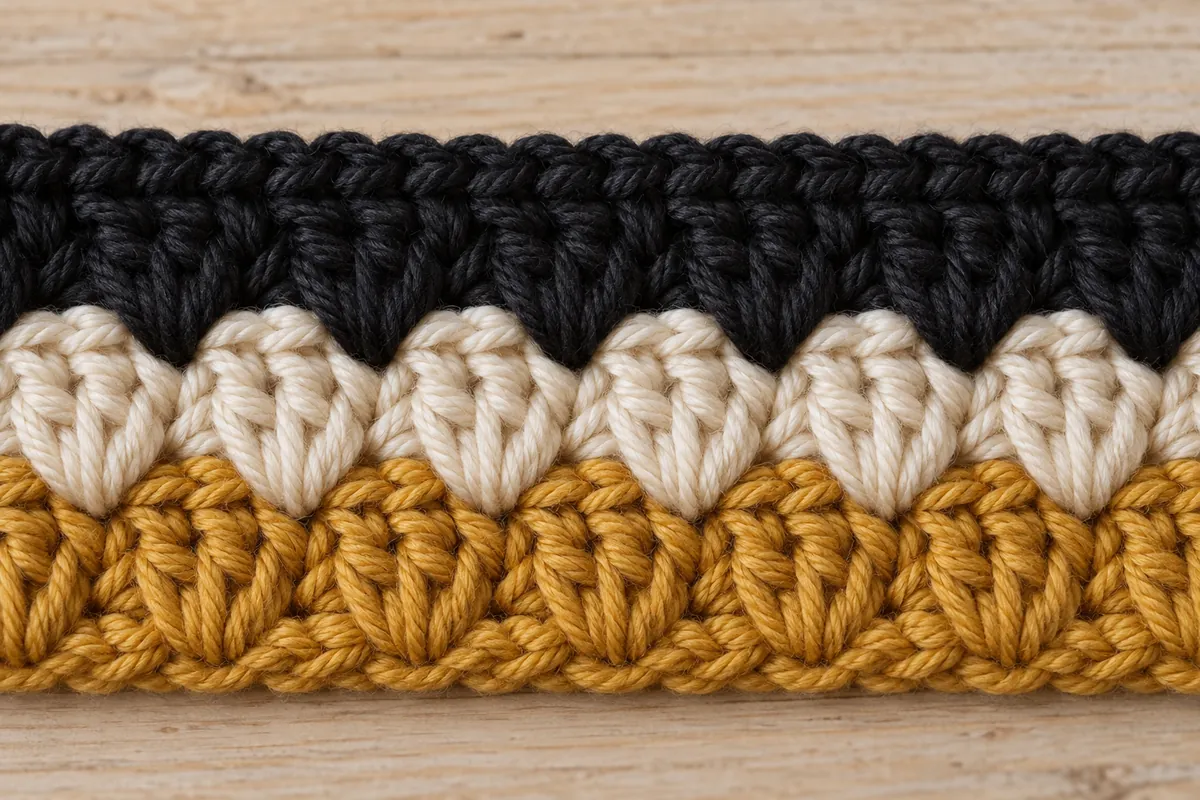
The only technique that may be new is the slip stitch seam. You hold two squares right sides together and slip stitch through the outer loops of both edges. The ridge stays on the back, and from the front the black frames merge into one continuous background. The work is repetitive rather than hard: 63 squares for the stroller size, 399 for the queen.
Worsted yarn and a smaller hook for firm squares
Look for a 4 on the label, with medium or worsted next to it. The amounts in the card assume balls of about 200 yd (183 m) per 100 g. Wool, a wool blend or acrylic all work. For the stroller size, pick a soft acrylic or a superwash wool that goes in the washer.
The hook is a 3.75 mm (F-5), smaller than most worsted labels suggest. That’s on purpose: it gives the firm, dense squares this style of afghan is known for, and it keeps the corners square. Make one square and block it before you go on. If it’s smaller than 4 5/8 in, switch to a 4 mm (G-6) hook; if it’s larger, try a 3.5 mm (E-4). A small difference adds up over 120 or 399 squares.
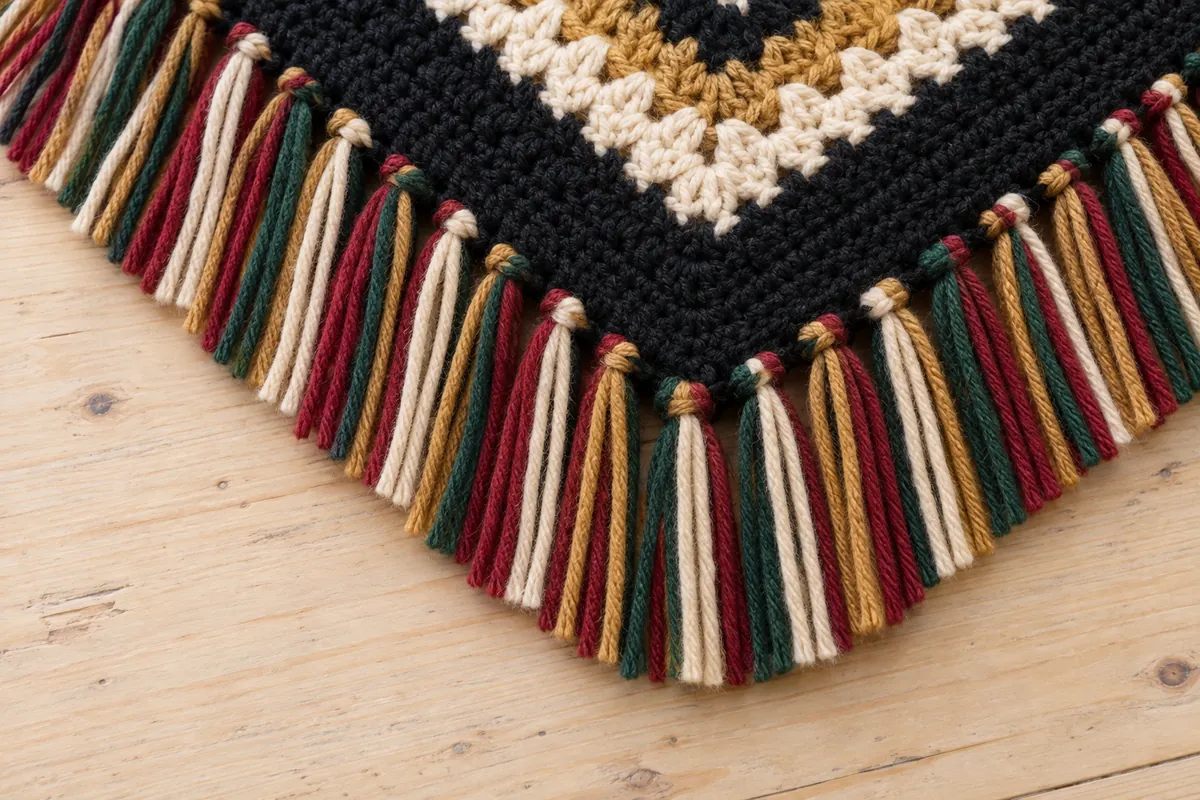
The frame color is the big purchase: about 1,700 yd for the throw, against about 479 yd for each of the four round colors. Buy all of it from one dye lot. The fringe takes a little extra of each round color, listed on its own line in the card, so you can decide on it later.

Cranberry, pine, gold and cream inside a black frame
Every square uses four colors once each in Rounds 1 to 4, and one frame color for Rounds 5 and 6, the seams and the border. The four squares only differ in the order: Square 1 runs A, B, C, D from the center out, Square 2 starts with B, Square 3 with C and Square 4 with D. Across the blanket, every color shows up in every round position, and no two neighbors match.
- Candlelight: A cranberry, B pine green, C antique gold, D cream, E black, as written.
- Snowy Cabin: A cranberry, B spruce green, C honey, D frost blue, E natural cream.

- Maple Porch: A rust, B mustard, C sage, D oatmeal, E walnut brown, for every season.

With a light frame, keep every round color clearly darker or brighter than E. In Snowy Cabin, a cream round next to a cream frame would vanish, which is why that palette swaps cream for frost blue.
Stroller, throw, twin or queen, one square for all
Every size uses the same square, about 4 5/8 in (11.8 cm) after blocking, so you can start crocheting before you decide. The card is written as Stroller [Throw, Twin, Queen]. Sizes are measured without the fringe, which adds about 4 in (10 cm) on every edge.
- Stroller: about 36 × 45 in (91 × 115 cm). 7 × 9 squares, 63 in all, 7 border rounds, no fringe. Frame color about 997 yd, each round color about 250 yd.
- Throw: about 50 × 59 in (127 × 150 cm). 10 × 12 squares, 120 in all, 7 border rounds. Frame color about 1,700 yd, each round color 479 yd.
- Twin: about 66 1/2 × 89 3/4 in (169 × 228 cm). 14 × 19 squares, 266 in all, 3 border rounds. Frame color about 2,981 yd, each round color about 1,060 yd.
- Queen: about 90 3/4 × 100 in (230 × 254 cm). 19 × 21 squares, 399 in all, 5 border rounds. Frame color about 4,635 yd, each round color about 1,590 yd.
The border rounds change with the size so each one lands close to a standard measurement. The stroller size never gets a fringe: loose strands aren’t safe for a baby. For a baby under 12 months, keep any loose blanket out of the crib and use it on the stroller, on a play mat or for supervised cuddles.
Keeping 399 squares straight, from tails to seams
Make the squares in batches by color order, and keep each batch in its own bag with a label. The card tells you how many of each order your size needs: for the throw, 30 of each. When a bag is full, that batch is done.
Each square leaves 10 tails. Work over the tail of each new color for at least 8 stitches as you go, which takes care of 4 of them. Weave in the other 6 when the square is finished, not at the end of the project. Nobody wants to face 2,394 tails at once.
Block every square to 4 5/8 in before you join anything. Squares of the same size make seams that lie flat. When you slip stitch the seams, work loosely enough that the seam is as long as the square edge: a tight seam puckers and pulls the corners in. Join the squares of each row into a strip first, then join the strips with long seams. Never start a new length of yarn where four squares meet.
On the border, clip a marker in the center stitch of each corner and move it up on every round. Use a different color for the starting corner, because the fringe starts there too.
For a granny project with no seams to sew, the one big square baby blanket in bright rounds grows round after round. If you love the scrappy look, the County Fair squares mix many more colors.
US crochet terms
The pattern
Materials
- Worsted weight yarn (#4), wool, wool blend or acrylic, about 200 yd (183 m) per 100 g ball, in 5 colors (estimate, a margin included):
- E, Black (Rounds 5–6, seams, border): about 997 [1,700, 2,981, 4,635] yd (912 [1,554, 2,726, 4,238] m), 5 [9, 15, 24] balls
- A, Cranberry (Rounds 1–4): about 246 [479, 1,062, 1,577] yd (225 [438, 971, 1,442] m), 2 [3, 6, 8] balls
- B, Pine Green (Rounds 1–4): about 257 [479, 1,059, 1,608] yd (235 [438, 968, 1,470] m), 2 [3, 6, 9] balls
- C, Antique Gold (Rounds 1–4): about 243 [479, 1,062, 1,574] yd (222 [438, 971, 1,439] m), 2 [3, 6, 8] balls
- D, Cream (Rounds 1–4): about 261 [479, 1,065, 1,611] yd (239 [438, 974, 1,473] m), 2 [3, 6, 9] balls
- Optional fringe (Throw, Twin and Queen only), extra for each of A, B, C and D: about 96 [138, 168] yd (88 [126, 154] m); with the fringe, plan 3 [6, 9] balls of A, B and C and 3 [7, 9] balls of D
- 3.75 mm (F-5) crochet hook, or size needed to obtain gauge
- Yarn needle and scissors
- 4 locking stitch markers (one in a different color)
- A stiff card 4 1/2 in (11.5 cm) wide for cutting the fringe
- Rustproof pins and a blocking surface
Gauge
One square (Rounds 1–6) = about 4 5/8 in (11.8 cm) on each side after blocking, with a 3.75 mm (F-5) hook. Each border round adds about 1/4 in (6 mm) on every edge. Estimate: your size may vary with your gauge. If your square is smaller, use a 4 mm (G-6) hook; if it’s larger, use a 3.5 mm (E-4) hook.
Finished size
- Stroller: about 36 × 45 in (91 × 115 cm), 7 × 9 squares
- Throw: about 50 × 59 in (127 × 150 cm), 10 × 12 squares
- Twin: about 66 1/2 × 89 3/4 in (169 × 228 cm), 14 × 19 squares
- Queen: about 90 3/4 × 100 in (230 × 254 cm), 19 × 21 squares
- Measured after blocking, border included, fringe not included (it adds about 4 in / 10 cm on every edge). Estimates based on the gauge above.
Abbreviations
- ch chain
- ch-1 sp the space made by a chain 1
- dc double crochet
- RS right side
- sc single crochet
- sl st slip stitch
- sp(s) space(s)
- st(s) stitch(es)
- WS wrong side
- yo yarn over
Notes
- Sizes are written as Stroller [Throw, Twin, Queen]. A number given once applies to all sizes.
- Rounds: the squares and the border are worked in joined rounds with the RS facing. The work is never turned.
- Starting chains: in a dc round, the ch 3 at the start counts as the first dc of the round. In a sc round, the ch 1 at the start does not count as a stitch. The joining sl st is never counted.
- Group: 3 dc worked in the same space. Corner: (3 dc, ch 1, 3 dc) worked in the same ch-1 sp.
- Sp between groups: the small gap between two 3-dc groups of the round below. It is not a chain space: there is no chain between groups along the sides. Insert the hook in the gap, never in the top of a dc.
- Ring: start each square with a magic ring, which closes the center completely. A ring of ch 4 joined with a sl st also works, but leaves a small hole in the middle of each square.
- Joining colors: fasten off the old color, leaving a 6 in (15 cm) tail. Join the new color with a sl st in a corner ch-1 sp, leaving a 6 in (15 cm) tail, and lay that tail along the top of the round below so the next 8 sts or more are worked over it; then trim it. Each square has 10 tails: 4 are worked over this way, and 6 are woven in with the yarn needle on the WS (the ring tail, the end tails of Rounds 1–4 and the end tail of Round 6). That makes about 378 [720, 1,596, 2,394] tails to weave in for the squares. For a blanket that goes in the washing machine, never just trim a tail.
- Color orders: every square uses A, B, C and D once each in Rounds 1–4, in one of four orders, and E for Rounds 5–6.
- Stroller size: no fringe; loose strands are not safe for a baby. Never add buttons or other small parts.
- Yardage and sizes are estimates based on the gauge above.
Instructions
Squares
Make 63 [120, 266, 399] squares in total, following the color order table and the number of squares of each order.
| Round | Square 1 | Square 2 | Square 3 | Square 4 |
|---|---|---|---|---|
| 1 | A | B | C | D |
| 2 | B | C | D | A |
| 3 | C | D | A | B |
| 4 | D | A | B | C |
| 5 | E | E | E | E |
| 6 | E | E | E | E |
| Squares to make | Stroller | Throw | Twin | Queen |
|---|---|---|---|---|
| Square 1 | 18 | 30 | 67 | 105 |
| Square 2 | 14 | 30 | 67 | 95 |
| Square 3 | 18 | 30 | 66 | 105 |
| Square 4 | 13 | 30 | 66 | 94 |
| Total | 63 | 120 | 266 | 399 |
- Round 1 (first color of the square): Make a magic ring and ch 1 to secure it (the ch 1 is not a stitch). Ch 3 (counts as dc), 2 dc in the ring, [ch 1, 3 dc in the ring] 3 times, ch 1. Pull the tail until the center closes. Join with a sl st in the top of the beginning ch-3. Fasten off. (12 sts, 4 ch-1 sps)
- Round 2 (second color): Join the new color with a sl st in any ch-1 sp. Ch 3 (counts as dc), (2 dc, ch 1, 3 dc) in the same sp; [(3 dc, ch 1, 3 dc) in the next ch-1 sp] 3 times. Nothing is worked between the corners. Join with a sl st in the top of the beginning ch-3. Fasten off. (24 sts, 4 ch-1 sps)
- Round 3 (third color): Join the new color with a sl st in any corner ch-1 sp. Ch 3 (counts as dc), (2 dc, ch 1, 3 dc) in the same sp; [3 dc in the next sp between groups, (3 dc, ch 1, 3 dc) in the next ch-1 sp] 3 times, 3 dc in the next sp between groups. Join with a sl st in the top of the beginning ch-3. Fasten off. (36 sts, 4 ch-1 sps)
- Round 4 (fourth color): Join the new color with a sl st in any corner ch-1 sp. Ch 3 (counts as dc), (2 dc, ch 1, 3 dc) in the same sp; [3 dc in each of the next 2 sps between groups, (3 dc, ch 1, 3 dc) in the next ch-1 sp] 3 times, 3 dc in each of the next 2 sps between groups. Join with a sl st in the top of the beginning ch-3. Fasten off. (48 sts, 4 ch-1 sps)
- Round 5 (E): Join E with a sl st in any corner ch-1 sp. Ch 3 (counts as dc), (2 dc, ch 1, 3 dc) in the same sp; [3 dc in each of the next 3 sps between groups, (3 dc, ch 1, 3 dc) in the next ch-1 sp] 3 times, 3 dc in each of the next 3 sps between groups. Join with a sl st in the top of the beginning ch-3. Do not fasten off. (60 sts, 4 ch-1 sps)
- Round 6 (E): Ch 1 (does not count), sc in the same st as the join and in each of the next 2 dc, 3 sc in the next ch-1 sp, [sc in each of the next 15 dc, 3 sc in the next ch-1 sp] 3 times, sc in each of the last 12 dc. Join with a sl st in the first sc. Fasten off. (72 sts)
Each edge of a finished square now holds 19 sts, counted from the center sc of one corner to the center sc of the next, both included. The seams and the border use these 19 sts.
Blocking
- Block every square before joining: pin it to 4 5/8 in (11.8 cm) square, with straight edges and square corners, then mist it with water (wool or blends) or steam it lightly from above without touching it (acrylic). Let it dry completely.
Layout and joining
Lay the squares out in 9 [12, 19, 21] rows of 7 [10, 14, 19] squares, with a short edge at the top:
- Odd rows (1st, 3rd, 5th… from the top): Square 1, 2, 3, 4, 1, 2, 3, 4… from left to right.
- Even rows (2nd, 4th, 6th…): Square 3, 4, 1, 2, 3, 4, 1, 2… from left to right.
- Seam method (slip stitch seam through the back loops): Place two squares right sides together, edges and stitches matching, corner center sc on corner center sc. With E, insert the hook through the back loops (the two outer loops) of the first pair of corner center sc, yo and pull up a loop. Then sl st through the back loops of the next pair of sts, one st of each square at a time, to the next pair of corner center sc: 19 pairs of sts in all. Fasten off, leaving 6 in (15 cm) tails. Work loosely enough that the seam is as long as the square edge.
- Strips: For each row of the layout, join the squares from left to right with the seam method: 6 [9, 13, 18] seams per strip, 9 [12, 19, 21] strips, 54 [108, 247, 378] seams in all.
- Long seams: Join the strips in order from the top, with the same seam method across the whole width: 133 [190, 266, 361] pairs of sts per long seam (19 per square), 8 [11, 18, 20] long seams. Where you cross an earlier seam, work the corner center sc of the next two squares as the next pair, without working into the seam itself.
- Tails: Weave in all seam tails on the WS, along the seam ridge. Never join a new length of yarn where four squares meet; start and end a length in the middle of an edge.
Border
The border is worked in E, with the RS facing and a short edge of the blanket at the top. Use the 4 stitch markers to mark the center sc of each corner group, and move each marker up to the new center sc on every round. Use the marker of a different color at the starting corner: the fringe starts there too.
- Round 1: Join E with a sl st in the corner center sc of the top corner from which your round travels along the top edge first (the top right corner if you crochet right-handed, the top left corner if you crochet left-handed). This is the starting corner. Ch 1 (does not count), 3 sc in the same st, sc in each of the next 131 [188, 264, 359] sts, 3 sc in the next st (corner center sc), sc in each of the next 169 [226, 359, 397] sts, 3 sc in the next st, sc in each of the next 131 [188, 264, 359] sts, 3 sc in the next st, sc in each of the next 169 [226, 359, 397] sts. Join with a sl st in the first sc. (612 [840, 1,258, 1,524] sts) Along each square edge, you work 1 sc in each of its 19 sts; at every seam, this places 1 sc in the corner center sc of each of the two squares, side by side.
- Rounds 2–7 [2–7, 2–3, 2–5]: Ch 1 (does not count), sc in the same st as the join and in each st up to the next marked st, *3 sc in the marked st (move the marker to the center sc of these 3), sc in each st up to the next marked st; rep from * 3 more times, ending the last rep with sc in each st to the end of the round. Join with a sl st in the first sc. Each round adds 2 sts on every side and 8 sts in all. Fasten off after the last round. (Round 2: 620 [848, 1,266, 1,532] sts; Round 3: 628 [856, 1,274, 1,540] sts; Round 4: 636 [864, –, 1,548] sts; Round 5: 644 [872, –, 1,556] sts; Round 6: 652 [880, –, –] sts; Round 7: 660 [888, –, –] sts)
The last round is Round 7 [7, 3, 5]: 660 [888, 1,274, 1,556] sts.
| Border round | Top and bottom edges, each, between corners | Long sides, each, between corners |
|---|---|---|
| 1 | 131 [188, 264, 359] | 169 [226, 359, 397] |
| 2 | 133 [190, 266, 361] | 171 [228, 361, 399] |
| 3 | 135 [192, 268, 363] | 173 [230, 363, 401] |
| 4 | 137 [194, –, 365] | 175 [232, –, 403] |
| 5 | 139 [196, –, 367] | 177 [234, –, 405] |
| 6 | 141 [198, –, –] | 179 [236, –, –] |
| 7 | 143 [200, –, –] | 181 [238, –, –] |
Fringe (optional, Throw, Twin and Queen only)
Never add the fringe to the Stroller size.
- Step 1: Weave in the border tails first.
- Step 2: Wrap A, B, C and D loosely around the 4 1/2 in (11.5 cm) card and cut along one edge: every strand is 9 in (23 cm) long. Cut 333 [478, 584] strands of each color for the Throw [Twin, Queen], and mix all the strands in one pile.
- Step 3: Each fringe takes 3 strands taken at random from the pile. The fringe goes in every other sc of the last border round, all around: 444 [637, 778] fringes for the Throw [Twin, Queen].
- Step 4: With the WS facing, start in the center sc of the starting corner (where Round 1 began). Fold 3 strands in half, insert the hook from the WS to the RS under both loops of the sc, catch the fold and pull it through to the WS; pull all the ends through the loop and snug the knot against the edge without puckering it.
- Step 5: Skip 1 sc, knot the next fringe in the following sc; rep all around. The last fringe sits 2 sts before the first one.
- Step 6: At the corners, the even count places a fringe in the corner center sc or one fringe in the sc on each side of it, so every corner stays symmetric:
- Throw: center fringe at the starting corner and at the corner diagonally opposite it, two side fringes at the other two corners
- Twin: center fringe at the starting corner and at the other corner of the same long side, two side fringes at the other two corners
- Queen: center fringe at all four corners
- Step 7: Lay the blanket flat, comb the strands straight and trim them evenly to about 4 in (10 cm).
Finishing
- Weave in any remaining tails on the WS. Lay the blanket flat on towels or blocking mats, mist it (wool or blends) or steam it lightly from above (acrylic), pat it square and let it dry completely before moving it.
Washing black frames, bright rounds and a long fringe
Black and cranberry are the colors most likely to bleed. Before you start, wash a scrap of each with a scrap of cream, or add a color-catcher sheet to the first wash. For wool and wool blends, hand wash in cool water with a wool wash, press the water out without wringing and dry flat. For acrylic, machine wash cold on a gentle cycle in a large mesh bag and dry flat or tumble dry low.
Shake the fringe out while it’s damp and trim any strand that grows longer than the others. Store the afghan folded on a shelf, never hung by the fringe, which stretches the border.
Candlelight questions about squares, frames and fringe
How many squares does this vintage granny square afghan need?
The stroller size takes 63 squares, the throw 120, the twin 266 and the queen 399. The card splits each total into the four color orders, so you can work in batches and know when each one is done.
Why do the squares have no chains between the groups?
That’s how this classic version is built: each group of three double crochets sits right in the gap between two groups below. It gives a denser square with solid bands of color and fewer holes.
Can I swap the black frame for cream or brown?
Yes. Snowy Cabin uses natural cream and Maple Porch uses walnut brown. Only the frame color changes; the rounds, counts and yarn amounts stay the same.
Can I skip the fringe on the bigger sizes?
Of course. The border alone gives a neat, finished edge, and you save the extra yarn listed for the fringe. The sizes in the card are measured without it.
Quick recap
- Make 63 [120, 266, 399] squares in the four color orders, Rounds 1 to 4 in the colors, Rounds 5 and 6 in the frame color.
- Block every square to 4 5/8 in (11.8 cm).
- Lay out the squares in two alternating rows, join them into strips, then join the strips with long slip stitch seams.
- Work 7 [7, 3, 5] rounds of single crochet border.
- Add the fringe in every other stitch on the larger sizes, then block the whole afghan.
A vintage granny square afghan like this one fills a whole winter, one small square at a time, and it’s the kind of blanket that stays in a family. If a count or a seam puzzles you along the way, ask through the Contact page.