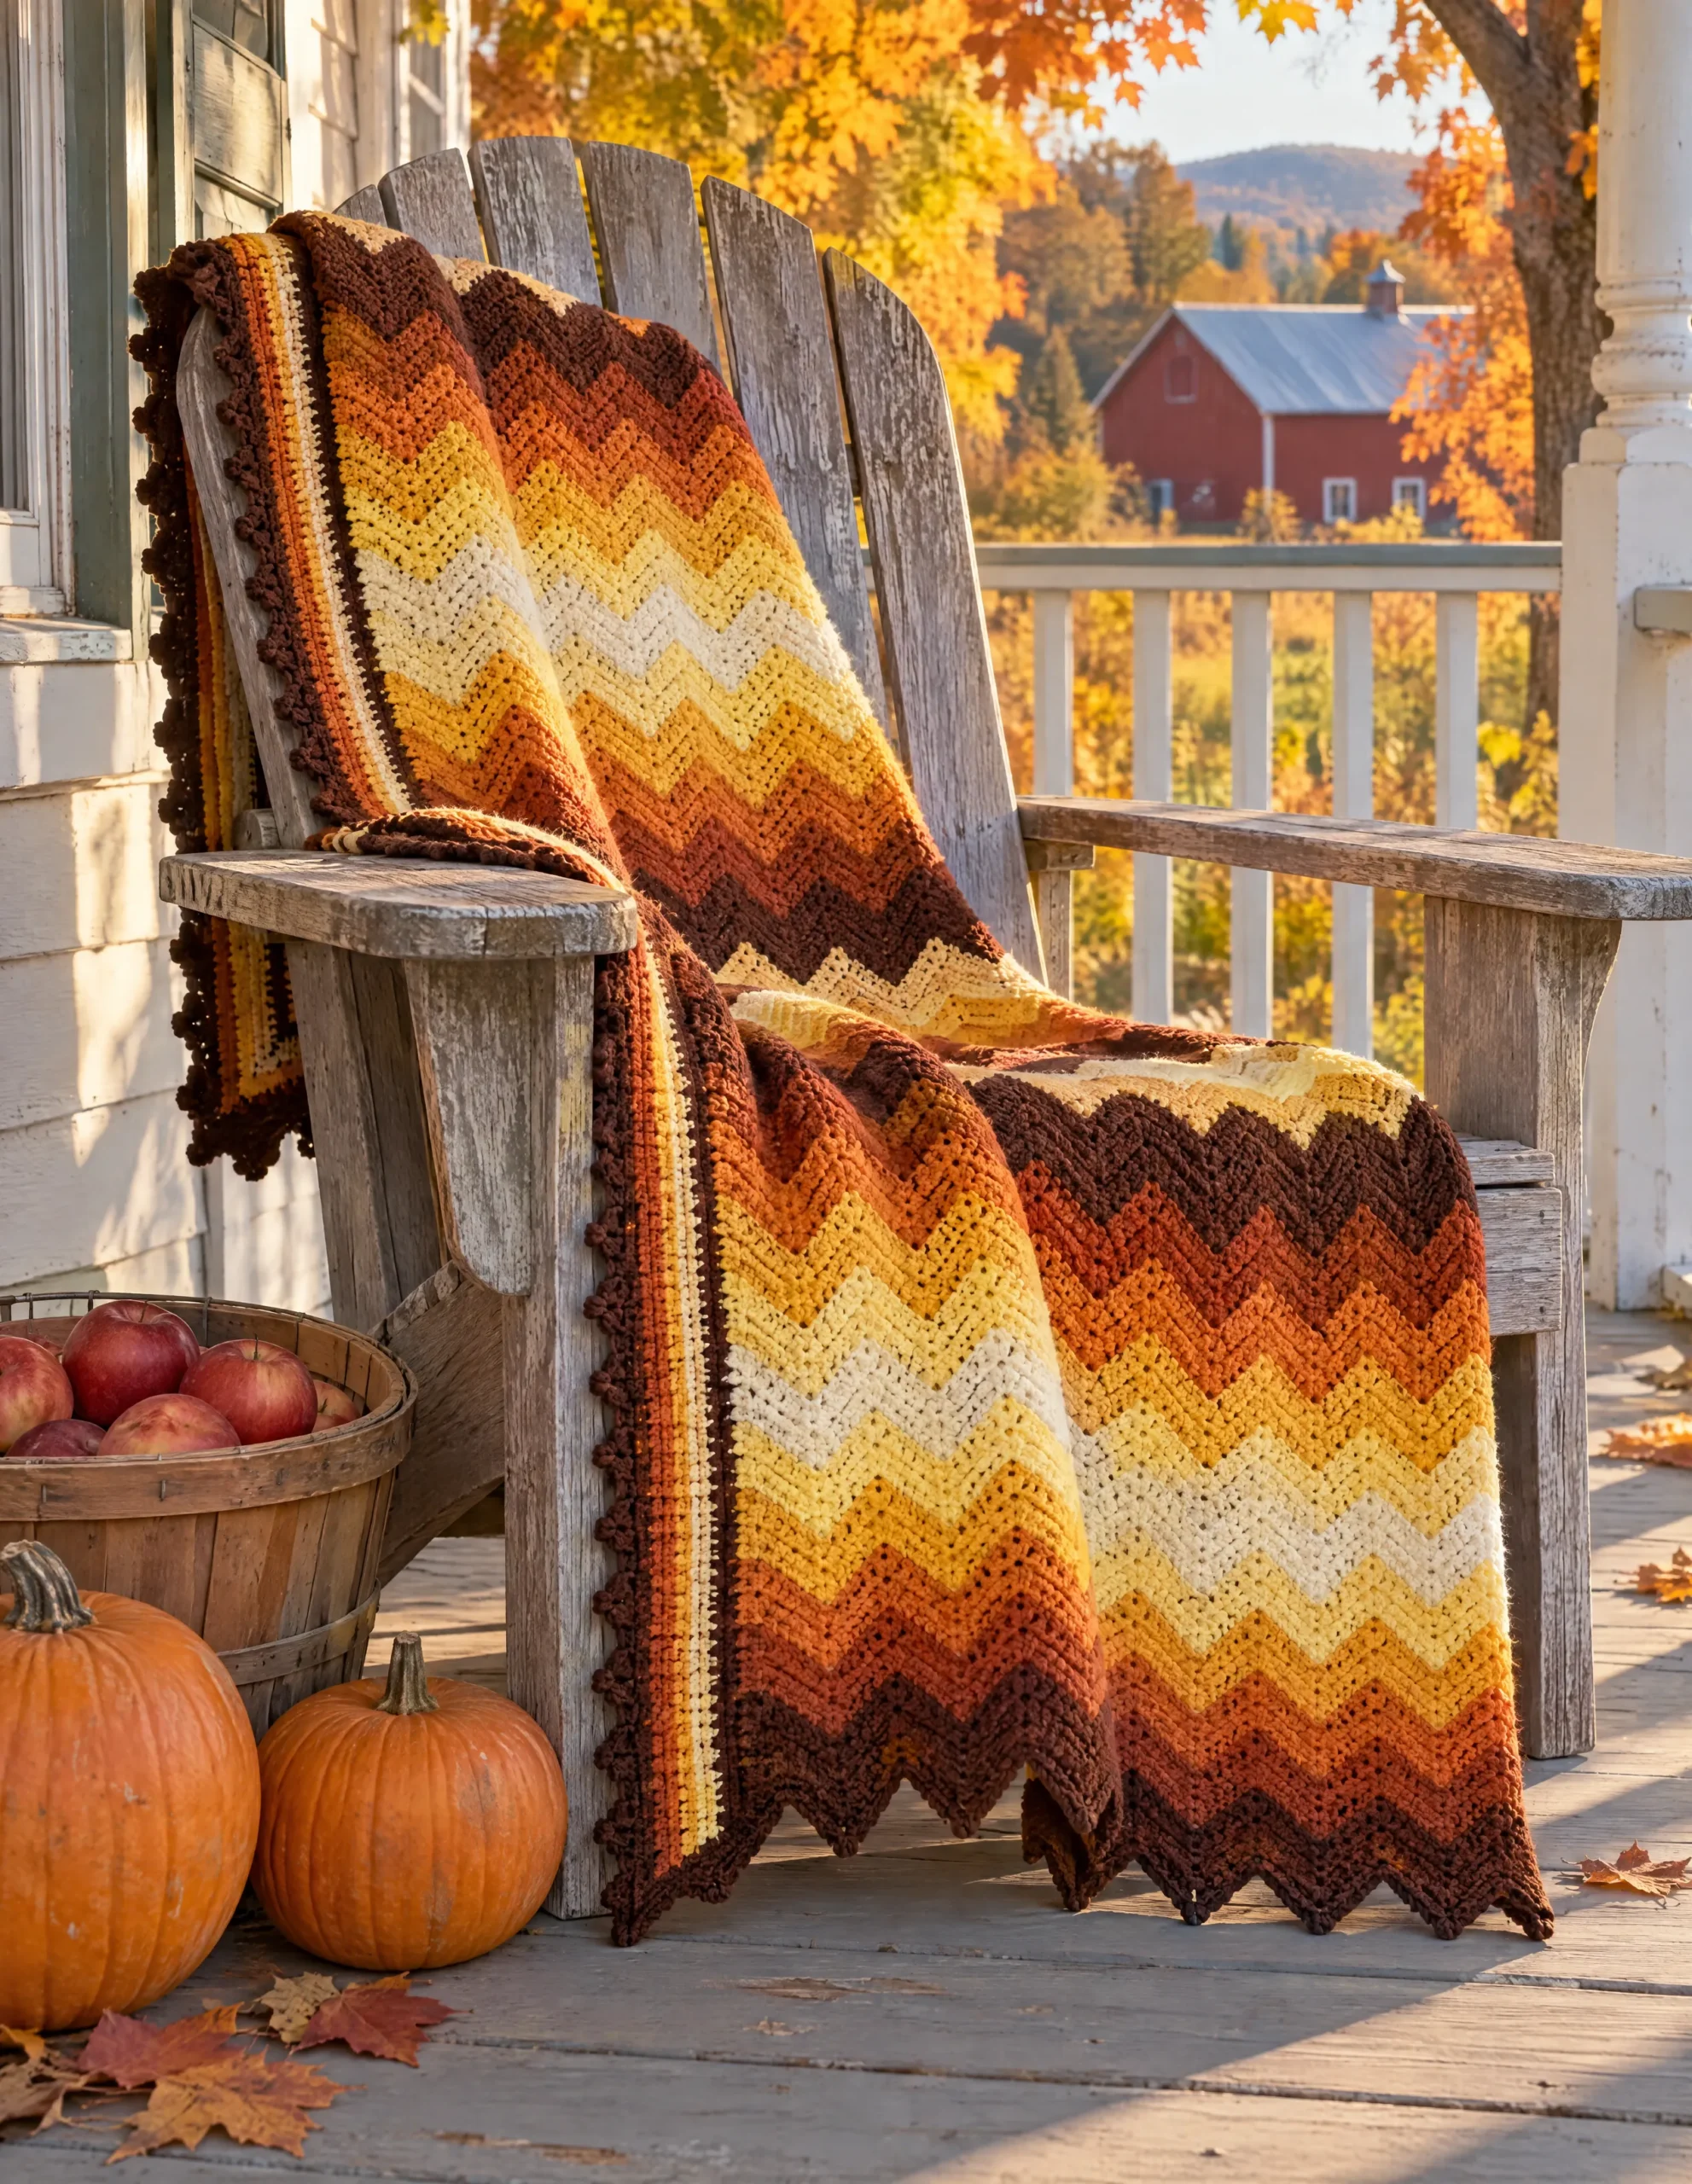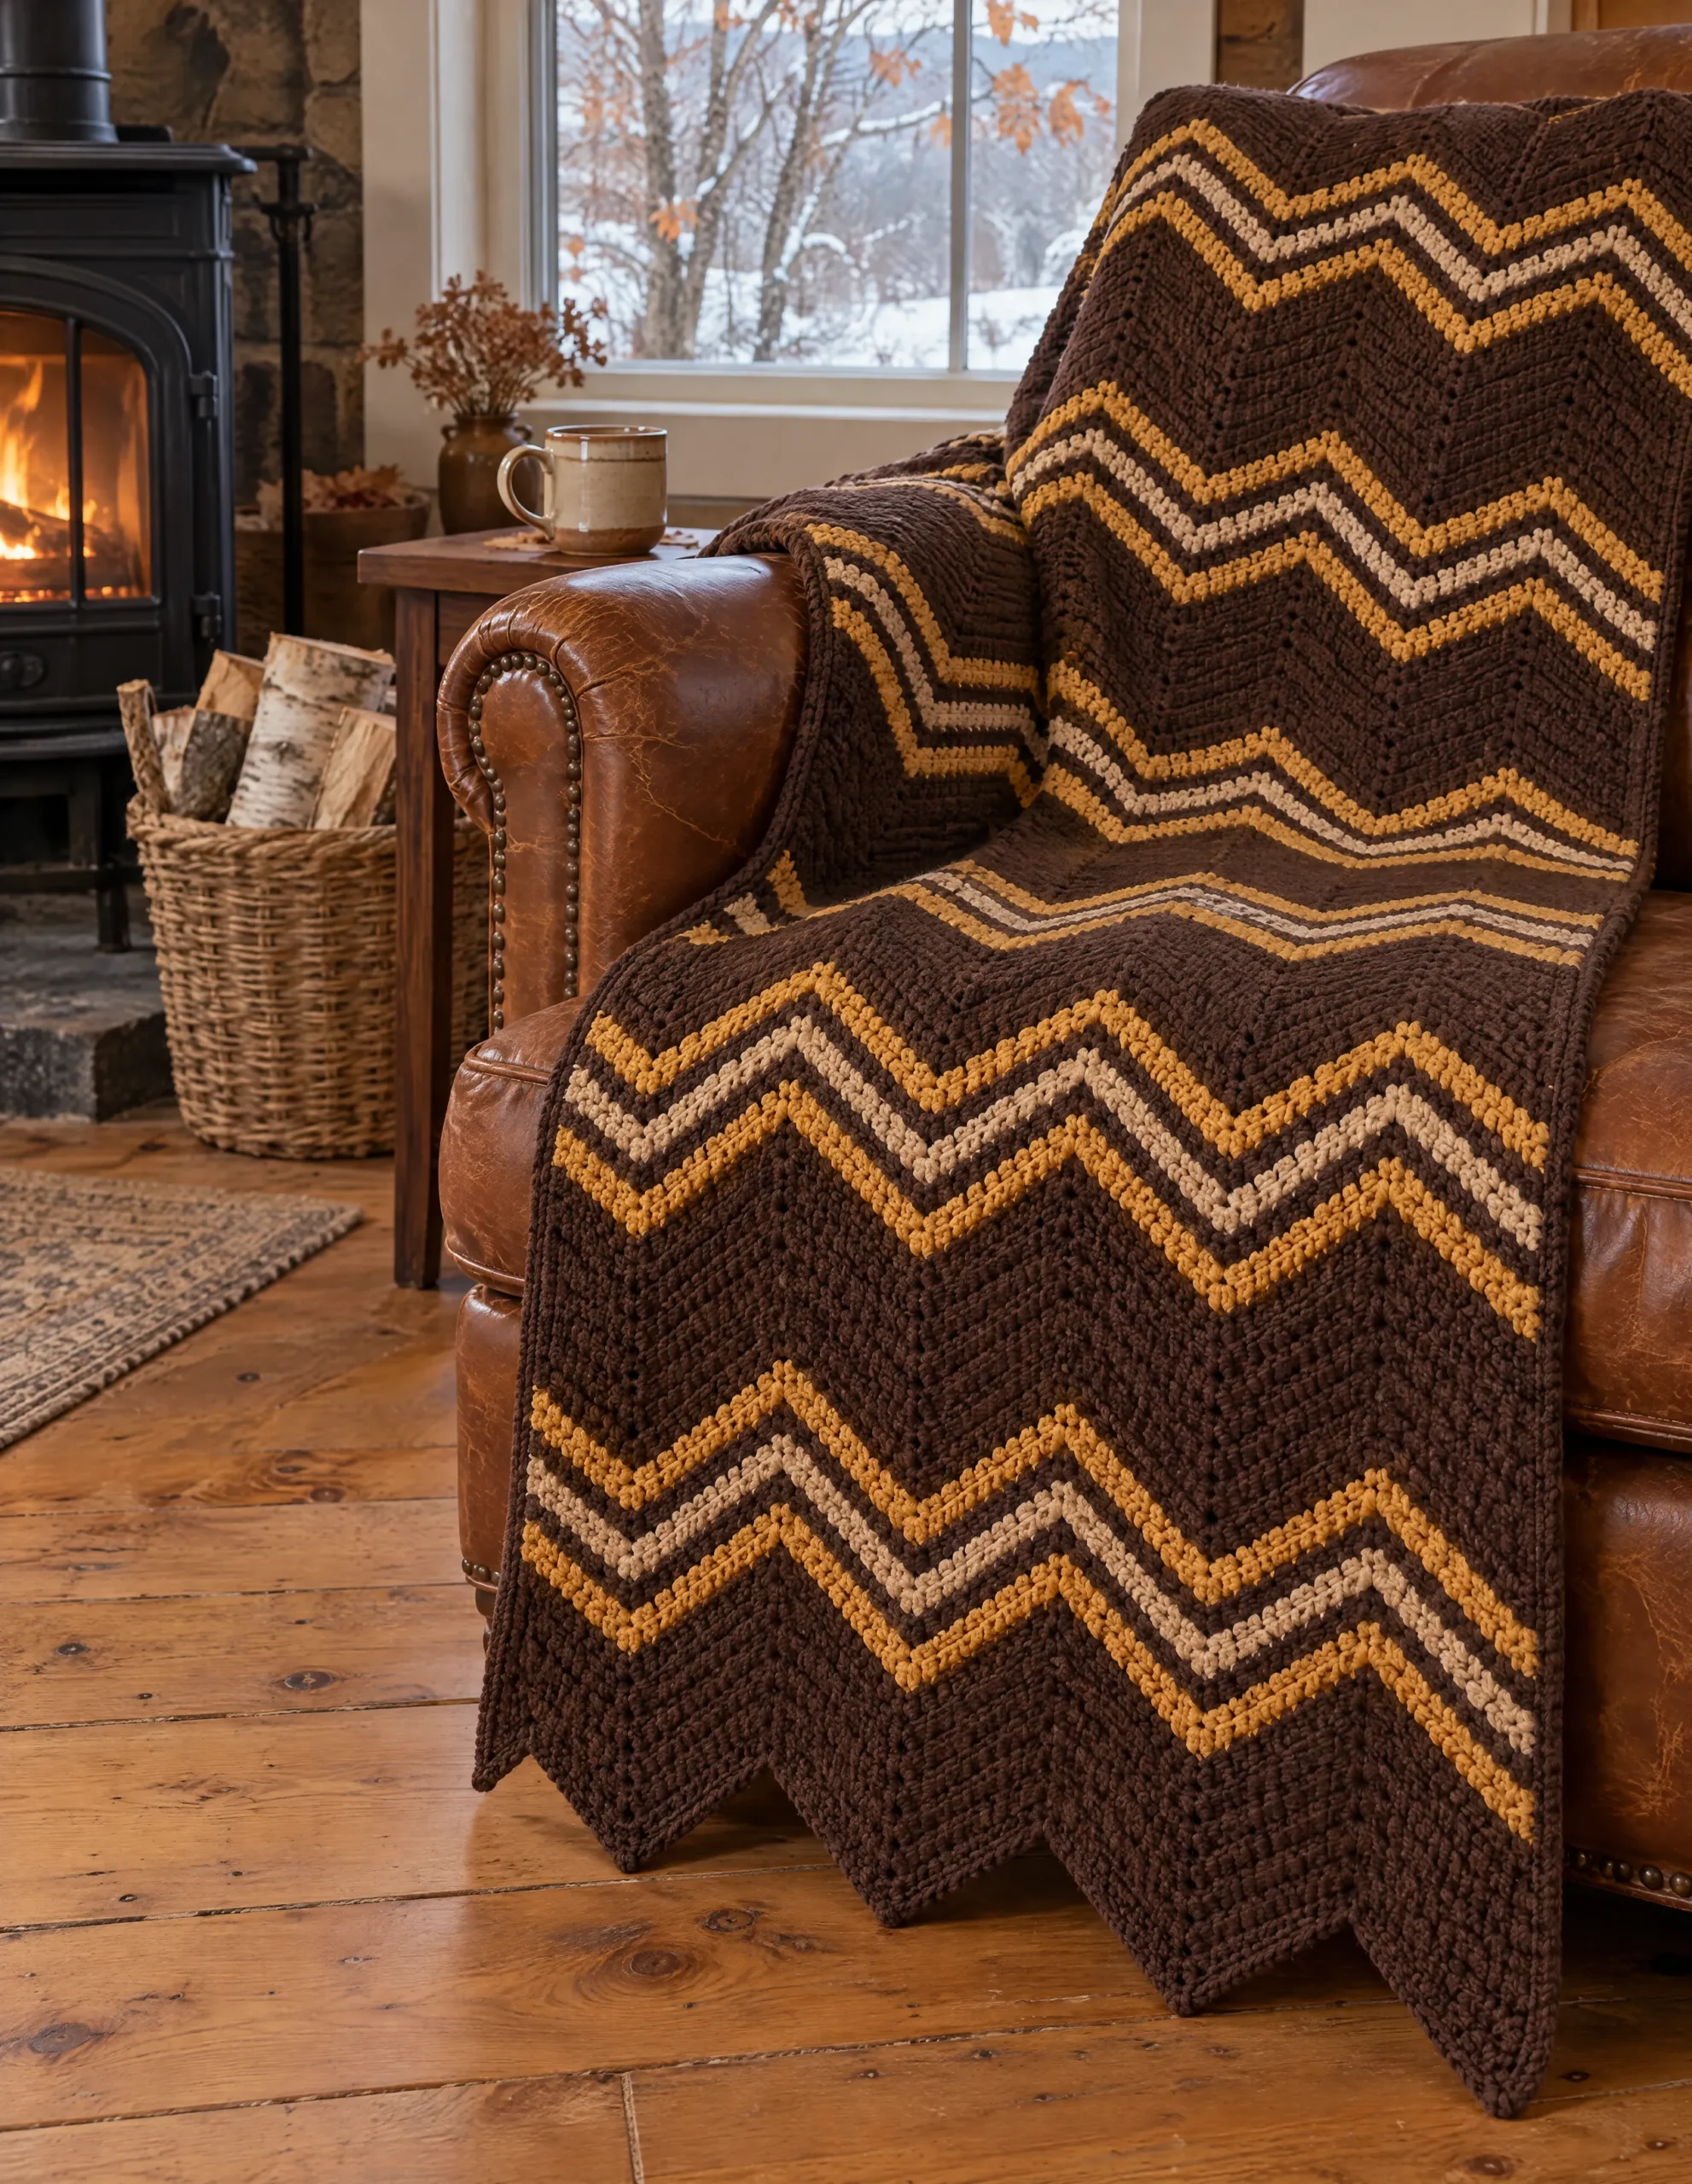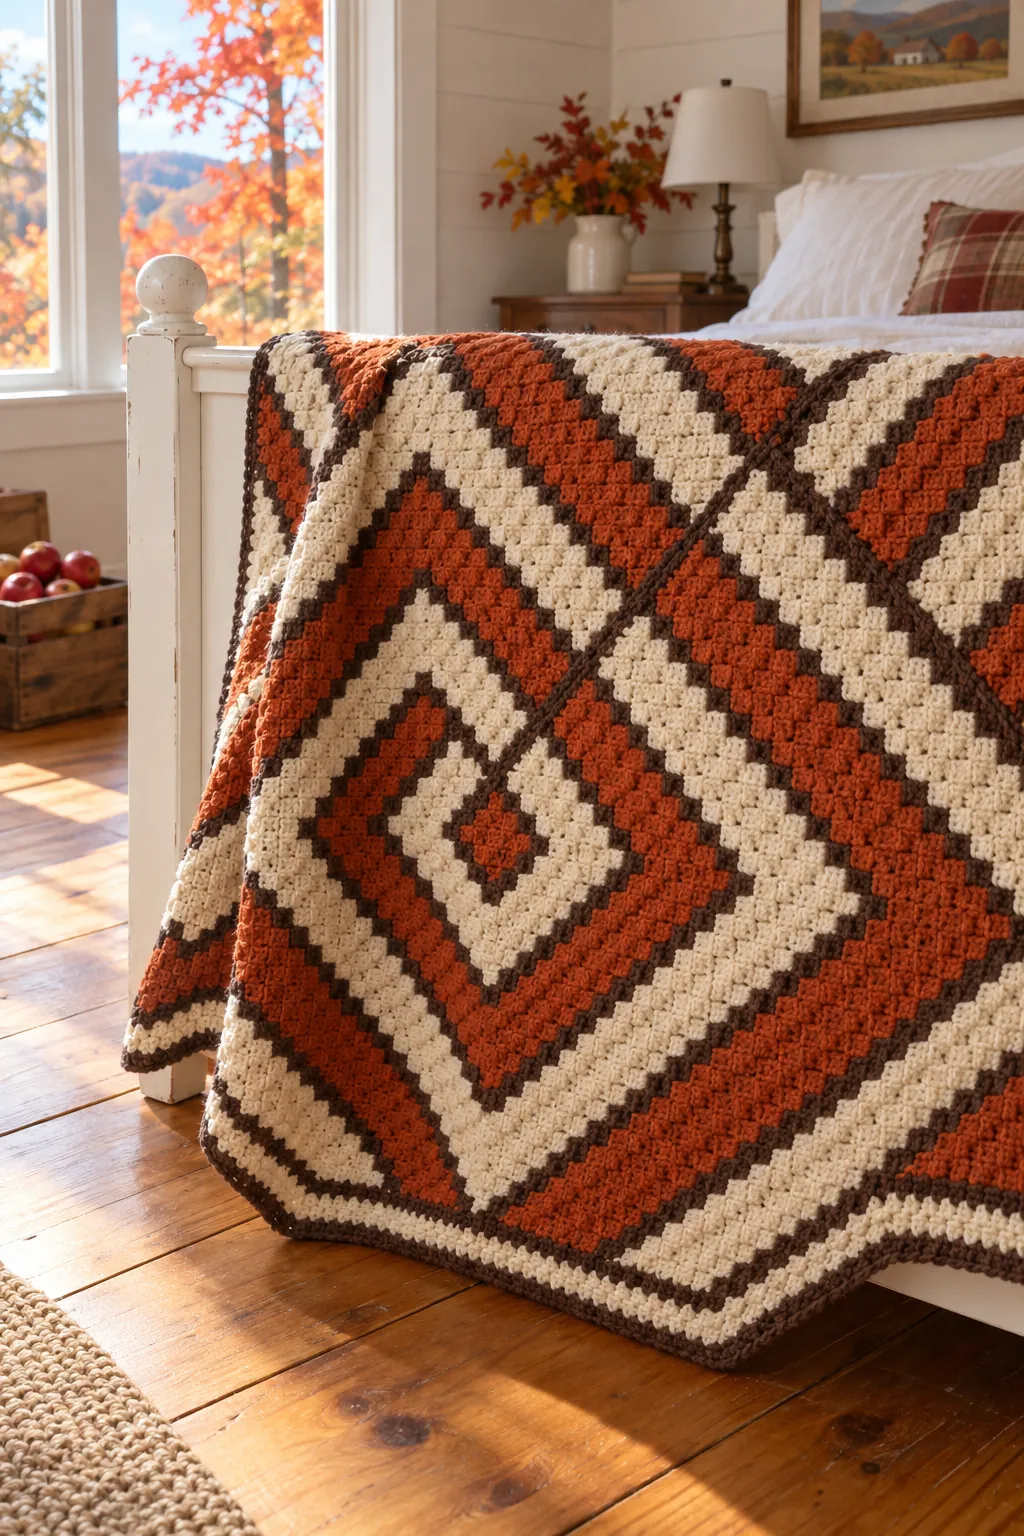
Picture a Vermont cider mill on an October Saturday: apple crates by the press, a line for warm doughnuts, a cream and rust afghan folded over the porch rocker. That’s the mood of the Cider Mill Afghan, a corner to corner crochet blanket built from squares. Each square starts with a single block in one corner and grows on the diagonal, so its stripes cross it at an angle. Cream and rust bands take turns, and one row of walnut brown sits between every pair.
The diamonds show up later, at layout time. Every square is identical, but when you turn every other one a quarter turn, the stripes of four neighbors meet and close into rings, and the long walnut diagonals cross in a wide X. The pattern is written in worsted weight for a throw, a twin and a queen. Whatever the size, every square follows the same 33 rows.
Is this corner to corner crochet blanket a good first C2C project?
It is, as long as you’re happy to count. Corner to corner, usually shortened to C2C, is built from little tiles called blocks instead of single stitches. A block is a ch 3 followed by 3 double crochet worked into the space under a chain, so it sits at an angle like a tile set on its point. The only other stitches in the squares are the chain and the slip stitch, a tiny stitch that adds almost no height: insert the hook, yarn over and pull through everything on the hook. The border adds single crochet and half double crochet.
Two moves are new. In the first half of each square, every row opens with a start block: ch 6, then 3 dc into that chain, which adds one block to the row. In the second half, you slip stitch across the top of the first block instead and stop one block short at the end, so each row loses one. Colors only change at the end of a row, and the squares are sewn together with a whipstitch, a simple over-and-over stitch made with a yarn needle. If the abbreviations in the card look like code, the Beginner Guide explains how to read a crochet pattern.
It’s rated Easy rather than Beginner because you’ll track 33 rows per square and turn each square the right way at layout time.
Worsted for 17-block squares: fiber, dye lots and a 5-block sample
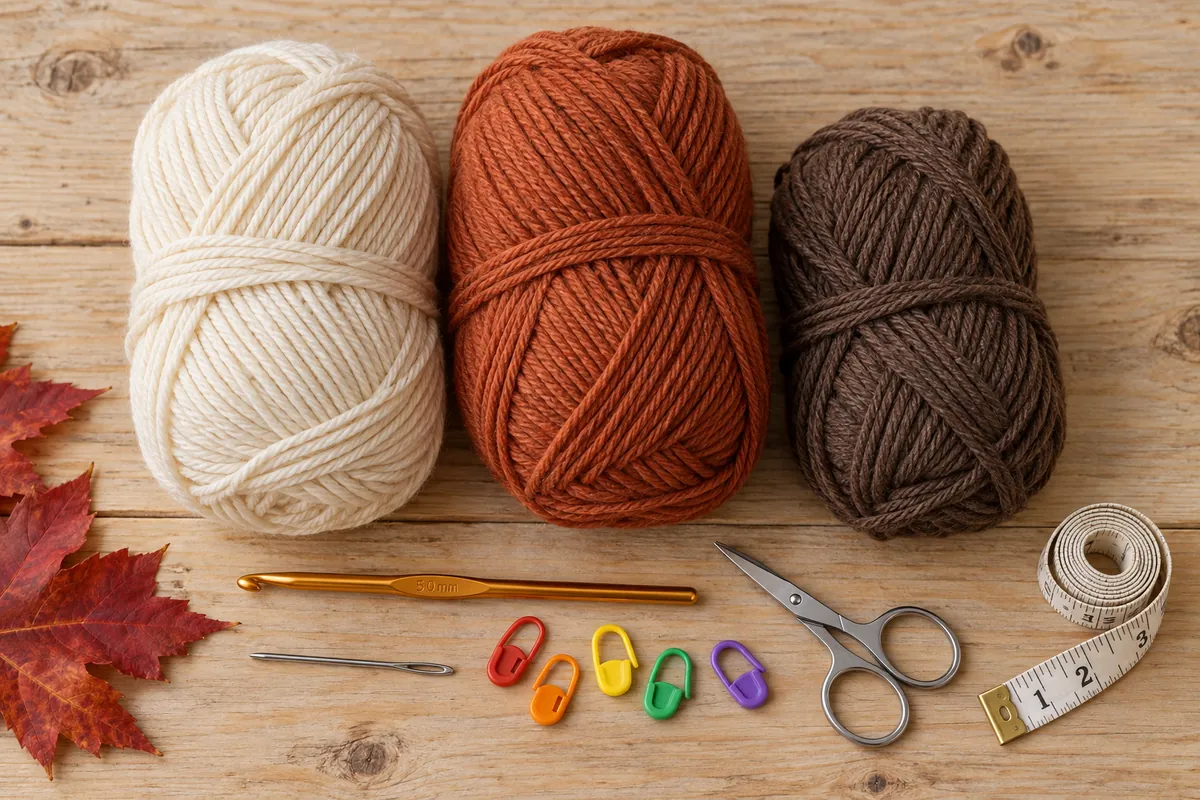
Look for the number 4 on the label, the worsted symbol, and pair it with a 5.0 mm (H-8) hook. Plain acrylic is the easy-care choice. A blend with some superwash wool adds warmth and still goes in the washer. Leave 100% cotton for another project: C2C makes a dense fabric, and a cotton queen would be very heavy. Even in acrylic, the queen comes to around 9 lb (4.1 kg).
Skip fuzzy or brushed yarns too, since fluff hides the ch-3 spaces every block goes into.
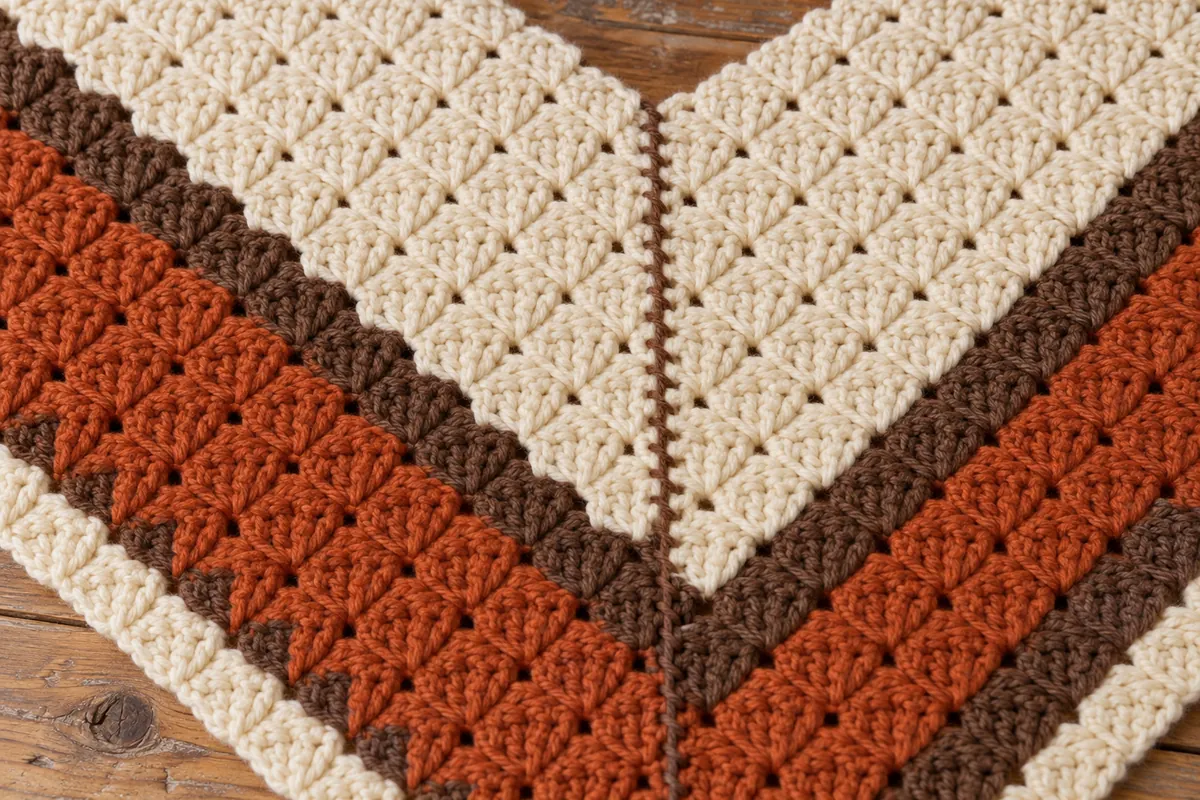
Buy all of the cream and all of the rust at once, one dye lot each, or a lot change will show as a half-diamond in a slightly different shade. If your colors come from different brands, hold the strands side by side: a clearly thinner walnut makes skinny accent rows and squares that drift out of true. When you substitute, compare yardage per skein.
Before buying everything, make a 5-block sample: Rows 1 to 5 of the pattern, then four decrease rows down to one block. It should measure about 4 1/2 in (11.5 cm) along each side. If it’s bigger, try a 4.5 mm (US 7) hook. If it’s smaller, try 5.5 mm (I-9). Being off by 1/4 in over 5 blocks adds up to about 5 in across the queen.
Cream, rust and one walnut row: what each color does
Cream and rust are the two band colors, four rows each, and they always alternate. Walnut is the line between them. Every fifth row is walnut, including Row 17, the longest row, which runs from corner to corner. Once the squares are joined, those Row 17 lines meet to draw the big X, and the shorter walnut rows outline each ring of the diamonds. Each square starts with a single cream block and ends with a single rust block, so some diamonds have a cream heart and others a rust one.
If you change the palette, keep the same three roles: a light band color, a deeper band color and an accent darker than both. Some combinations that hold that balance:
- Cider Mill: cream, rust and walnut, as written.
- Sugarhouse: oatmeal, golden mustard and dark chocolate.
- Covered Bridge: ivory, barn red and charcoal.
- Spruce and Birch: cream, deep spruce green and charcoal.
Before you buy, wind the colors around a strip of cardboard in square order: one wrap of the light color, one of accent, four of the deep color, one of accent, four of the light. If the accent wraps vanish next to the deep color, pick a darker accent.
For straight lines instead of diamonds, a cabin-style blanket of crossing stripes uses the same yarn weight.
Throw, twin or queen: 12, 24 or 36 squares of 289 blocks
There’s no long foundation chain. Every square starts with ch 6, grows to 17 blocks on its longest row and ends after 33 rows: 289 blocks and about 15 1/4 in (39 cm) per side. The border adds about 1 1/2 in (4 cm) on every side. The card lists sizes as throw [twin, queen].
- Throw: 3 squares across and 4 down (12 squares), about 49 × 64 in (124 × 163 cm). Border Round 1 has 714 sc. About 1,200 yd of cream, 1,000 yd of rust and 750 yd of walnut.
- Twin: 4 across and 6 down (24 squares), about 64 × 95 in (163 × 241 cm). Border Round 1 has 1,020 sc. About 2,250 yd of cream, 1,950 yd of rust and 1,400 yd of walnut.
- Queen: 6 across and 6 down (36 squares), about 95 × 95 in (241 × 241 cm). Border Round 1 has 1,224 sc. About 3,300 yd of cream, 2,950 yd of rust and 2,000 yd of walnut.
One square takes roughly 70 yd each of cream and rust and 38 yd of walnut; the rest goes into seams and border. The twin hangs about 13 in over each side of a 38 in twin mattress, and the queen about 17 in over a 60 in queen. All yardages are estimates with a margin built in.
For a bed-size project in smaller, quicker pieces, an afghan of 7 1/2 in worsted squares comes in the same three sizes.
Keeping 17 blocks straight, square after square
Let the row number count for you. In Rows 1 to 17, the number of blocks equals the row number. In Rows 18 to 33, it’s 34 minus the row number. Count every row in the second half, where one missing block shifts everything after it.
Keep the start blocks relaxed. The ch 6 at the start of Rows 2 to 17 makes every other block along the first two edges of the square. Tight chains shorten those edges and pull the square into a kite, so chain at the same easy tension as your dc.
Measure at Row 17. After the walnut diagonal, the two straight edges of your triangle should each be about 15 1/4 in. Switch hooks now, not after the second square.
Hide tails as you go. A finished square has 30 tails, so a throw has 360 and a queen 1,080. Lay each new tail along the top of the previous row and work the dc of the next two blocks over it.
Mark the cream corner right away. Clip a locking marker into the single cream block of Row 1, on the right side, and it will tell you which way each square points at layout time.
Match the seams block for block. Pin two squares together at every walnut row, then sew three whipstitches per block edge so the stripes meet cleanly across the seam.
US crochet terms
The pattern
Materials
- Worsted weight yarn (CYC #4 Medium), 100% acrylic or acrylic and superwash wool blend, about 200 yd (183 m) per 3.5 oz (100 g) skein. Estimated yardage:
- Cream: 1,200 [2,250, 3,300] yd (1,097 [2,057, 3,018] m), 6 [12, 17] skeins.
- Rust: 1,000 [1,950, 2,950] yd (914 [1,783, 2,697] m), 5 [10, 15] skeins.
- Walnut: 750 [1,400, 2,000] yd (686 [1,280, 1,829] m), 4 [7, 10] skeins.
- Total: about 2,950 [5,600, 8,250] yd (2,697 [5,121, 7,544] m).
- 5.0 mm (H-8) crochet hook.
- 5.5 mm (I-9) crochet hook, optional, for the border.
- Yarn needle, scissors, tape measure and straight pins.
- 1 locking stitch marker per square, or short pieces of scrap yarn.
Gauge
- About 4 1/2 blocks = 4 in (10 cm) along a side edge, in corner to corner (C2C) with the 5.0 mm (H-8) hook.
- Sample square of 5 blocks (Rows 1–5, then 4 decrease rows) = about 4 1/2 in (11.5 cm) per side.
- One finished square (Rows 1–33) = about 15 1/4 in (39 cm) per side.
Finished size
- Throw: about 49 × 64 in (124 × 163 cm), 3 × 4 squares.
- Twin: about 64 × 95 in (163 × 241 cm), 4 × 6 squares.
- Queen: about 95 × 95 in (241 × 241 cm), 6 × 6 squares.
- Measured flat after light blocking, border included.
Abbreviations
- C2C corner to corner
- ch chain
- dc double crochet
- hdc half double crochet
- rep repeat
- RS right side
- sc single crochet
- sl st slip stitch
- sp(s) space(s)
- st(s) stitch(es)
- WS wrong side
- yo yarn over
Notes
- Sizes are written as throw [twin, queen]. A single number applies to all sizes.
- Each square is worked C2C in diagonal rows, turning at the end of every row. Rows 1–17 add one block per row. Rows 18–33 lose one block per row.
- Start block: ch 6, dc in 4th ch from hook and in next 2 ch. The 3 skipped ch form the ch-3 sp of this block.
- Block: (sl st, ch 3, 3 dc) in the indicated ch-3 sp.
- The ch 3 of a block is part of the block: the squares have no turning chains. In the border, the ch 1 or ch 2 at the start of a round never counts as a st.
- Blocks per row: the row number in Rows 1–17, and 34 minus the row number in Rows 18–33.
- Color changes in Rows 1–16: work the last dc of the row until 2 loops remain, drop the old color, yo with the new color and pull through. Cut the old color, leaving a 6 in (15 cm) tail.
- Rows 18, 22, 23, 27, 28, 32 and 33 start a new color. Fasten off at the end of the previous row and turn the square. Join the new color with a sl st in the ch-3 sp of the first block, then ch 3, 3 dc in same sp (first block made).
- Even-numbered rows are RS rows. When a square is finished, clip a marker into the single Cream block of Row 1, on the RS.
- Blocks per square: Cream 115, Rust 115, Walnut 59 (289 in total).
- Layout rule: all squares RS up. Count columns from the left and rows from the top. In columns 1, 3 and 5, the marked Cream corner points left; in columns 2, 4 and 6, it points right. In rows 1, 3 and 5, it points up; in rows 2, 4 and 6, it points down.
- Stitch multiple: no foundation chain. The blanket grows in whole squares of 17 blocks per side, about 15 1/4 in (39 cm) each. To resize, add or remove whole squares, keep the layout rule, and work border Round 1 with 51 sc per square along each edge.
- Work the dc of the next blocks over each new tail to cut down on weaving in.
- If the border cups, use the 5.5 mm (I-9) hook for border Rounds 1–4.
Instructions
Square (make 12 [24, 36])
- Row 1 (WS): with Cream, ch 6, dc in 4th ch from hook and in next 2 ch, changing to Walnut in last dc. Turn. (1 block)
- Row 2 (RS): start block, block in ch-3 sp of next block (the 3 skipped ch of Row 1), changing to Rust in last dc. Turn. (2 blocks)
- Row 3: start block, block in ch-3 sp of each block across. Turn. (3 blocks)
- Rows 4–6: rep Row 3, changing to Walnut in last dc of Row 6. (4, 5, 6 blocks)
- Row 7: with Walnut, rep Row 3, changing to Cream in last dc. (7 blocks)
- Rows 8–11: with Cream, rep Row 3, changing to Walnut in last dc of Row 11. (8, 9, 10, 11 blocks)
- Row 12: with Walnut, rep Row 3, changing to Rust in last dc. (12 blocks)
- Rows 13–16: with Rust, rep Row 3, changing to Walnut in last dc of Row 16. (13, 14, 15, 16 blocks)
- Row 17: with Walnut, rep Row 3. Fasten off. (17 blocks)
- Check: the two straight edges measure about 15 1/4 in (39 cm) each.
- Row 18 (RS): turn. Join Cream with sl st in ch-3 sp of first block, ch 3, 3 dc in same sp, block in ch-3 sp of each block across to last block, sl st in ch-3 sp of last block. Turn. (16 blocks)
- Row 19: sl st in each of first 3 dc, block in ch-3 sp of each block across to last block, sl st in ch-3 sp of last block. Turn. (15 blocks)
- Rows 20–21: rep Row 19. Fasten off at end of Row 21. (14, 13 blocks)
- Row 22: with Walnut, work as Row 18. Fasten off. (12 blocks)
- Row 23: with Rust, work as Row 18. (11 blocks)
- Rows 24–26: rep Row 19. Fasten off at end of Row 26. (10, 9, 8 blocks)
- Row 27: with Walnut, work as Row 18. Fasten off. (7 blocks)
- Row 28: with Cream, work as Row 18. (6 blocks)
- Rows 29–31: rep Row 19. Fasten off at end of Row 31. (5, 4, 3 blocks)
- Row 32: with Walnut, work as Row 18. Fasten off. (2 blocks)
- Row 33: turn. Join Rust with sl st in ch-3 sp of first block, ch 3, 3 dc in same sp, sl st in ch-3 sp of last block. Fasten off. (1 block)
- Finished square: 289 blocks, 17 block edges along each side, about 15 1/4 in (39 cm) square. Mark the Cream corner as in Notes.
Joining
- Layout: arrange the squares RS up in 3 [4, 6] columns and 4 [6, 6] rows, following the layout rule in Notes. The Rust corners of 4 squares meet at some points and the Cream corners of 4 squares at others, and the stripes match across every seam.
- Seams: hold 2 neighboring squares RS together, edges matched block for block, and pin at each Walnut row. With Walnut and the yarn needle, whipstitch through both edges, 3 stitches per block edge (51 stitches per square edge). Fasten off.
- Join the squares of each row into a strip, then join the strips the same way, with a few extra stitches where 4 corners meet. (17 [38, 60] square edges sewn)
Border
- Round 1 (RS): with RS facing, join Walnut with sl st in the edge of the first block after any blanket corner. Ch 1 (does not count as a st), 3 sc in same block edge, 3 sc in each block edge across to next corner, ch 2, *3 sc in each block edge across to next corner, ch 2; rep from * 2 more times, join with sl st in first sc. Work each group of 3 sc into the ch-3 sp or around the post of the end dc, whichever the edge presents, with no extra sts at seams. Fasten off. (153 [204, 306] sc across top and bottom edges and 204 [306, 306] sc along each side edge; 714 [1,020, 1,224] sc and 4 corner ch-2 sps)
- Round 2: join Cream with sl st in any corner ch-2 sp. Ch 2 (does not count as a st), 2 hdc in same sp, *hdc in each sc across to next corner ch-2 sp, (2 hdc, ch 2, 2 hdc) in corner sp; rep from * 2 more times, hdc in each sc across, (2 hdc, ch 2) in first corner sp, join with sl st in first hdc. (157 [208, 310] hdc across top and bottom edges and 208 [310, 310] hdc along each side edge, between corner ch-2 sps; 730 [1,036, 1,240] hdc)
- Round 3: ch 2 (does not count as a st), hdc in same st as join and in each hdc across to next corner ch-2 sp, *(2 hdc, ch 2, 2 hdc) in corner sp, hdc in each hdc across to next corner ch-2 sp; rep from * 2 more times, (2 hdc, ch 2, 2 hdc) in last corner sp, join with sl st in first hdc. Fasten off. (161 [212, 314] hdc across top and bottom edges and 212 [314, 314] hdc along each side edge; 746 [1,052, 1,256] hdc)
- Round 4: join Walnut with sl st in any corner ch-2 sp. Ch 1 (does not count as a st), 3 sc in same sp, *sc in each hdc across to next corner ch-2 sp, 3 sc in corner sp; rep from * 2 more times, sc in each hdc across, join with sl st in first sc. Fasten off. (161 [212, 314] sc across top and bottom edges and 212 [314, 314] sc along each side edge, plus 3 sc at each corner; 758 [1,064, 1,268] sc)
Finishing
- Weave in all ends through blocks of the same color.
- Lay the blanket flat, mist it with water, pat the edges straight and let it dry completely.
Washing a heavy C2C afghan with rust bands beside cream
Rust and walnut sit right against cream, so check them first: drop a short length of each into a white bowl of warm water for ten minutes. If the water tints orange or brown, choose another skein or use a color-catching sheet for the first few washes.
Wash cold on a gentle cycle with mild detergent. A wet twin or queen in dense C2C is heavy, so use a large front-loading machine, at a laundromat if needed. Tumble dry on low or lay the blanket flat on a clean sheet. Don’t hang it wet over a line or a railing: the weight pulls the squares out of shape along the seams.
To store it, fold it along the seam lines and keep it in a cotton bag. If your yarn has wool in it, add a cedar block for the summer.
Cider Mill Afghan questions, from first block to last seam
Which way does each square turn so the corner to corner crochet blanket forms diamonds?
Lay every square right side up. In odd-numbered columns the marked cream corner points left, in even columns it points right, and it points up in odd rows and down in even rows. Side-by-side neighbors end up a quarter turn apart. Check that four rust corners meet in one spot and four cream corners in another before sewing.
Why are two edges of my square shorter than the other two?
The two edges from the first half hold the ch-6 start blocks, so tight chains make them shorter than the two edges of the second half. Loose slip stitches at the start of Rows 19 to 21, 24 to 26 and 29 to 31 can stretch the second-half edges too. A difference of 1/4 in disappears with blocking, but more than 1/2 in will fight you at the seams, so adjust your chain tension on the next square.
What if a row in the second half has the wrong number of blocks?
Usually the slip stitches across the first block got skipped, or a full block went into the last ch-3 space. Pull back to the last row whose count matches 34 minus the row number. Leaving it makes the square lopsided and moves the walnut rows.
Why are the seams sewn in walnut instead of matching each stripe?
Matching every band would mean changing yarn seven times along each square edge. Walnut is already the outline color, so a thin dark seam reads as part of the design. For invisible seams, sew each band in its own color and accept the extra ends.
Can I make Row 17 a different color from the other walnut rows?
Yes, and it makes the X stand out. Row 17 holds 17 blocks per square, roughly 10 yd, so you’ll need about 125 [250, 375] yd of the new color and a little less walnut. Pick a shade at least as dark as walnut, such as deep cranberry or forest green.
Quick recap
- Make 12 [24, 36] squares in C2C: 17 rows up to the walnut diagonal, then 16 rows back down to one block, following the color order in the card.
- Mark the single cream corner of each square on the right side.
- Lay out the squares with neighbors a quarter turn apart, so the stripes close into diamonds.
- Whipstitch the squares into strips with walnut, then sew the strips together.
- Work a walnut sc round, two cream hdc rounds and a last walnut sc round, then weave in the ends and block.
Once the last seam is in, spread the Cider Mill Afghan right side up and watch the rings line up. If a count in this corner to corner crochet blanket doesn’t match what’s on your hook, or a square refuses to lie flat, send a note through the Contact page.