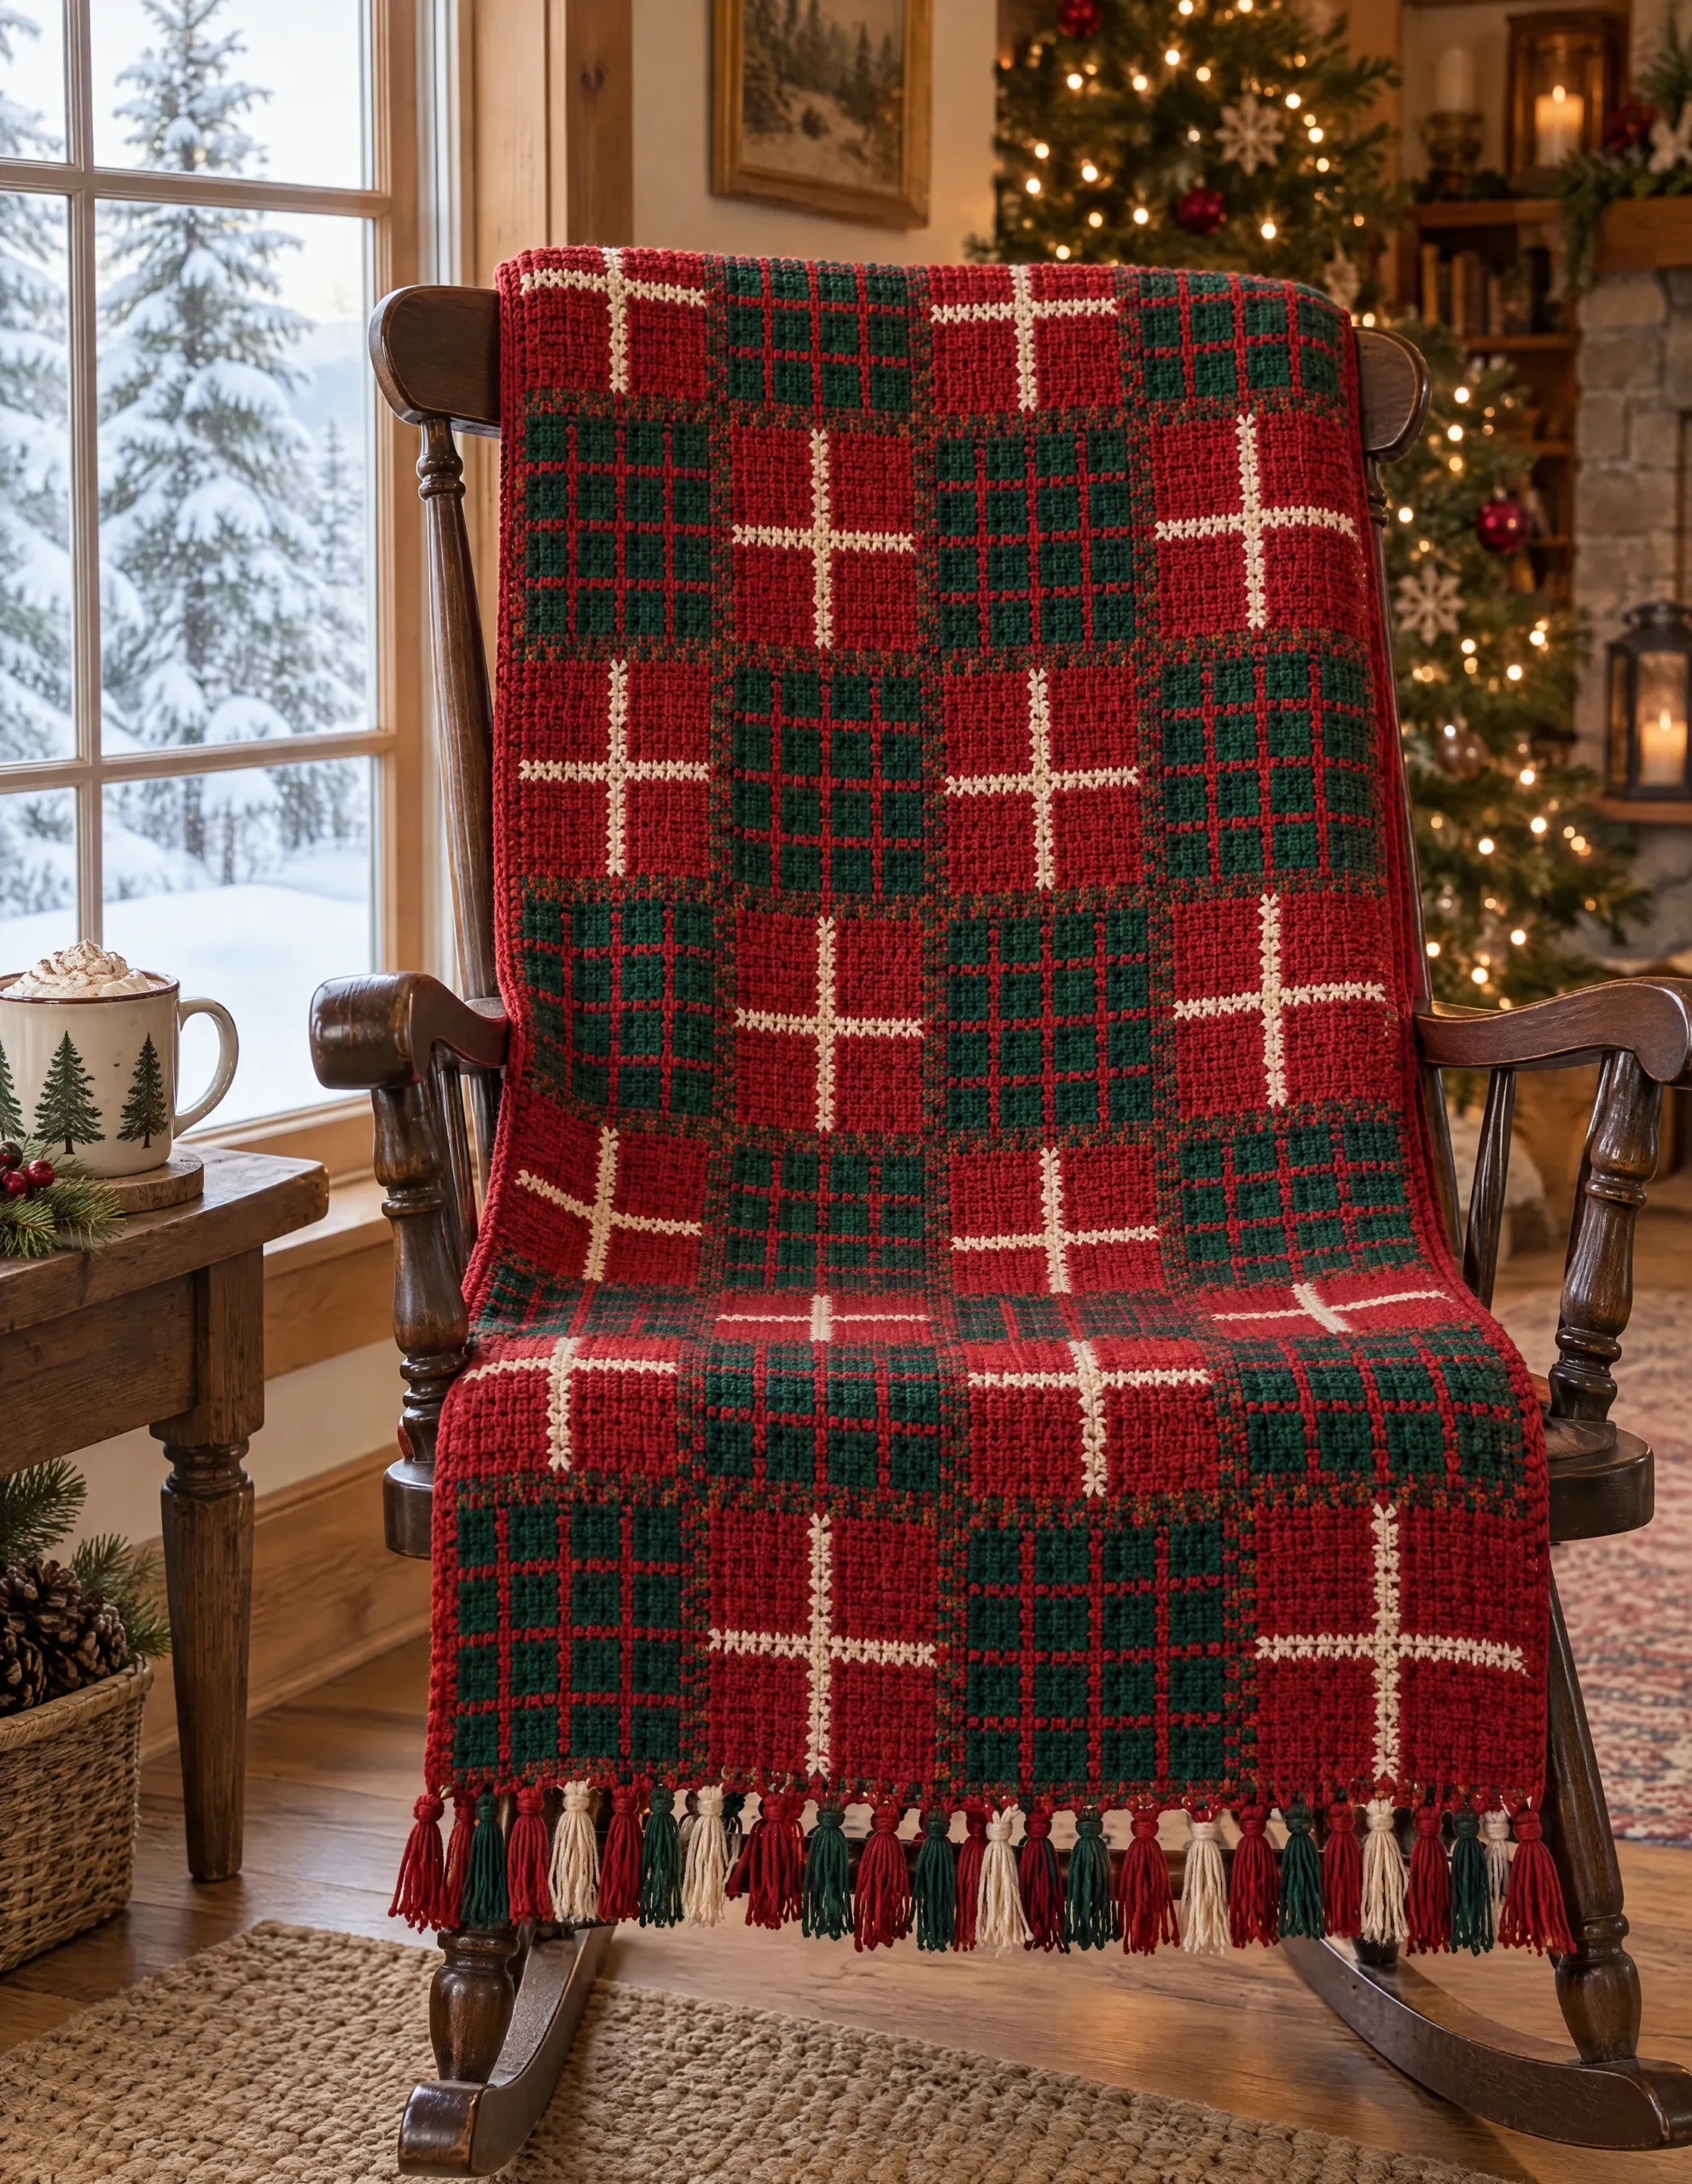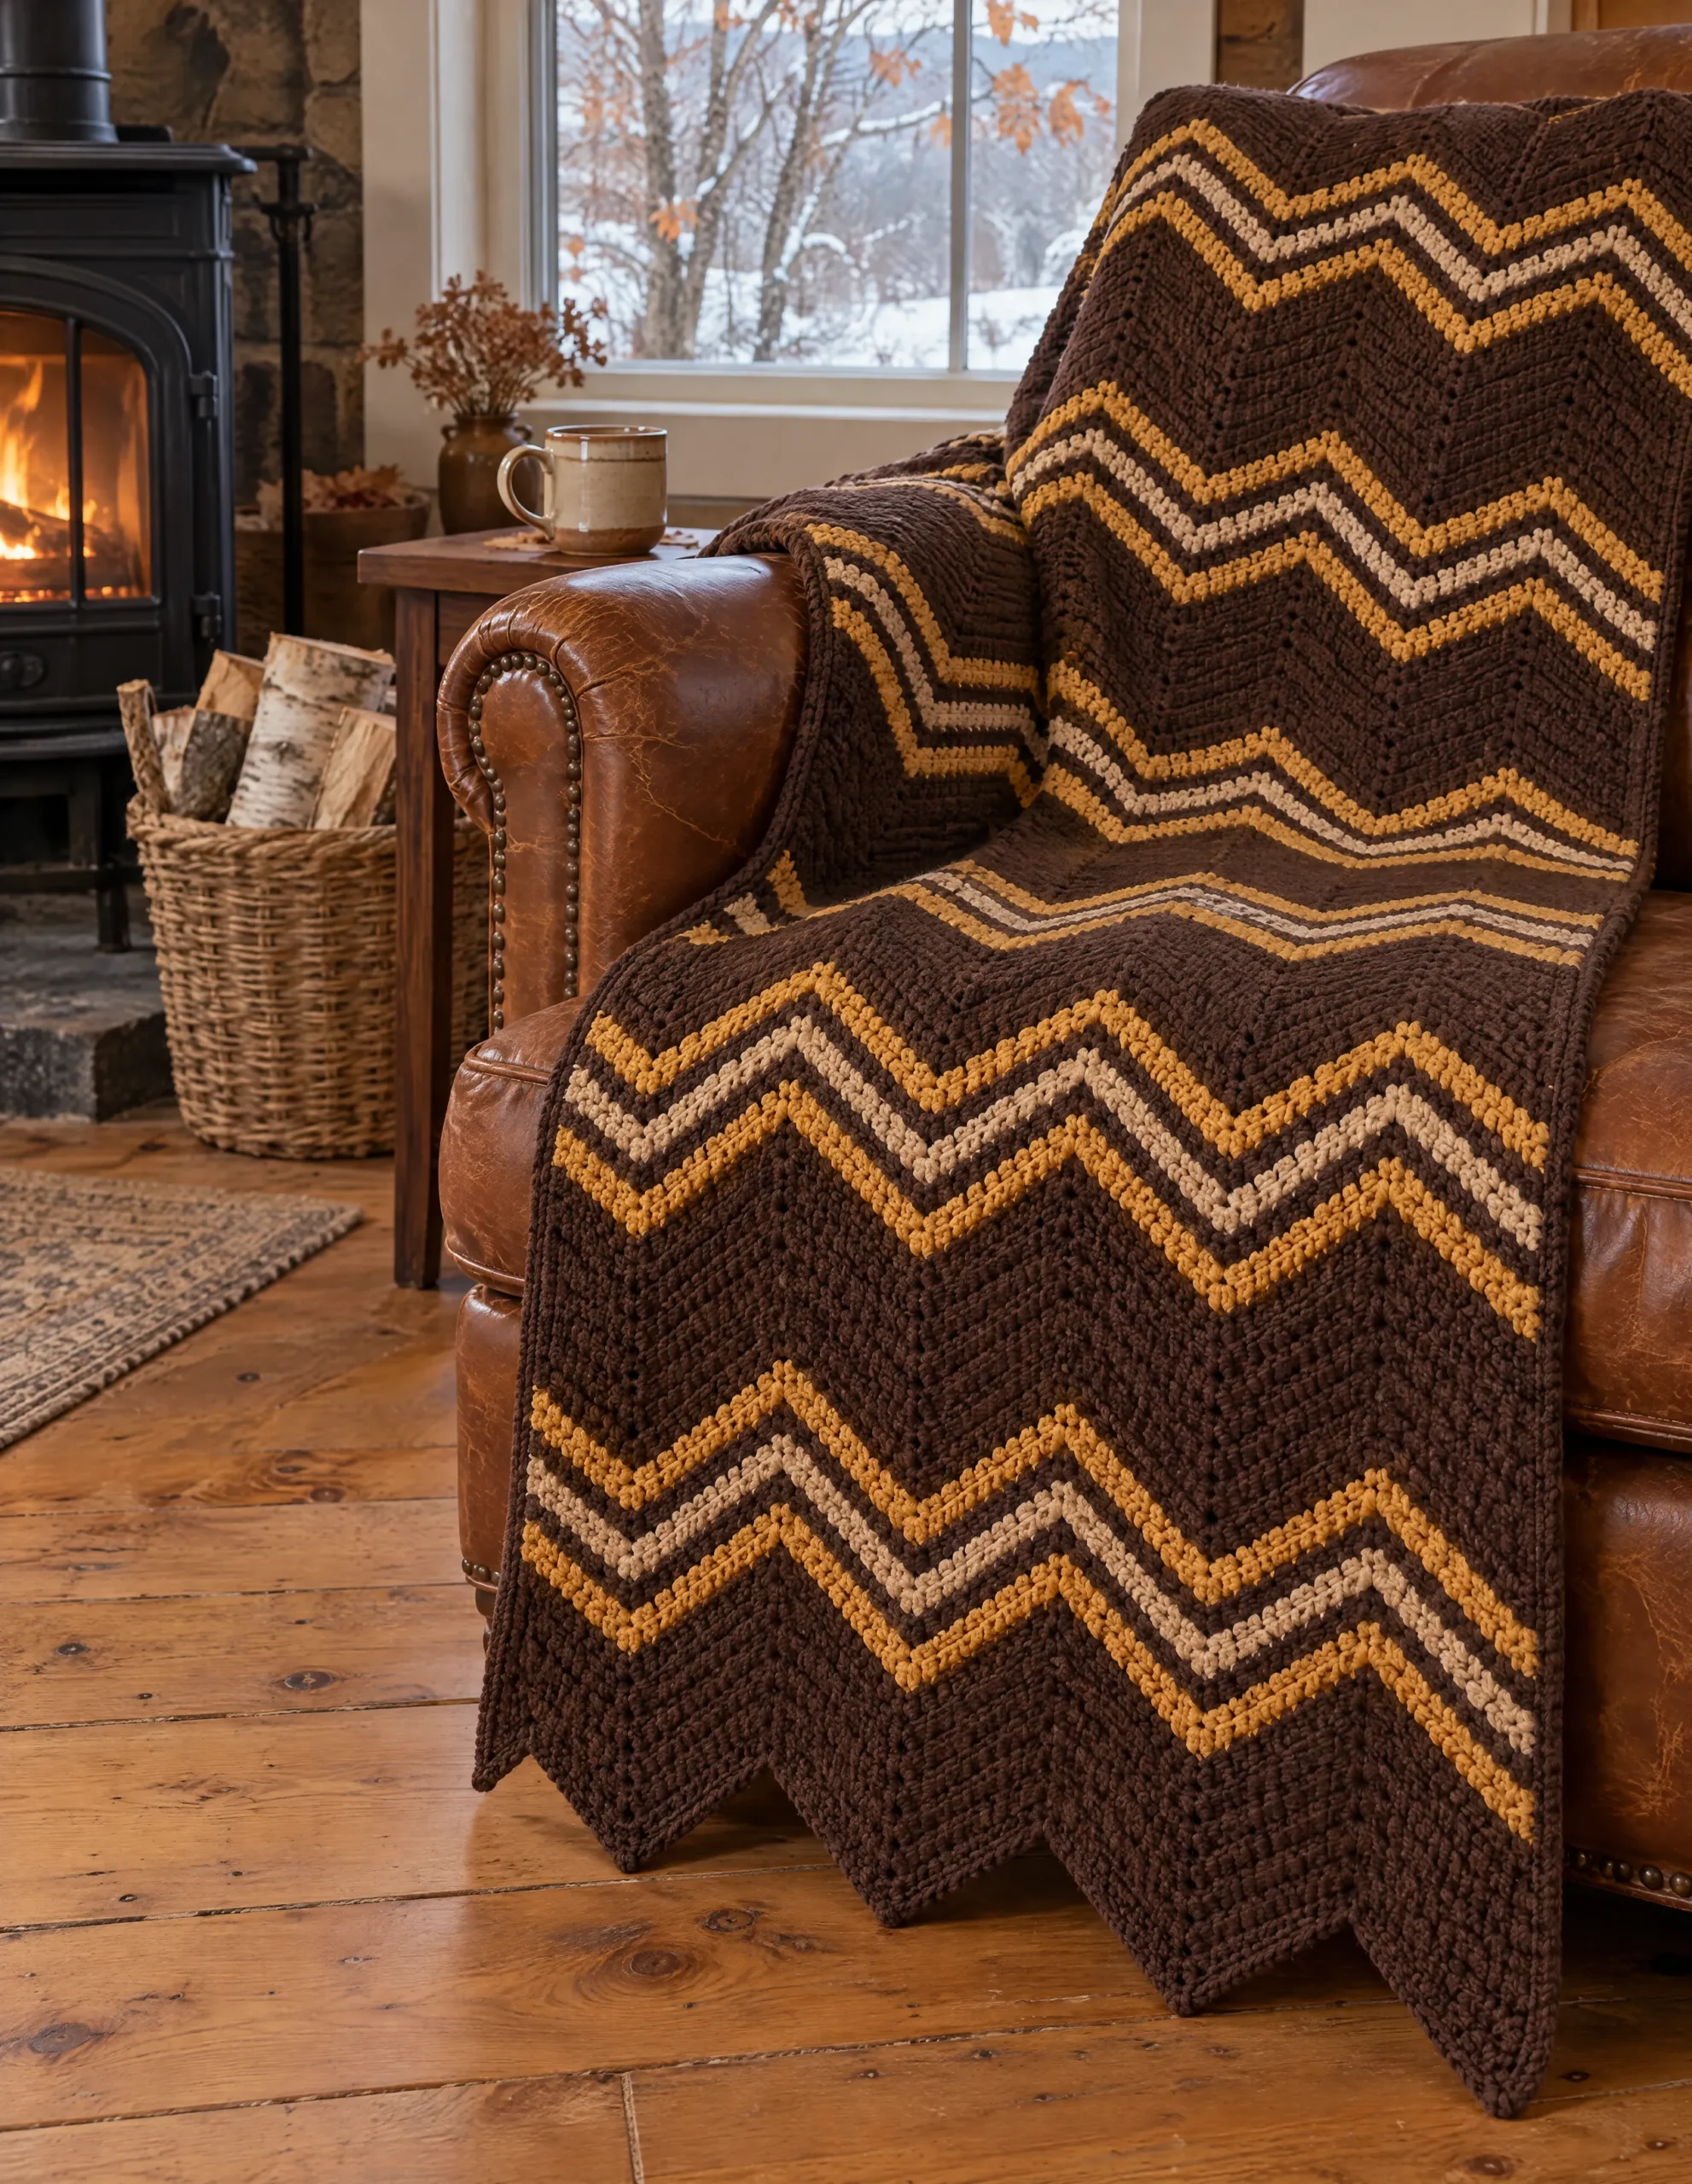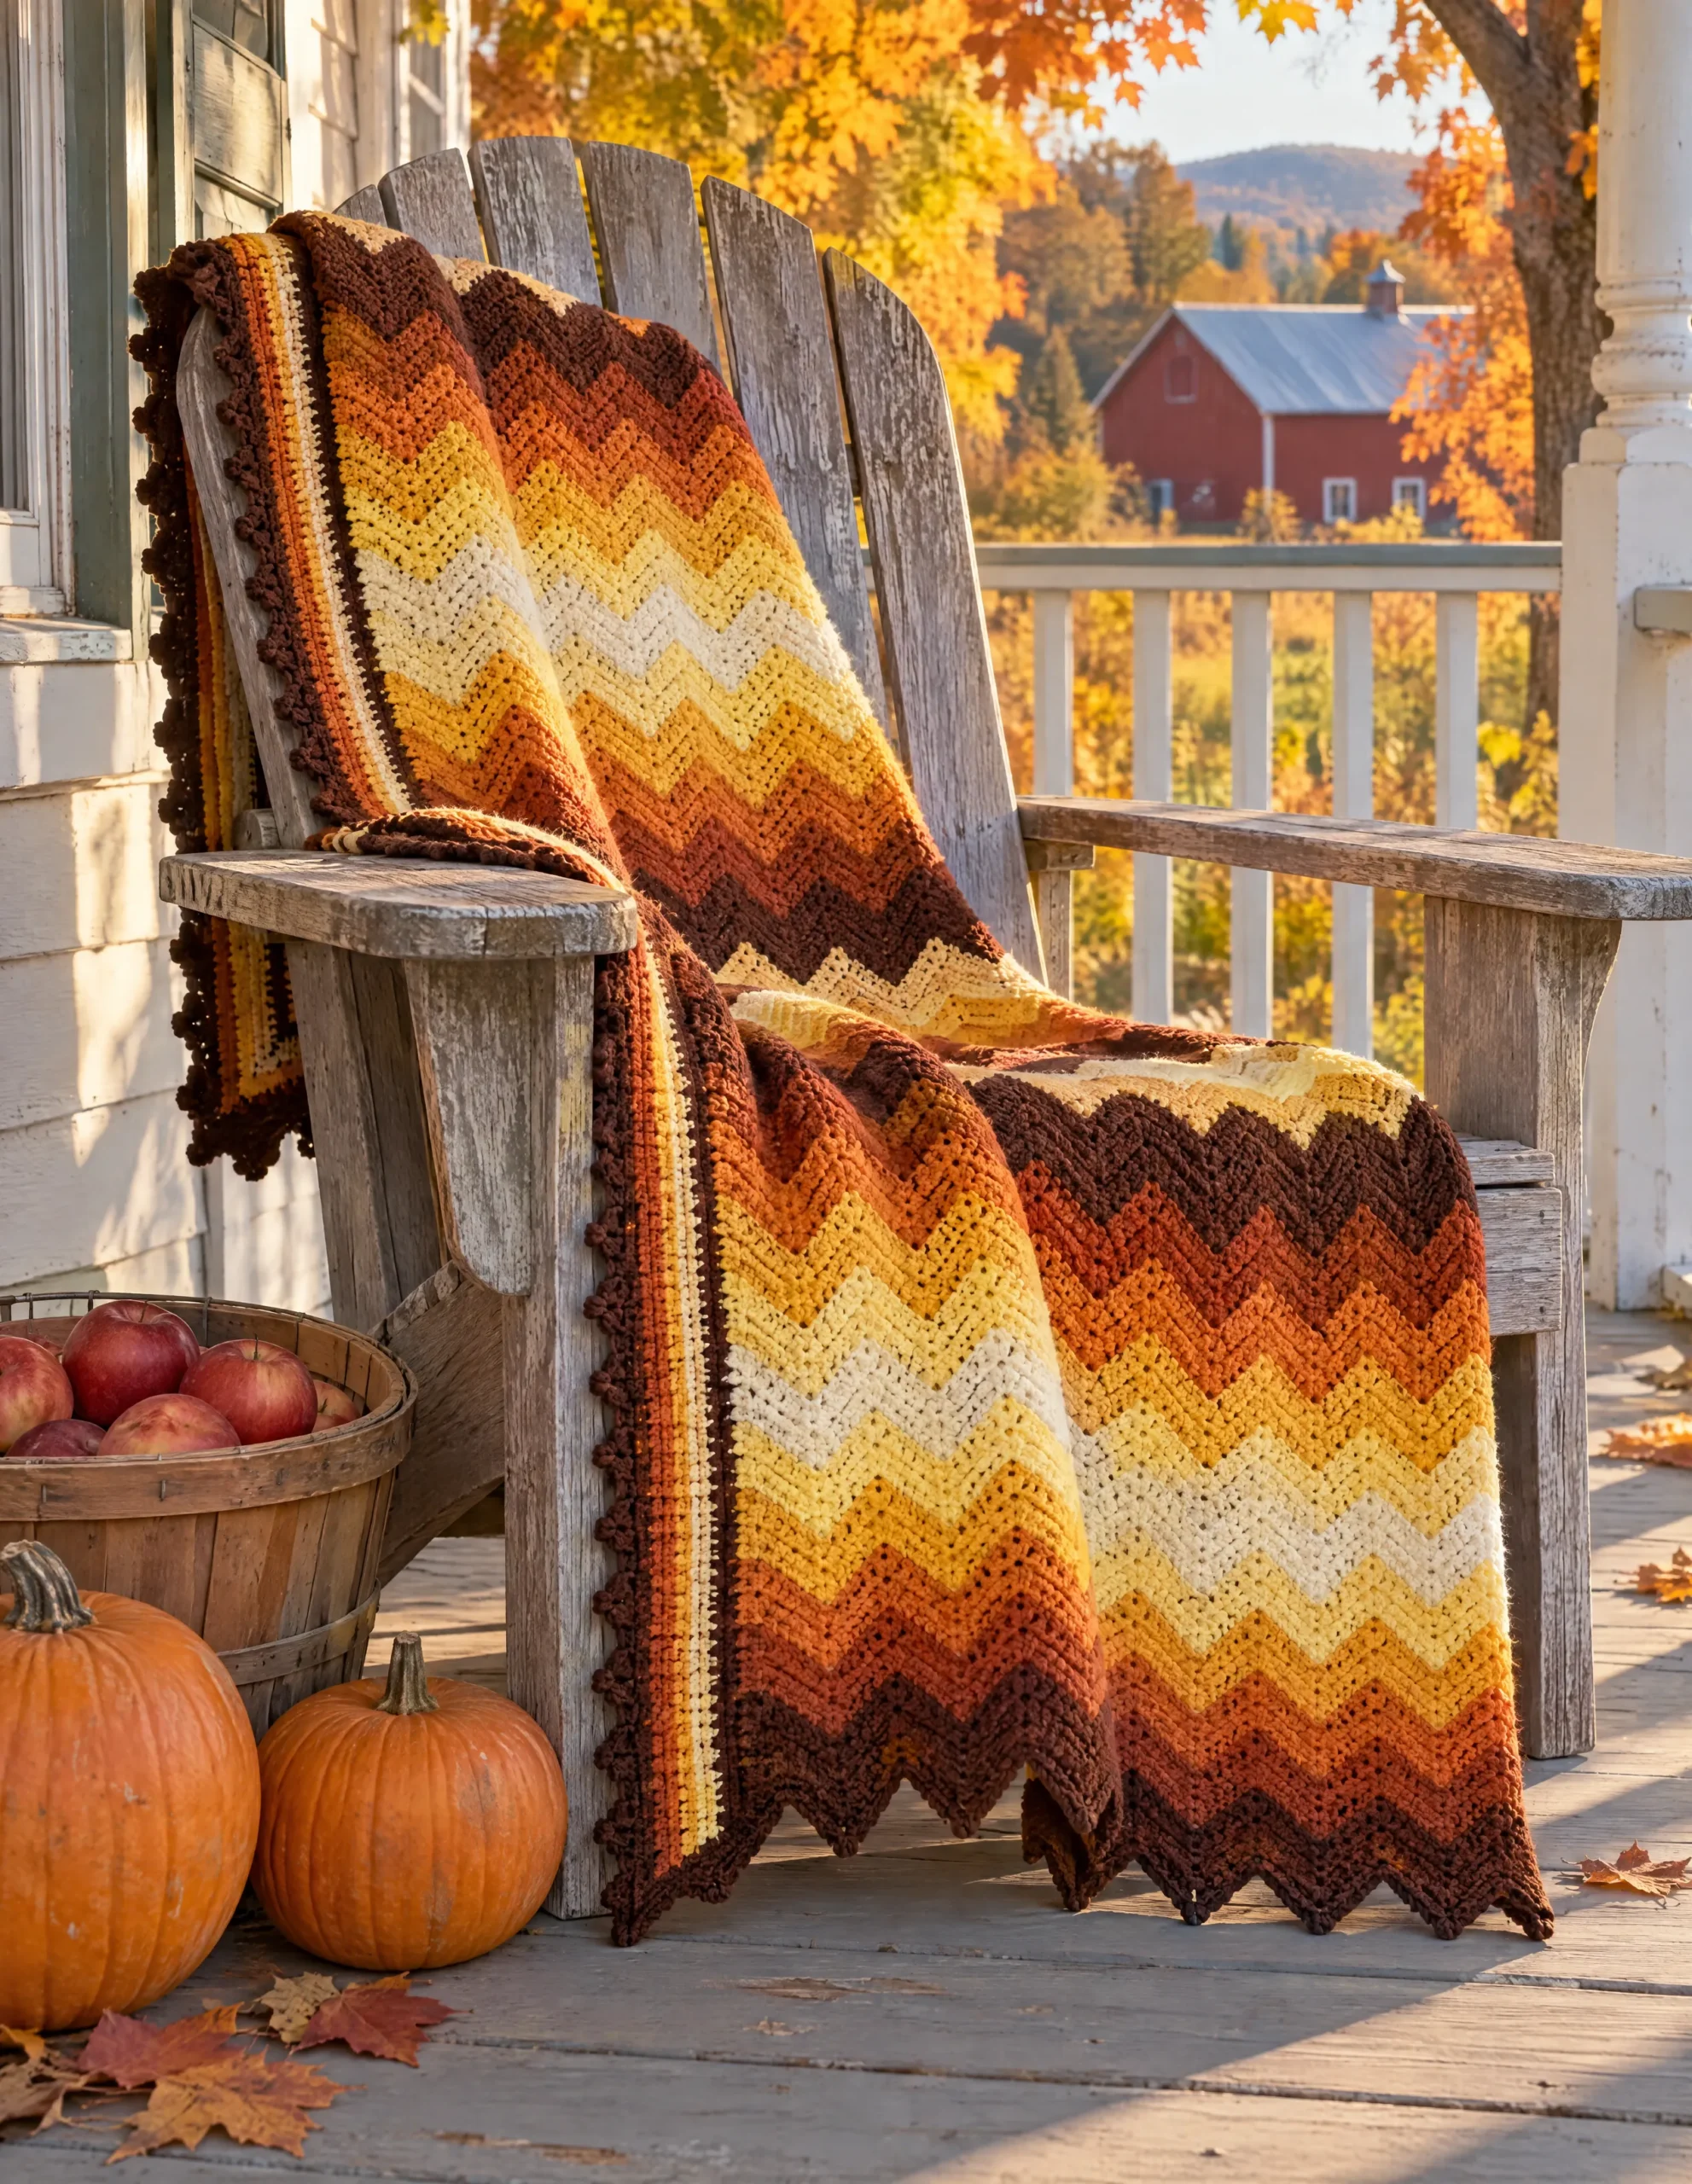
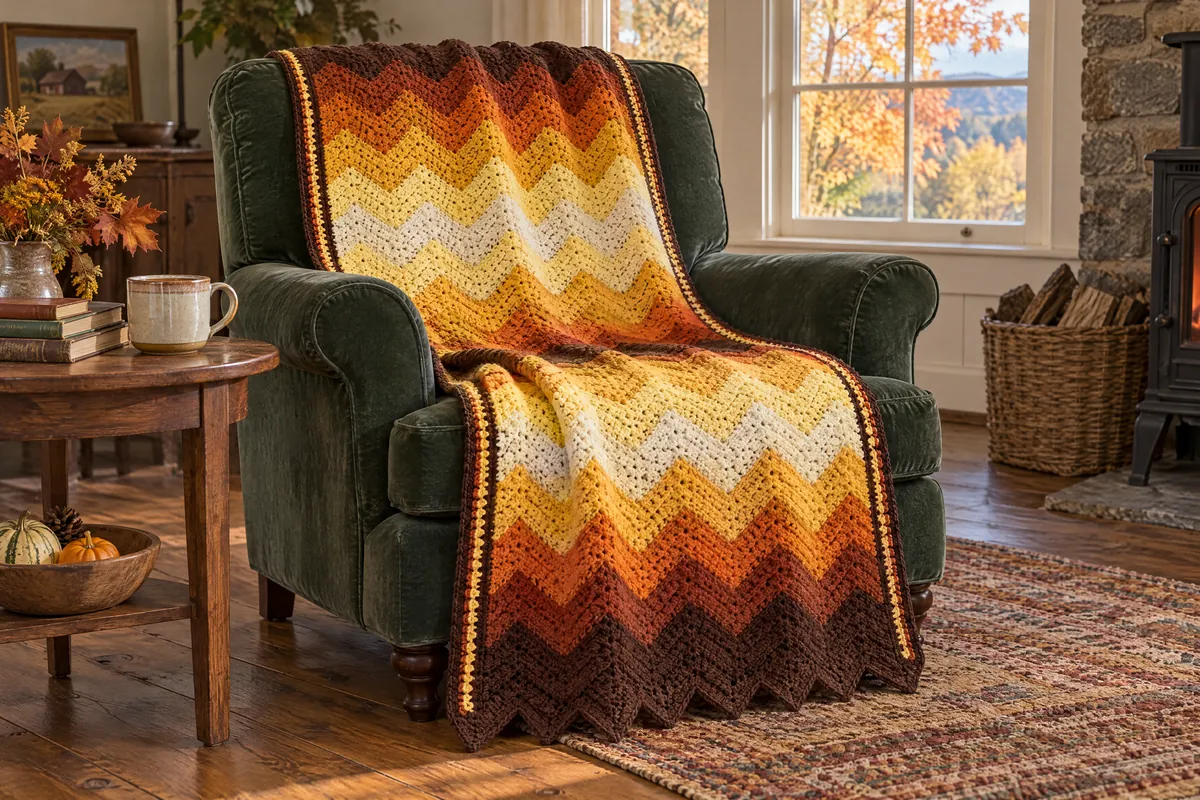
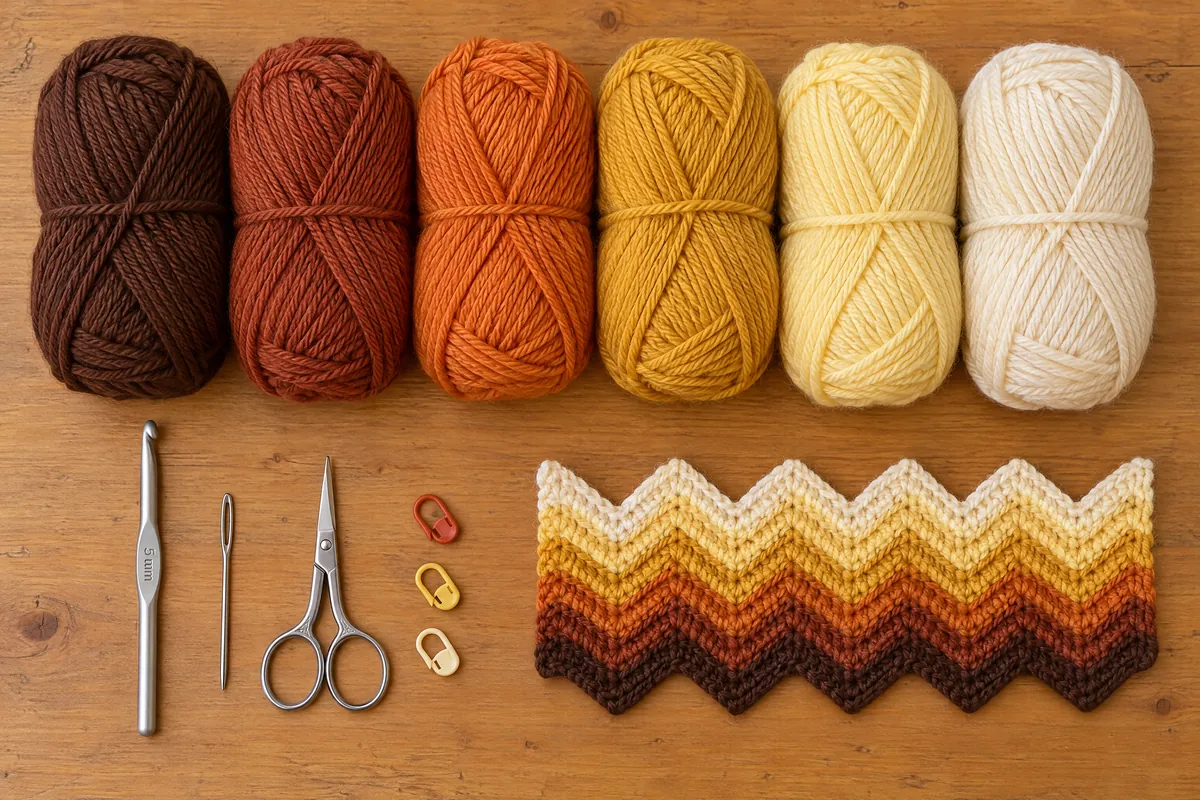
Picture the wagon rolling home from the orchard in late October, a basket of apples at your feet and the maples on the ridge burning from chestnut to gold. The Hayride Chevron Afghan gathers that whole hillside into one retro chevron crochet blanket: sharp zigzag stripes that climb from deep chestnut through rust, pumpkin, marigold and butter to a cream crest, then step back down again.
It’s worked in narrow single crochet strips, sewn with the stripes matched, and finished with a striped side edging. The pattern below covers a baby blanket, a throw and a twin, and every row has the same 61 stitches.
Is this retro chevron crochet blanket easy enough for a first zigzag?
It is. If you can work a chain and a row of single crochet, you have most of what it asks for. The chevron is three moves repeated across each row: 3 single crochets in one stitch for a peak, 3 stitches worked together for a valley, and 2 together at each end. Every row has 61 stitches, so a quick count tells you at once whether a row came out right. If the abbreviations look new, the guide to reading a crochet pattern walks through them.
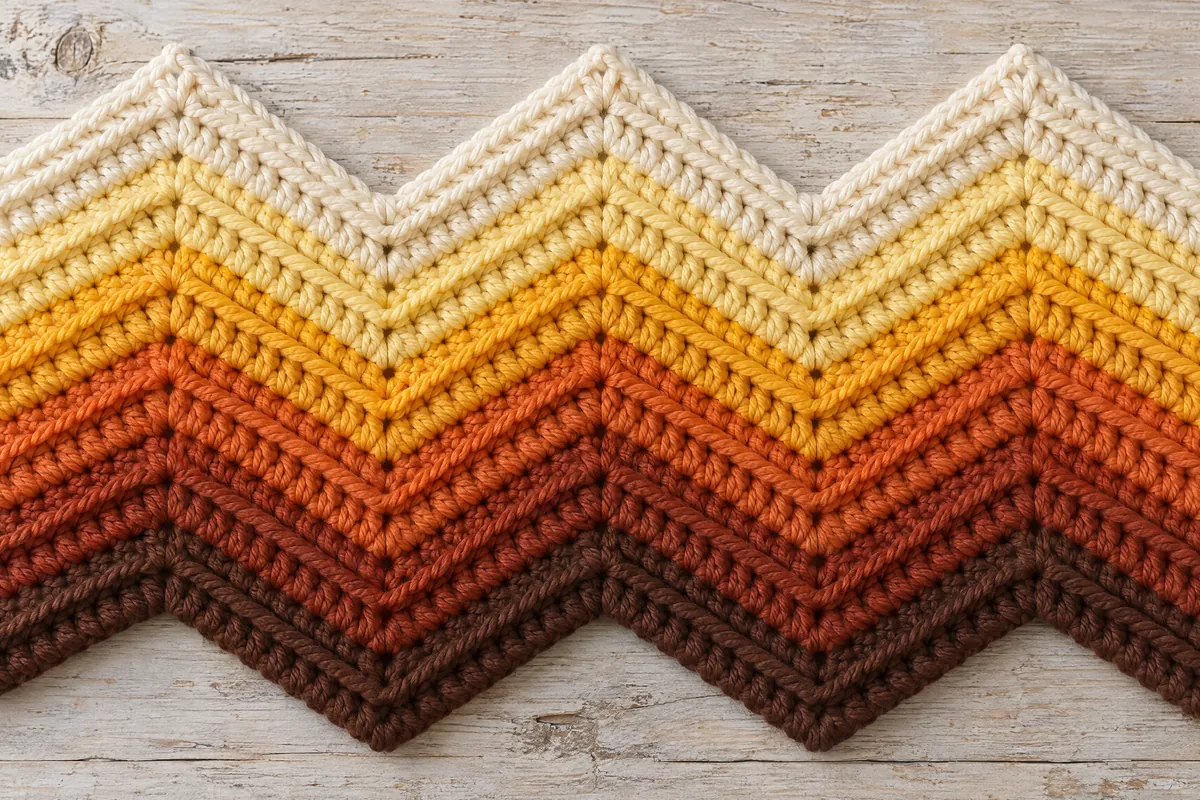
Every stitch from Row 2 on goes into the back loop, which leaves a fine raised ridge along each row. The ridges follow the zigzag, so the surface looks almost corded and the two-row stripes stay crisp.
Many chevron blankets are worked in one big piece, row after long row. This one is built from strips only 9 in wide, each with six sharp peaks. A strip fits in a tote bag, and the afghan grows one strip at a time. Sewn with every stripe meeting its own color, the strips read as one unbroken zigzag.
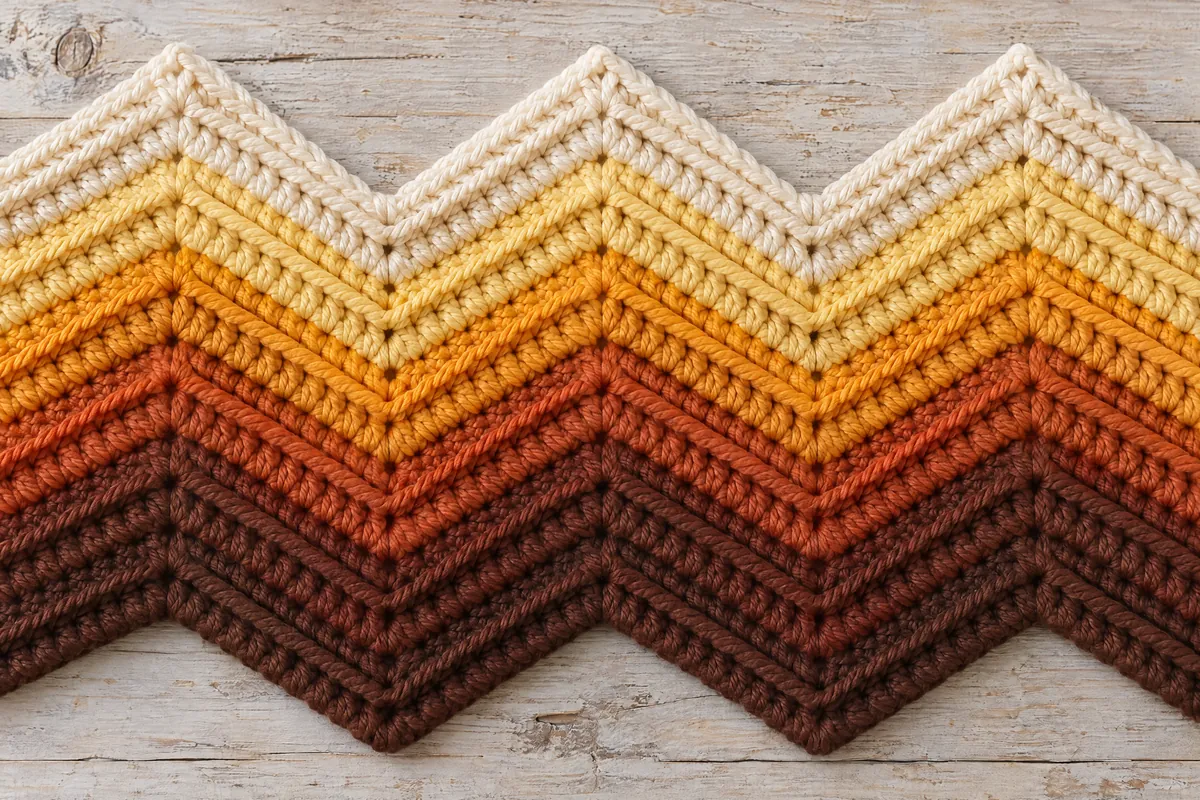
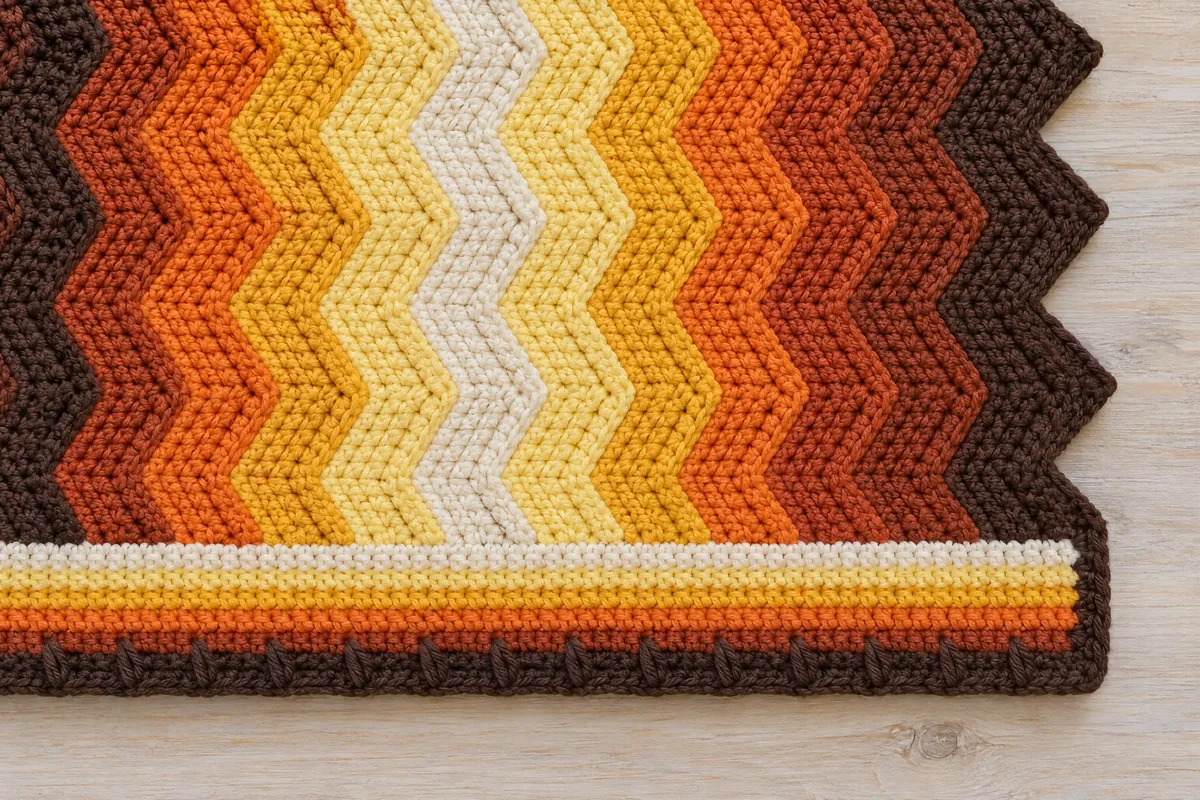
The one special row comes at the very end, along the side edging. It mixes single crochet with a double crochet and a treble crochet that reach down into the unworked front loops of the rows below, which gives the long sides a notched outline.
Worsted yarn and a 5 mm hook for sharp peaks
Look for a 4 on the label, with worsted or medium next to it. Wool, a wool blend or a soft acrylic all work; for the baby size, choose a soft acrylic or superwash wool that goes in the washer. The amounts in the card assume skeins of about 200 yd (183 m) per 100 g.
The hook is a 5.0 mm (H-8), smaller than the one printed on most worsted labels. It keeps the chevron firm, so the peaks stay sharp and the back-loop ridges stand up. With a bigger hook, the peaks round off and the ridges flatten.
The six colors take similar amounts, about 780 yd each of rust, pumpkin, marigold and butter for the throw. Buy each color from one dye lot. Work the first 20 rows of your first strip, block them lightly and measure: the strip should be 9 in (23 cm) wide.
Six warm stripes from chestnut to cream
Each palette keeps the same six jobs. A, the darkest, opens every stripe sequence, closes the strips and works the raised edging row. B to E step lighter one by one, and F, the lightest, sits at the crest of each sequence. Keep the six colors in a clear dark-to-light order so the stripes glow.
- Hayride: A chestnut, B rust, C pumpkin, D marigold, E butter, F cream, as written.
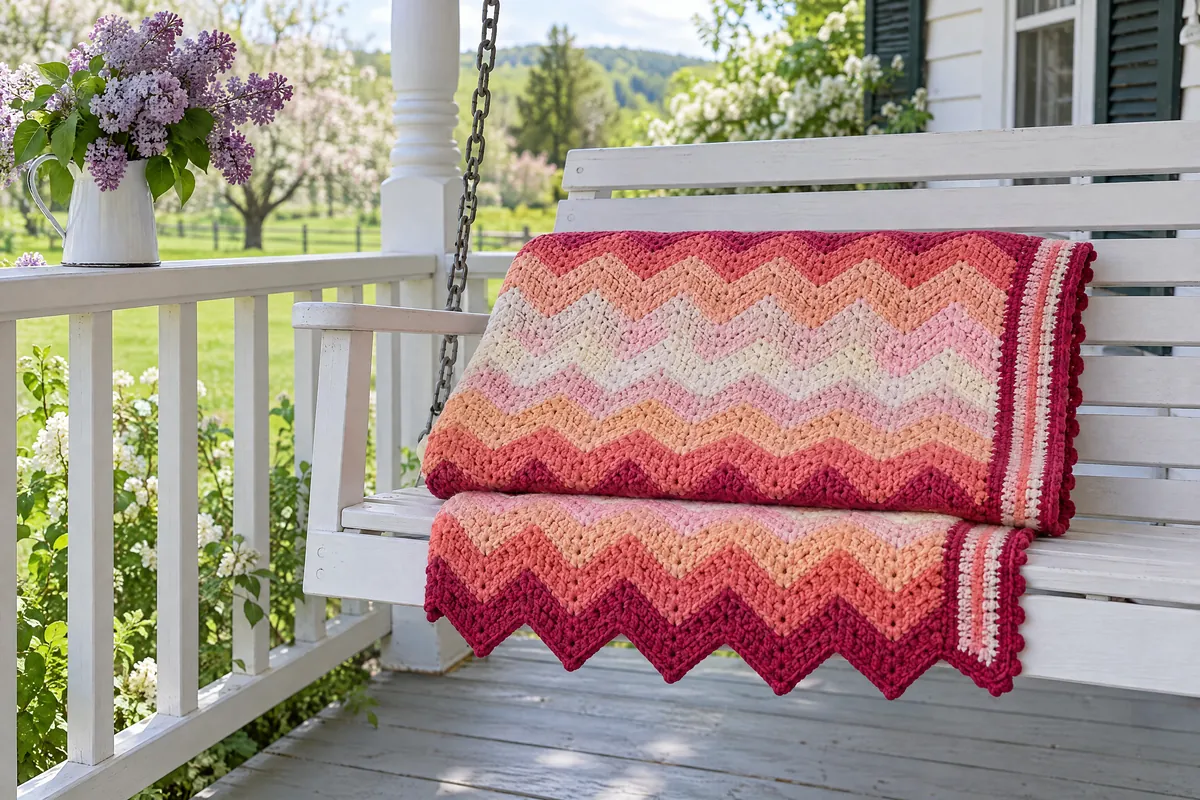
- Sherbet Porch: A raspberry, B coral, C peach, D apricot, E blush, F cream.
- Lake Dusk: A navy, B denim, C slate blue, D sky blue, E mist, F cream.

To check your order before you buy, line up the six skeins and take a black-and-white photo. The grays should go from darkest to lightest without two of them looking the same.
Baby, throw and twin from the same strip
All three sizes use the same strip: the same 60 chains, the same 61 stitches and the same 20-row stripe sequence. Only the number of strips and the number of sequences change. Each strip adds 9 in of width and each sequence about 6 in of length. The card is written as Baby [Throw, Twin].
- Baby: about 30 × 36 in (76 × 91 cm). 3 strips of 122 rows. About 1,638 yd in all, roughly 200 to 300 yd per color.
- Throw: about 48 × 60 in (122 × 152 cm). 5 strips of 202 rows. About 4,327 yd in all.
- Twin: about 66 × 90 in (168 × 229 cm). 7 strips of 302 rows. About 8,875 yd in all.
The width includes the side edging, about 1 1/2 in on each long side; the length is measured from the tips of the points at one end to the tips at the other. For a baby under 12 months, keep the blanket out of the crib: it’s for the stroller, a rocking chair or supervised floor time, never for sleep.
Counting 61 stitches and matching stripes across the seams
Clip a marker into the center stitch of each peak on Row 2 and move the markers up every few rows. The 3 single crochets of a peak always go into the center stitch of the 3-stitch group below, and each valley sits right above the valley below. A peak that drifts sideways means a stitch went missing on the slope just before it.
The ends of each row are where a count goes wrong. Start every row after Row 1 with a single crochet 2 together and end it the same way. Forget one, and the row grows by a stitch at that edge.
Change colors on the last stitch of each two-row stripe, and weave in each tail along the side edge of its own stripe before you sew the strips. When you join two strips, pin the chestnut stripes of both strips together all along the edge first. Every other stripe then falls into place, and one whipstitch per pair of rows keeps the seam flat.
On the last edging row, keep each raised stitch relaxed. Pull its loop up to the height of the row you’re making before you finish it, so it lies flat over the striped rows it crosses. A raised stitch pulled tight puckers the long side and shortens it against the strips.
If you enjoy zigzags, the eyelet chevron throw in summer colors and the big ripple bedspread for a lake house are good companions for warmer months.
US crochet terms
The pattern
Materials
- Worsted weight yarn (#4), wool, wool blend or soft acrylic, about 200 yd (183 m) per 100 g skein, in 6 colors (estimate; D includes the seams, every color includes its edging row):
- A, Chestnut: about 263 [653, 1,296] yd (240 [597, 1,185] m), 2 [4, 7] skeins
- B, Rust: about 292 [783, 1,618] yd (267 [716, 1,479] m), 2 [4, 9] skeins
- C, Pumpkin: about 292 [783, 1,618] yd (267 [716, 1,479] m), 2 [4, 9] skeins
- D, Marigold: about 298 [803, 1,661] yd (273 [734, 1,519] m), 2 [5, 9] skeins
- E, Butter: about 292 [783, 1,618] yd (267 [716, 1,479] m), 2 [4, 9] skeins
- F, Cream: about 201 [522, 1,064] yd (184 [477, 973] m), 2 [3, 6] skeins
- Total: about 1,638 [4,327, 8,875] yd
- 5.0 mm (H-8) crochet hook
- Yarn needle with a large eye
- Scissors
- Rustproof pins and a blocking mat or folded towels
- A few stitch markers (optional), to mark the peaks on the first rows
Gauge
One strip = 9 in (23 cm) wide, measured straight across from side edge to side edge; one chevron, peak to peak = 1 1/2 in (3.8 cm); one 20-row stripe sequence = about 6 in (15 cm), measured straight up a column; blocked, with a 5.0 mm (H-8) hook. Work the first 20 rows of your first strip, block them lightly and measure. If the strip is wider than 9 in, use a smaller hook; if it’s narrower, use a larger hook. Estimate: your size may vary with your gauge.
Finished size
- Baby: about 30 × 36 in (76 × 91 cm), 3 strips of 122 rows
- Throw: about 48 × 60 in (122 × 152 cm), 5 strips of 202 rows
- Twin: about 66 × 90 in (168 × 229 cm), 7 strips of 302 rows
- The width includes the side edging, about 1 1/2 in (3.8 cm) on each long side. The length is measured from the tips of the points at one end to the tips at the other. Estimates based on the gauge above.
Abbreviations
- approx. approximately
- BLO back loop only
- ch chain
- dc double crochet
- rep repeat
- RS right side
- sc single crochet
- sc2tog single crochet 2 together (see Notes)
- sc3tog single crochet 3 together (see Notes)
- sk skip
- sl st slip stitch
- st(s) stitch(es)
- tr treble crochet
- WS wrong side
- yo yarn over
Notes
- Sizes are written as Baby [Throw, Twin]. A number given once applies to all sizes.
- Baby size: for a baby under 12 months, keep this blanket out of the crib: it’s for a stroller, a rocking chair or supervised floor time, never for sleep. Add no buttons, beads or other small trims.
- Strips in turned rows: Each strip is worked in rows, turning at the end of every row. The ch 1 at the start of each row does not count as a stitch.
- Back loop only: Row 1 is worked into the chain. From Row 2 on, every sc, sc2tog and sc3tog of the strips goes into the back loop only of the stitches (the loop farther from you).
- The chevron: Each peak is 3 sc in one stitch; each valley is a sc3tog; each row starts and ends with a sc2tog. The 3 sc of a peak always go in the center sc of the 3-sc group below, and each sc3tog is centered on the sc3tog below. A strip has 6 peaks, and every row has 61 sts: the count never changes.
- sc2tog: [Insert the hook in the next st, yo, pull up a loop] twice (3 loops on the hook), yo, pull through all 3 loops.
- sc3tog: [Insert the hook in the next st, yo, pull up a loop] 3 times (4 loops on the hook), yo, pull through all 4 loops.
- Stitch multiple: The foundation chain is a multiple of 10: 10 chains per peak. For a wider strip, add 10 chains for each extra peak (each peak adds 1½ in). The afghan also grows by whole strips (9 in each) and by whole 20-row stripe sequences (about 6 in each).
- Color changes: Change color on the last stitch of each 2-row stripe: work the final sc2tog until 3 loops remain, drop the old color, yo with the new color and pull through all 3 loops, then ch 1 with the new color and turn. Cut the old color, leaving a 6 in (15 cm) tail.
- Tails: Weave each tail into the stitches of its own stripe on the WS, along the side edge, before the strips are sewn.
- Right side: Both faces of a strip look alike. For every strip, call the face that was toward you while you worked Row 1 the RS, and keep Row 1 at the same end of the afghan when you sew.
- Side edging: Every edging row is worked with the RS facing and fastened off at the end, so all the ridges show on the RS. Each row starts at the same end as the row before.
- Relief dc: Yo, insert the hook from bottom to top under the unworked front loop of the sc named in the row, in the edging row 2 rows below the row you are making, directly below the next sc of the row you are working into. Yo, pull up a loop to the height of the row you are making, (yo, pull through 2 loops) twice. Skip the sc behind it.
- Relief tr: Yo twice, insert the hook the same way in the edging row 3 rows below the row you are making, yo, pull up a loop to the height of the row you are making, (yo, pull through 2 loops) 3 times. Skip the sc behind it.
- Unworked front loops: Because Edging Rows 2 to 5 are worked in the back loop, the front loops of Edging Rows 1 to 4 stay unworked on the RS: the relief stitches of Edging Row 6 go into them. Keep each relief stitch relaxed so it lies flat over the rows it crosses. Each relief dc or tr counts as 1 st.
- Yardage and sizes are estimates based on the gauge above.
Instructions
Strips (make 3 [5, 7])
Every strip follows the same 20-row stripe sequence, 2 rows per color.
| Rows | Color |
|---|---|
| 1–2 | A Chestnut |
| 3–4 | B Rust |
| 5–6 | C Pumpkin |
| 7–8 | D Marigold |
| 9–10 | E Butter |
| 11–12 | F Cream |
| 13–14 | E Butter |
| 15–16 | D Marigold |
| 17–18 | C Pumpkin |
| 19–20 | B Rust |
- Foundation (A): Ch 60 [60, 60].
- Row 1 (A): Sc in the 2nd ch from the hook and in the next 3 ch, *3 sc in the next ch, sc in the next 3 ch, sc3tog over the next 3 ch, sc in the next 3 ch; rep from * 4 more times, 3 sc in the next ch, sc in the last 4 ch. (61 [61, 61] sts)
- Row 2 (A), the Pattern Row: Ch 1, turn. Working in BLO: sc2tog over the first 2 sts, *sc in the next 3 sts, 3 sc in the next st, sc in the next 3 sts, sc3tog over the next 3 sts; rep from * 4 more times, sc in the next 3 sts, 3 sc in the next st, sc in the next 3 sts, sc2tog over the last 2 sts, changing to B on this last sc2tog. (61 [61, 61] sts)
- Rows 3–20: Work the Pattern Row 18 times, 2 rows in each color of the table: B, C, D, E, F, E, D, C, B. Change to the next color on the last sc2tog of Rows 4, 6, 8, 10, 12, 14, 16 and 18, and change to A on the last sc2tog of Row 20. (61 [61, 61] sts)
- Rows 21–120 [21–200, 21–300]: Work the Pattern Row, repeating the colors of Rows 1–20 in the same order 5 [9, 14] more times (Rows 21–22 in A, Rows 23–24 in B, and so on). End with a B row, changing to A on its last sc2tog. (61 [61, 61] sts)
- Rows 121–122 [201–202, 301–302] (A): Work the Pattern Row twice. Fasten off. (61 [61, 61] sts)
Each strip has 122 [202, 302] rows: 6 [10, 15] full sequences and 2 closing rows of A, so both ends of the strip are chestnut.
Blocking the strips
Weave in the tails. Pin each strip RS up to 9 in (23 cm) wide, side edges straight, points lined up, and the length of your size: 36 [60, 90] in (91 [152, 229] cm) from point tips to point tips. Mist with water or cover with a damp cloth and let dry completely. All strips must block to the same size.
Joining
Lay the strips side by side, RS up, all with Row 1 at the same end: 3 [5, 7] strips, joined by 2 [4, 6] seams. Use D Marigold for every seam.
- Seam step 1: Place two strips RS together, row ends aligned, and pin the A stripes of both strips together all along the edge, so every stripe meets the same color.
- Seam step 2: Thread the yarn needle with D, leaving a 6 in (15 cm) tail. Starting at the Row 1 end, pass the needle twice through the edge stitches of Row 1 of both strips to lock the yarn.
- Seam step 3: Insert the needle from front to back through the edge stitch of the next row on both strips, bring the yarn over the top of the edges, and repeat: one whipstitch for each pair of matching rows, 122 [202, 302] whipstitches per seam. Pull each stitch snug, not tight.
- Seam step 4: End with a locking stitch at the last row and weave the tail along the seam on the WS. The seam ridge sits on the WS.
- Seam step 5: Sew the next strip to the open side of the last one in the same way, until all the strips are joined.
Side edging
Work the edging along each long side of the afghan, with the RS facing. Each row is worked across the same side, starting at the same end, and fastened off at the end. The top and bottom edges keep their points and get no edging.
- Edging Row 1 (F): With the RS facing, join F with a sl st in the end of the first row at the right-hand end of the long side (the end of Row 1 on one side, the end of the last row on the other). Ch 1, sc in the same place, then 1 sc in the end of each row across, working under both loops of the edge stitch of each row, to the last row. Fasten off. (122 [202, 302] sts)
- Edging Row 2 (E): With the RS facing, join E with a sl st in the back loop of the first sc of Edging Row 1, at the same end where Edging Row 1 began. Ch 1, sc BLO in the same st and in each sc across. Fasten off. (122 [202, 302] sts)
- Edging Row 3 (D): Work as Edging Row 2 with D, into Edging Row 2. Fasten off. (122 [202, 302] sts)
- Edging Row 4 (C): Work as Edging Row 2 with C, into Edging Row 3. Fasten off. (122 [202, 302] sts)
- Edging Row 5 (B): Work as Edging Row 2 with B, into Edging Row 4. Fasten off. (122 [202, 302] sts)
- Edging Row 6 (A): With the RS facing, join A with a sl st in the end of Edging Row 1, at the same end where the other edging rows began. Ch 1. The sc of this row go under both loops.
- First short end: sc in the end of Edging Row 1 (the place of the sl st); sk the first sc of Edging Row 2, relief dc in the unworked front loop of the 2nd sc of Edging Row 2; sk the end of Edging Row 3, sc in the end of Edging Row 4; sk the first 2 sc of Edging Row 3, relief tr in the unworked front loop of the 3rd sc of Edging Row 3.
- First corner: 3 sc in the first sc of Edging Row 5.
- Long side: *relief dc in the unworked front loop of the sc of Edging Row 4 that sits directly below the next sc of Edging Row 5 (sk that sc of Edging Row 5), sc in the next sc of Edging Row 5, relief tr in the unworked front loop of the sc of Edging Row 3 that sits directly below the next sc of Edging Row 5 (sk that sc of Edging Row 5), sc in the next sc of Edging Row 5; rep from * 29 [49, 74] more times. The first relief dc goes in the 2nd sc of Edging Row 4, the first relief tr in the 4th sc of Edging Row 3. The last sc goes in the 121st [201st, 301st] sc of Edging Row 5, the second to last.
- Second corner: 3 sc in the last sc of Edging Row 5.
- Second short end: relief tr in the unworked front loop of the second to last sc of Edging Row 3; sc in the end of Edging Row 4; sk the end of Edging Row 3, relief dc in the unworked front loop of the second to last sc of Edging Row 2; sc in the end of Edging Row 1. Fasten off.
- Count: 4 sts on each short end, 3 sc at each corner and 120 [200, 300] sts along the side. (134 [214, 314] sts)
Work the edging along the second long side the same way, starting at its right-hand end with the RS facing.
Finishing
- Weave in the edging tails on the WS. Lay the afghan flat on towels or a clean carpet, RS up, and pat it out to 30 × 36 [48 × 60, 66 × 90] in, with the points of both ends lined up and the side edging straight. Mist it lightly or cover it with damp towels and let it dry completely.
Washing chestnut and rust next to cream
Chestnut and rust are the colors most likely to bleed onto the cream crest. Wash a scrap of each with a scrap of cream before you start, then wash the afghan on its own the first few times, with a color-catcher sheet.
For a machine-washable yarn, use a gentle cycle in cool water and lay the afghan flat to dry, pulling the points gently back into shape. Wool afghans can be hand washed in cool water and dried flat. Don’t hang it to dry: the weight of the wet strips stretches the seams and softens the points.
Hayride questions about strips, stripes and edging
Why is this retro chevron crochet blanket worked in strips?
Short rows are easier to keep even, and a 61-stitch row is quick to count. Strips also travel well and keep the weight of a twin off your lap until the very end. Sewn with the stripes matched, they look like one continuous chevron.
Why do both ends of every strip finish in chestnut?
Each strip works its 20-row sequence a whole number of times, then adds two closing rows in chestnut. That frames the points at both ends in the same dark color, so the top and bottom of the afghan match.
How do the raised stitches of the last edging row work?
The edging rows below it are worked in the back loop, which leaves their front loops unworked on the right side. In the last row, each double crochet goes into an unworked front loop two rows down and each treble crochet three rows down, skipping the stitch behind it. They lie over the striped rows and give the edge its notches.
Can I make the throw wider?
Yes, by whole strips: each extra strip adds about 9 in to the width. Add the yarn of one strip in each color, plus a little more marigold for the extra seam. The edging runs along the long sides only, so its counts stay the same.
Quick recap
- Make 3 [5, 7] strips of 61 stitches, working the 20-row stripe sequence 6 [10, 15] times and 2 closing rows of chestnut.
- Block every strip to 9 in (23 cm) wide.
- Whipstitch the strips together in marigold, chestnut stripes pinned together first.
- Work the six-row striped edging along each long side, ending with the raised chestnut row.
- Weave in the last tails and block the afghan flat.
Strip by strip, this retro chevron crochet blanket climbs from chestnut to cream and back like a hillside in October. If a row or a seam puzzles you, ask through the Contact page.